Have you ever found yourself craving something nostalgic yet utterly indulgent? That’s exactly how I felt when I whipped up this Butterfinger Pie—an irresistible dessert that marries the creamy goodness of peanut butter and cream cheese with the playful crunch of Butterfinger candy bars. The moment I took my first bite, a wave of delightful childhood memories washed over me, taking me back to afternoons spent savoring treats with friends.
The beauty of this pie lies not only in its rich, layered flavors but also in its simplicity. With just a handful of ingredients and only 20 minutes of actual prep time, you’ll have a show-stopping dessert ready to impress even the pickiest of eaters. Plus, it’s perfect for sharing—or keeping all to yourself, no judgment here! Whether you’re preparing for a family gathering or simply looking to elevate your weeknight dinner, this Butterfinger Pie is both a breeze to make and a guaranteed crowd-pleaser. Let’s dive into creating this sweet masterpiece!

Why will you adore Butterfinger Pie?
Indulgence at its finest: This Butterfinger Pie is a luscious blend of flavors, combining creamy peanut butter and tangy cream cheese for a taste that truly delights.
Quick preparation: Spend just 20 minutes mixing up your ingredients before letting the fridge do the magic.
No baking required: Skip the oven and enjoy a no-fuss dessert that’s as easy as it is delicious.
Kid-friendly: A dessert that appeals to all ages, making it a hit at parties or family dinners.
Impressive display: Serve it chilled for a standout dessert that looks as good as it tastes.
Whether you’re a busy home cook or a baking novice, this Butterfinger Pie is sure to sweeten your occasion!
Butterfinger Pie Ingredients
For the Crust
• Pie Crust – A homemade or store-bought option works, but a buttery crust adds extra richness to your Butterfinger Pie.
For the Filling
• Cream Cheese (8 ounces / 226g) – Make sure it’s softened for a smooth blending experience, enhancing the creaminess of the pie.
• Peanut Butter (½ cup / 133g) – Choose creamy or crunchy for varying textures and a nutty depth in your Butterfinger Pie.
• Sugar (¼ cup / 50g) – This adds just the right sweetness to balance the flavors without overpowering them.
• Vanilla Extract (1 teaspoon) – A splash of vanilla infuses warmth into the filling, elevating the overall taste.
For the Topping
• Cool Whip (1 container/8 ounces / 226g) – This lightens the filling and provides a delightful whipped texture; feel free to substitute with fresh whipped cream if preferred.
• Chopped Butterfingers (1 ½ cups / 182g) – These add the signature crunch and caramel notes that make this pie irresistible; chop them coarsely to enjoy those sweet bites.
With these simple yet essential ingredients, you’re all set to create a Butterfinger Pie that brings back nostalgia and delight in every slice. Enjoy the journey of crafting this delectable dessert!
How to Make Butterfinger Pie
-
Beat the Cream Cheese: In a mixing bowl, use a hand mixer to beat 8 ounces of softened cream cheese until it’s silky and smooth. This sets the perfect base for your delicious pie.
-
Mix in the Peanut Butter: Once your cream cheese is smooth, add in ½ cup of peanut butter. Blend it together thoroughly until fully combined, creating a creamy and dreamy texture.
-
Add Sugar and Vanilla: Sprinkle in ¼ cup of sugar and 1 teaspoon of vanilla extract. Mix until everything is well incorporated and you achieve a sweet, velvety filling.
-
Stir in Cool Whip: Gently fold in 8 ounces of Cool Whip (or your freshly whipped cream). This will lighten up the mixture beautifully, making it fluffy and airy—just how a great filling should be!
-
Incorporate the Butterfingers: Now, fold in 1 ½ cups of chopped Butterfinger candy bars carefully, ensuring they are evenly distributed to bring delightful crunch in every bite.
-
Chill the Pie: Pour your filling into the prepared pie crust, smoothing it out for an even surface. Cover and chill for at least 2 hours or until set. The waiting will be worth it when you slice into this treat!
Optional: Serve with a dollop of extra whipped topping for an added indulgence.
Exact quantities are listed in the recipe card below.
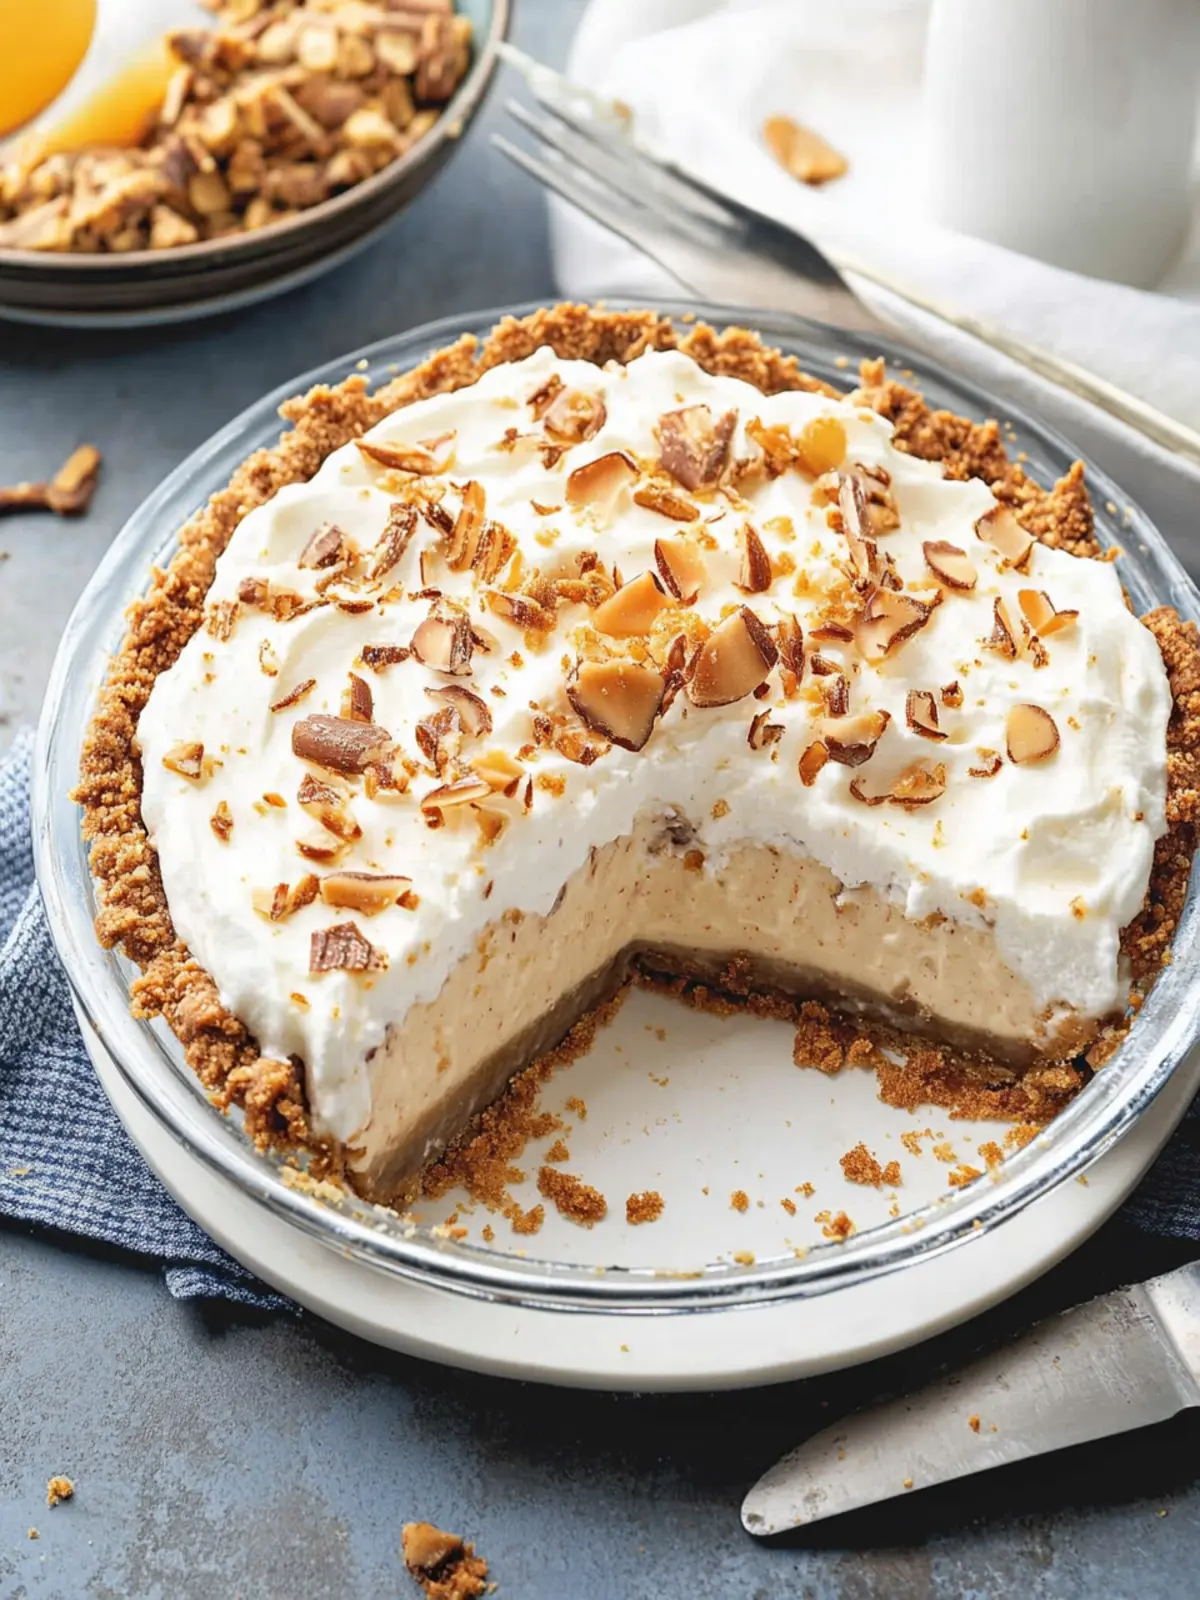
Storage Tips for Butterfinger Pie
-
Fridge: Store leftover Butterfinger Pie covered in the refrigerator for up to 3 days. Make sure it’s tightly wrapped or placed in an airtight container to prevent it from drying out.
-
Freezer: For longer storage, you can freeze your Butterfinger Pie for up to 2 months. Wrap the pie tightly in plastic wrap and then foil to protect against freezer burn.
-
Thawing: When ready to enjoy, transfer the pie to the fridge and allow it to thaw overnight. Enjoy it chilled for the best flavor and texture.
-
Reheating: This pie is best served cold and does not require reheating, so simply slice and enjoy straight from the fridge!
Expert Tips for Butterfinger Pie
- Soften Cream Cheese: Ensure your cream cheese is completely softened; this prevents lumps and ensures a smooth filling—no one wants an uneven dessert!
- Choose Your Peanut Butter: Opt for creamy peanut butter for a smooth texture or crunchy for extra bites of nutty flavor; both work beautifully in Butterfinger Pie.
- Chill Properly: Patience is key! Letting the pie chill for at least 2 hours solidifies the filling and enhances the flavors, so don’t rush this step.
- Store Correctly: Keep your Butterfinger Pie covered in the refrigerator to maintain its freshness; it’s best enjoyed within 3-4 days for optimal taste.
- Add Personal Touches: Feel free to customize your Butterfinger Pie by mixing in other candies or toppings; this dessert is versatile and fun to experiment with!
What to Serve with Butterfinger Pie?
To complement the rich, creamy delight of Butterfinger Pie, let’s explore some enchanting side dishes and drinks that elevate your dessert experience.
- Vanilla Ice Cream: The creamy texture of vanilla ice cream softens the sweetness, creating a blissful balance with each bite of pie.
- Chocolate Sauce: Drizzling chocolate sauce on top adds a decadent touch that harmonizes beautifully with the pie’s peanut butter and Butterfinger crunch.
- Fresh Berries: A side of juicy strawberries or raspberries introduces a refreshing tartness, cutting through the richness for a well-rounded dessert platter.
- Coffee: A warm cup of coffee complements the pie’s sweetness, enhancing its flavors while providing a cozy finish to your meal.
- Whipped Topping: Serve extra whipped cream on the side for those who crave an indulgent layering atop the pie—pure bliss in every mouthful!
- Peanut Butter Cup Milkshake: This decadent shake mirrors the pie’s flavors and adds a fun, nostalgic vibe, making your dessert table truly delightful.
Pairing these choices with your Butterfinger Pie not only enhances the flavors but also creates a memorable dessert experience that will linger on hearts and taste buds alike!
Make Ahead Options
Butterfinger Pie is a fantastic choice for meal prep enthusiasts! You can assemble the entire pie up to 24 hours in advance, letting the flavors meld beautifully in the refrigerator. To prep ahead, simply complete steps 1 through 5 of the recipe and pour the mixture into the pie crust. Cover it tightly with plastic wrap to maintain freshness and prevent drying out. When ready to serve, just chill for a couple of hours before slicing, allowing it to set. This way, the pie remains just as delicious as when freshly made, giving you a delightful dessert without the last-minute rush!
Butterfinger Pie Variations
Feel free to get creative with your Butterfinger Pie and make it uniquely yours!
-
Dairy-Free: Substitute cream cheese and Cool Whip with coconut cream for a deliciously creamy, vegan version. This swap will lend a hint of tropical flavor paired with the sweetness of Butterfingers.
-
Chocolate Lovers: Add ½ cup of chocolate chips to the filling for an extra layer of taste and indulgence. The chocolate and peanut butter combo is truly irresistible!
-
Crunchy Texture: Consider folding in crushed graham crackers for added crunch and a delightful contrast to the creamy filling. It adds a nice rustic touch reminiscent of pie crust.
-
Heath Bar Twist: Swap Butterfingers for crushed Heath bars to introduce a toffee delight that partners beautifully with peanut butter. You’re in for a new kind of sweet nostalgia!
-
Low-Sugar Option: Use a sugar substitute like Stevia or erythritol to reduce sugars while keeping the sweetness intact. Your taste buds won’t know the difference!
-
Spicy Kick: For a bold twist, mix in a pinch of cayenne pepper or cinnamon into the filling. Just a hint of spice can elevate the flavors and surprise your guests with something unexpected.
-
Nutty Addition: Try tossing in chopped nuts like pecans or almonds for added crunch and a wholesome touch. It complements the peanut butter beautifully, creating a nut lover’s dream.
Embrace these variations to transform your Butterfinger Pie into a personalized creation that your friends and family will adore!
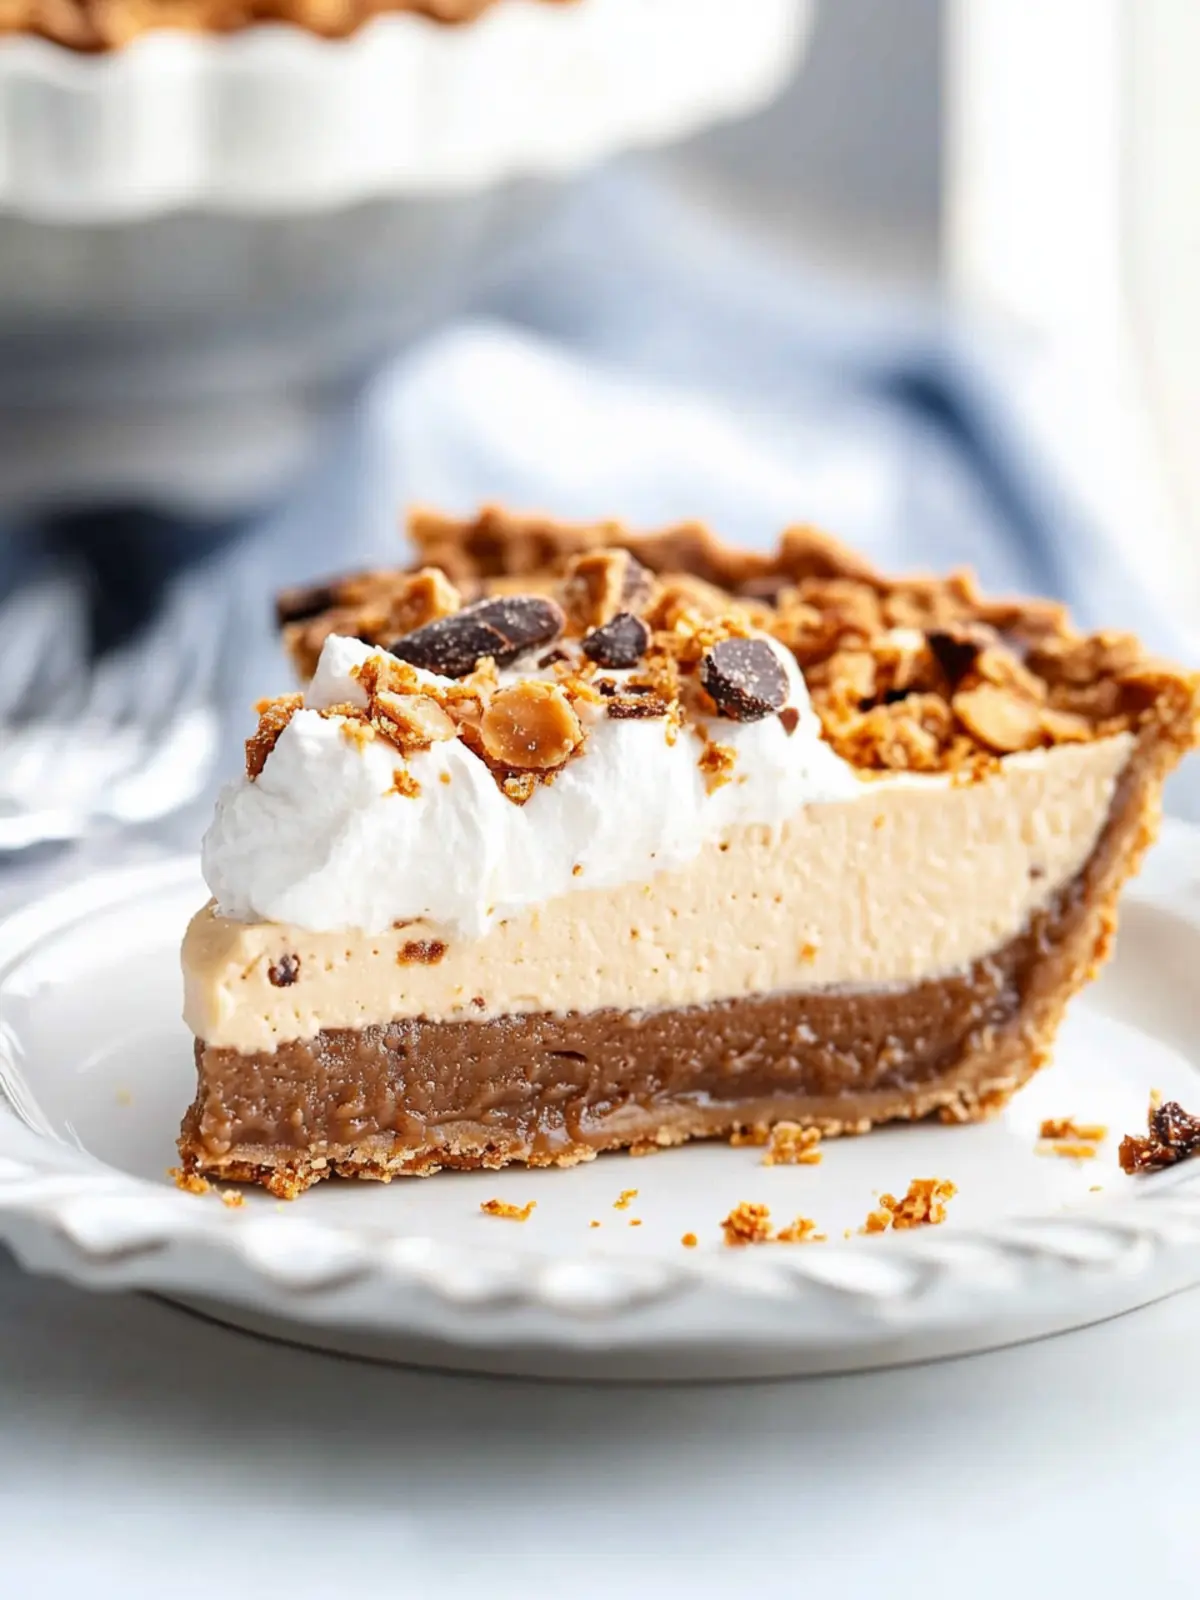
Butterfinger Pie Recipe FAQs
What is the best way to select ripe Butterfingers for the pie?
Absolutely! When choosing Butterfingers, look for bars that have a fresh, crispy texture—avoid any that appear soft or have dark spots, as this indicates they might be stale. Fresh candy bars ensure the best crunch and flavor in your Butterfinger Pie.
How should I store leftover Butterfinger Pie?
To keep your Butterfinger Pie fresh, store any leftovers covered in the refrigerator for up to 3-4 days. I recommend placing it in an airtight container or tightly wrapping it with plastic wrap to prevent it from drying out. This way, you’ll still savor that creamy goodness with every bite!
Can I freeze Butterfinger Pie?
Yes, you can freeze Butterfinger Pie! Wrap the entire pie tightly in plastic wrap and then in aluminum foil to prevent freezer burn. It can last in the freezer for up to 2 months. When you’re ready to enjoy it, simply transfer it to the fridge and let it thaw overnight.
What can I do if my filling feels too runny?
If your Butterfinger Pie filling seems too runny, it might be due to insufficient chilling time. Make sure to chill it for at least 2 hours—and ideally longer—before slicing. If you need an immediate fix, try adding a bit more Cool Whip or even a touch of cornstarch to stabilize the mixture; just blend it thoroughly once added!
Are there any allergy considerations for this recipe?
Very! This Butterfinger Pie contains common allergens like dairy (cream cheese and Cool Whip) and peanuts (from peanut butter). If you’re catering to guests with allergies, consider alternatives—such as using almond-based cream cheese and nut-free butter substitutes, or opting for a whipped topping that’s soy-based. Always check labels to ensure safety!
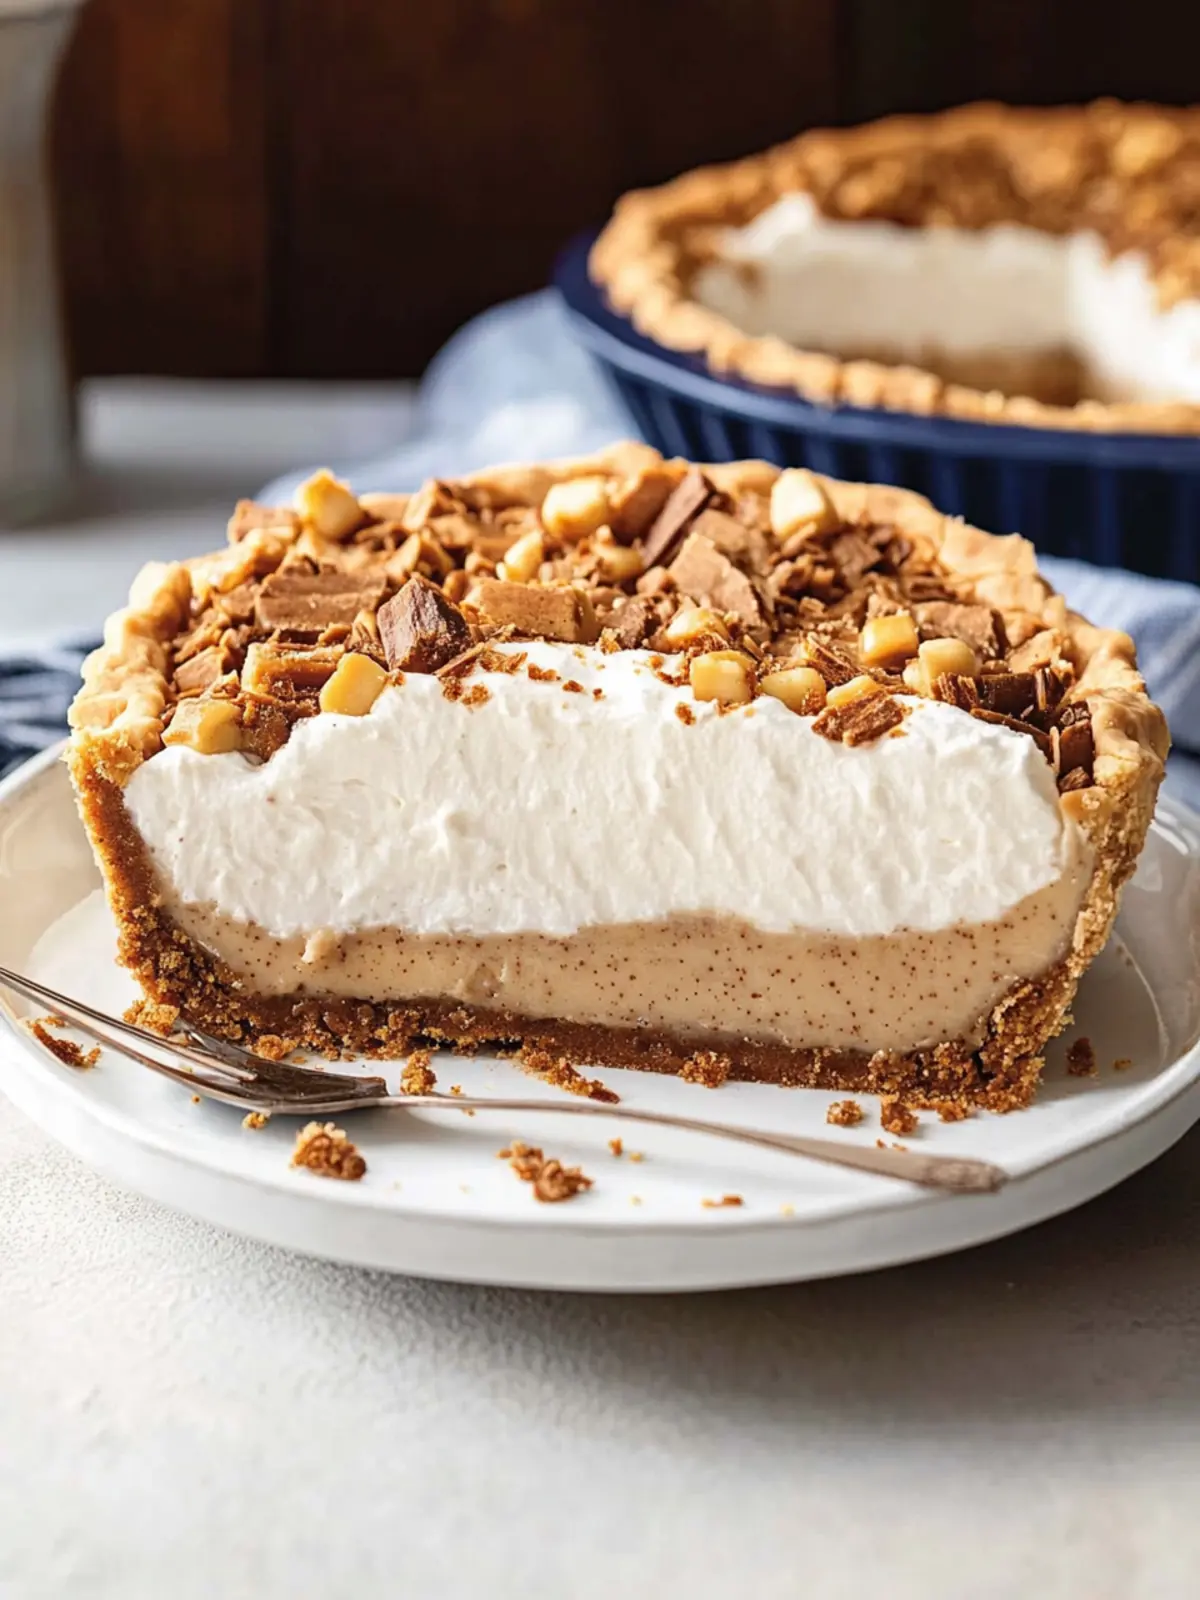
Indulge in Decadence: Easy Butterfinger Pie Recipe
Ingredients
Equipment
Method
- In a mixing bowl, use a hand mixer to beat 8 ounces of softened cream cheese until it's silky and smooth.
- Once your cream cheese is smooth, add in ½ cup of peanut butter. Blend it together thoroughly.
- Sprinkle in ¼ cup of sugar and 1 teaspoon of vanilla extract. Mix until well incorporated.
- Gently fold in 8 ounces of Cool Whip.
- Fold in 1 ½ cups of chopped Butterfinger candy bars carefully.
- Pour your filling into the prepared pie crust, cover and chill for at least 2 hours.