The moment I took my first bite of a cheesesteak slider, I was instantly transported to a bustling Philadelphia street corner, savoring the warmth of gooey melted cheese and the savory taste of tender steak. There’s a certain joy that comes from biting into a soft roll filled with an explosion of flavors—sautéed onions and peppers mingling perfectly with rich cream cheese and provolone. It’s the ultimate comfort food, and this easy recipe is perfect for any occasion, whether it’s game day gatherings, family dinners, or simply a craving for something delicious. Best of all, they’re simple to whip up, meaning anyone can impress their guests without spending hours in the kitchen. So, grab your favorite dinner rolls, and let’s dive into making these delightful cheesesteak sliders that are destined to become a family favorite!

Why are Cheesesteak Sliders a must-try?
Cheesesteak Sliders are undeniably a crowd-pleaser! Quick and Easy: Perfect for busy weeknights or impromptu gatherings—whip them up in no time! Flavor Explosion: The combination of tender steak, creamy cheese, and sautéed veggies creates an irresistible blend. Versatile: Serve them as appetizers or a main dish, suitable for all ages. No Fuss: Minimal prep and clean-up make these sliders stress-free. Elevate your next meal with this delightful treat that everyone will rave about!
Cheesesteak Sliders Ingredients
-
For the Sliders
• Dinner Rolls – The perfect base for these cheesesteak sliders; I recommend using Sara Lee brand for a soft texture.
• Fresh Sirloin Steak – Thinly sliced is key for quick cooking and maximum flavor; frozen Philly-style steak is a great substitute if needed. -
For the Veggies
• White Onion – When sautéed, it adds a wonderful sweetness and depth to the filling.
• Green Bell Pepper – Offers a crunchy texture; feel free to omit it if you’re catering to picky eaters. -
For the Creaminess
• Chive and Onion Cream Cheese – Provides rich creaminess and flavor; plain cream cheese works well too if you want a milder taste.
• Provolone Cheese – Melts beautifully and gives your cheesesteak sliders that classic, cheesy goodness.
How to Make Cheesesteak Sliders
-
Preheat your oven to 350°F (175°C), setting the stage for warm, cheesy goodness. This temperature ensures your sliders bake evenly, resulting in that perfect melty cheese we all crave.
-
Cook the sirloin steak in a large skillet over medium heat until fully cooked, about 5-7 minutes. Make sure to chop it into bite-sized pieces for easy filling later.
-
Sauté the diced white onion and green bell pepper in a separate medium skillet for about 3-4 minutes until they’re tender and fragrant. Set these delightful veggies aside to keep their vibrant colors.
-
Prepare the dinner rolls by carefully separating them into bottom halves, placing them snugly in a 9×13-inch baking dish. The soft rolls will serve as the perfect vessel for all that delicious filling!
-
Spread a generous layer of chive and onion cream cheese over the bottom halves of the rolls. This creamy foundation adds a rich flavor that harmonizes beautifully with the other ingredients.
-
Layer the cooked steak evenly on top of the cream cheese, followed by your sautéed onions and peppers. Be generous here—every bite should be filled with flavor!
-
Top the stack with slices of provolone cheese, letting it drape elegantly over the veggies and steak. This is where the magic happens—the bubbly, gooey goodness!
-
Cover the sliders with the top halves of the rolls and then tightly cover the dish with foil. This helps to steam the sliders, ensuring they stay moist and flavorful during baking.
-
Bake them in the preheated oven for 12 minutes. After that, remove the foil and bake for an additional 5-10 minutes, or until the cheese is perfectly melted and slightly golden.
-
Let stand for 5 minutes before serving. This resting time allows the flavors to meld and makes it easier to cut and serve!
Optional: Serve with a side of your favorite dipping sauce for an extra burst of flavor!
Exact quantities are listed in the recipe card below.
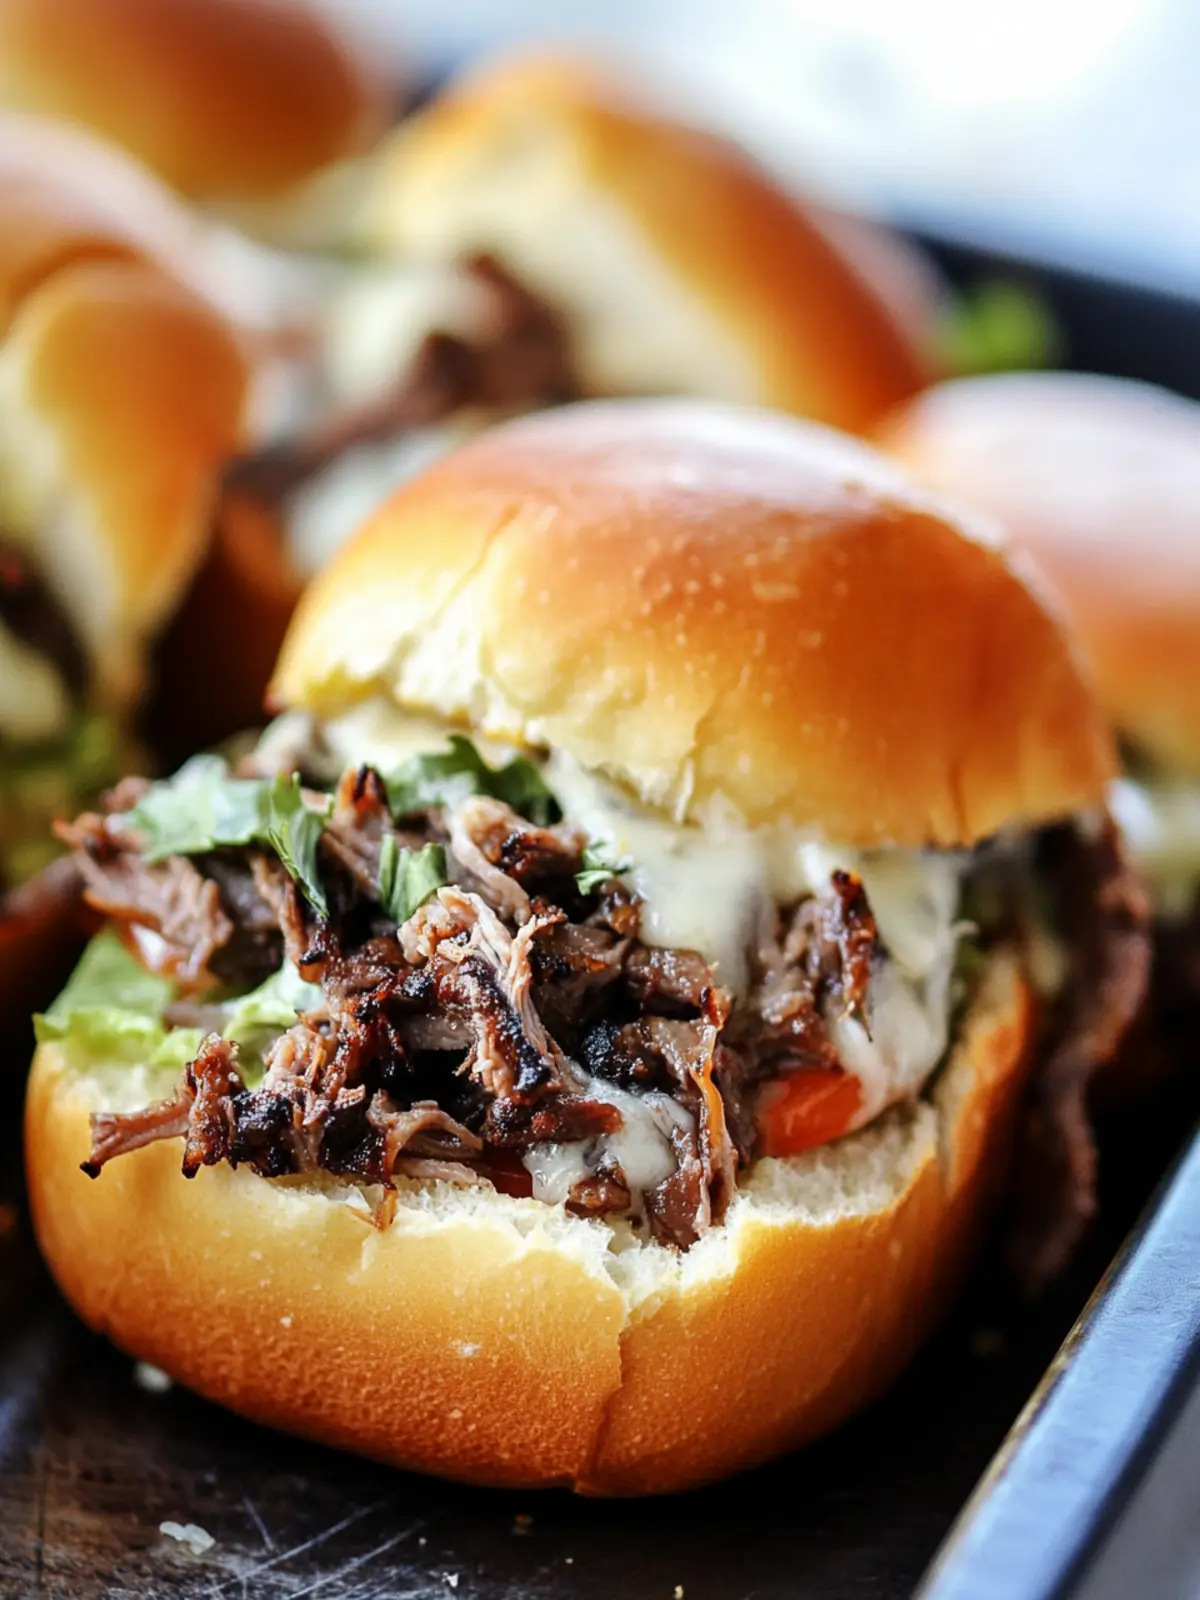
Expert Tips for Cheesesteak Sliders
-
Timing is Key: Keep an eye on the baking time; remove from the oven when the cheese is melted, not browned, for the best texture.
-
Add Some Heat: If you love a kick, slice jalapeños or sprinkle red pepper flakes into the filling to elevate the flavor of your cheesesteak sliders.
-
Slice With Care: Use a sharp knife to cut the dinner rolls without compressing them, ensuring your sliders remain fluffy and inviting.
-
Veggie Variations: Feel free to mix in mushrooms or spinach for an earthy twist. Just remember to sauté them until tender to release their full flavor.
-
Prep Ahead: Assemble your cheesesteak sliders a few hours in advance, cover, and pop them in the fridge until you’re ready to bake. It makes entertaining a breeze!
What to Serve with Cheesesteak Sliders?
Building the perfect meal around your cheesesteak sliders is as inviting as the aromatic flavors filling your kitchen. Enhance your dining experience with some delightful pairings!
-
Crispy Potato Chips: The salty crunch pairs perfectly with the gooey sliders, adding a satisfying texture contrast that complements the meal.
-
Crunchy Coleslaw: Fresh and tangy coleslaw balances the rich flavors of the sliders, adding a crisp bite that elevates each mouthful. The zesty dressing also helps cut through the creaminess!
-
Garlic Knots: Warm, buttery knots brushed with garlic provide a delightful side, perfect for soaking up any extra cheese and juices.
-
Simple Garden Salad: A light garden salad with fresh vegetables offers a refreshing contrast to the rich flavors of the sliders, making every bite feel lighter and more balanced.
-
Sweet Potato Fries: These fries deliver a subtly sweet flavor and a crispy texture that pairs harmoniously with the savory sliders, creating a colorful plate that satisfies.
-
Beer or Lemonade: A glass of cold beer brings a hearty spirit to the meal, while fresh lemonade offers a zesty contrast that cools the palate between bites.
-
Chocolate Chip Cookies: Indulge your sweet tooth with warm cookies for dessert—this comforting finish ensures a delightful end to a flavorsome feast.
Fill your table with these tasty sides, and watch your family and friends relish every moment of your cheesesteak slider celebration!
Make Ahead Options
Cheesesteak Sliders are a fantastic option for meal prep, saving you time during busy weeknights or party planning! You can assemble the sliders up to 24 hours in advance; simply follow the instructions until the baking step, then cover the dish tightly with foil and refrigerate. This helps maintain their delicious taste and prevents the buns from drying out. When you’re ready to serve, preheat your oven and bake as directed—just add an extra couple of minutes to ensure everything is heated through and the cheese melts beautifully. Enjoy the convenience of these delicious cheesesteak sliders, always ready to impress with minimal effort!
Cheesesteak Sliders Variations
Feel free to have fun with this recipe and make it your own! Your sliders can be tailored to fit all taste preferences.
-
Cheese Swap: Use mozzarella or sharp cheddar instead of provolone for a sharp and zesty twist! Each cheese brings a unique flavor, enhancing the overall deliciousness.
-
Mushroom Medley: Add sautéed mushrooms along with or instead of bell peppers for a rich, earthy flavor that complements the meat beautifully. You’ll be surprised at how much depth this brings.
-
Heat It Up: For those who enjoy a spicy kick, include sliced jalapeños or a sprinkle of cayenne pepper to the meat mix. It transforms the flavor profile, giving you a delightful bite!
-
Herb Infusion: Mix in fresh herbs like parsley or basil for an aromatic lift. Not only will this add freshness, but it’ll brighten up the overall flavor of your sliders.
-
Lean and Green: Swap out the sirloin for shredded chicken or turkey for a lighter option. The cream cheese still provides that comforting richness, while the chicken makes it a bit healthier!
-
Extra Veggies: Include spinach or zucchini for added nutrition and texture. Everyone loves a little surprise veggie goodness hidden in their sliders!
-
Sweet Applicator: Consider adding caramelized onions for a sweet touch. This will balance the savory notes and add a wonderful depth of flavor.
-
Gluten-Free Option: Use gluten-free dinner rolls to cater to those with dietary restrictions, making sure everyone can enjoy these scrumptious bites!
Dive into these variations that elevate your cheesesteak sliders into a unique masterpiece, inviting everyone to enjoy their perfect bite!
How to Store and Freeze Cheesesteak Sliders
Room Temperature: Sliders are best enjoyed fresh, but you can keep them at room temperature for up to 2 hours if serving at a gathering.
Fridge: Store leftover cheesesteak sliders in an airtight container in the fridge for up to 3 days. Reheat in the oven for best results, maintaining that gooey texture.
Freezer: You can freeze unbaked cheesesteak sliders for up to 2 months. Assemble and wrap tightly in plastic wrap, then foil. Bake from frozen, adding extra time for cooking.
Reheating: To reheat baked sliders, cover with foil and warm in the oven at 350°F (175°C) for about 10-15 minutes, or until heated through. Enjoy that melted cheese goodness!
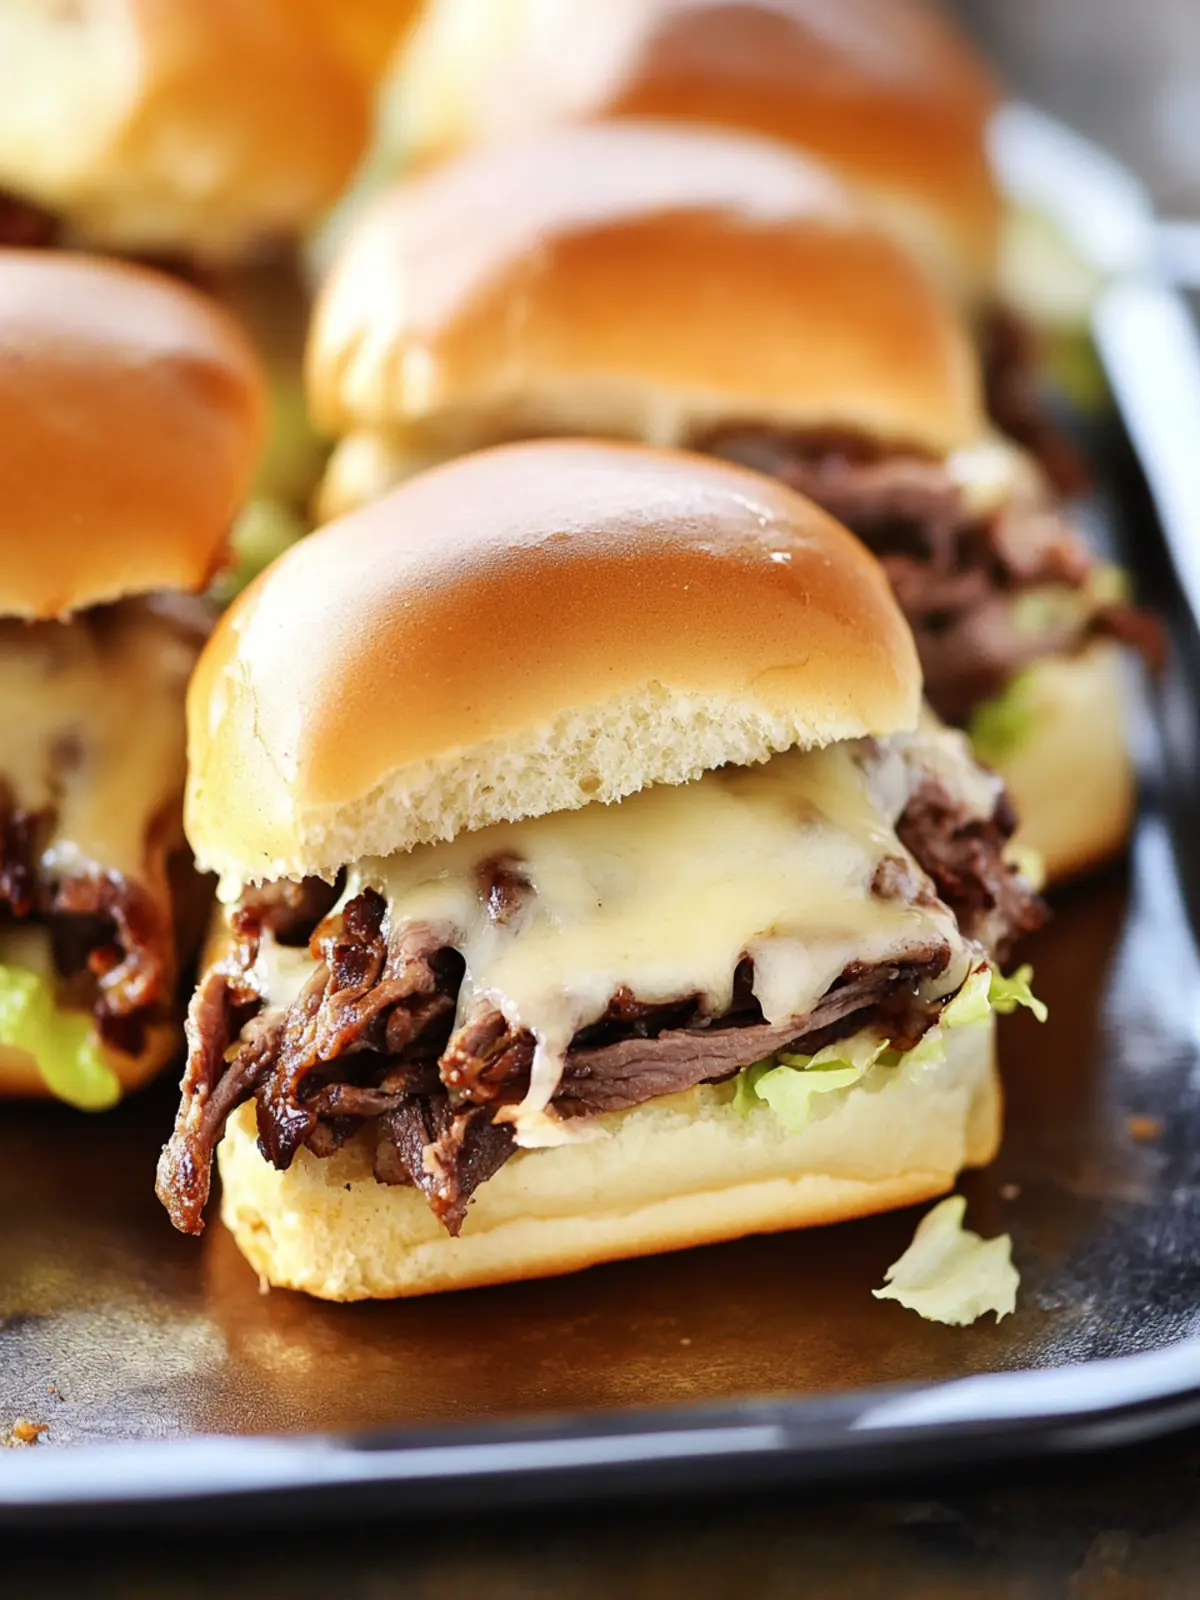
Cheesesteak Sliders Recipe FAQs
What’s the best way to select fresh sirloin steak for my cheesesteak sliders?
Absolutely! When choosing sirloin steak, look for cuts that are bright red with a good amount of marbling. This marbling ensures tenderness and flavor. Avoid any meat that has dark spots or is discolored, as that can indicate it’s not fresh. For convenience, consider purchasing pre-sliced steak if available, especially if you’re in a rush.
How long can I store leftover cheesesteak sliders in the fridge?
Very! You can keep your leftover cheesesteak sliders in an airtight container in the fridge for up to 3 days. Just ensure they’re sealed well to avoid drying out. When you’re ready to enjoy them again, reheating in the oven keeps that delicious gooey texture intact.
Can I freeze cheesesteak sliders? If so, how?
Certainly! To freeze unbaked cheesesteak sliders, assemble them as per the recipe, but wrap them tightly in plastic wrap and then in aluminum foil. They can be stored in the freezer for up to 2 months! When you’re ready to bake, you can put them straight in the oven from the freezer, just add an extra 10-15 minutes to your baking time.
What should I do if my cheese isn’t melting properly?
No worries! If you’re finding that your cheese isn’t melting as it should, it may be due to the baking temperature. Make sure your oven is properly preheated to 350°F (175°C). If it’s still not melting after the designated baking time, try covering the sliders with foil for a few minutes longer to create steam, which will help the cheese melt more effectively without burning.
Are there any dietary considerations for cheesesteak sliders?
Definitely! If you’re concerned about allergies or dietary restrictions, make sure to check for any specific ingredients like cream cheese and provolone cheese, which contain dairy. For a dairy-free alternative, opt for plant-based cream cheese or cheese substitutes. Also, if you’re catering to pets, remember that onions and certain spices can be harmful to dogs, so keep those sliders out of their reach.
How can I enhance the flavor of my cheesesteak sliders?
The more the merrier! If you like a little kick, consider adding sliced jalapeños or a sprinkle of red pepper flakes to your filling for extra heat. You could also experiment with adding sautéed mushrooms or fresh herbs for a burst of additional flavor. Feel free to get creative with your ingredients!
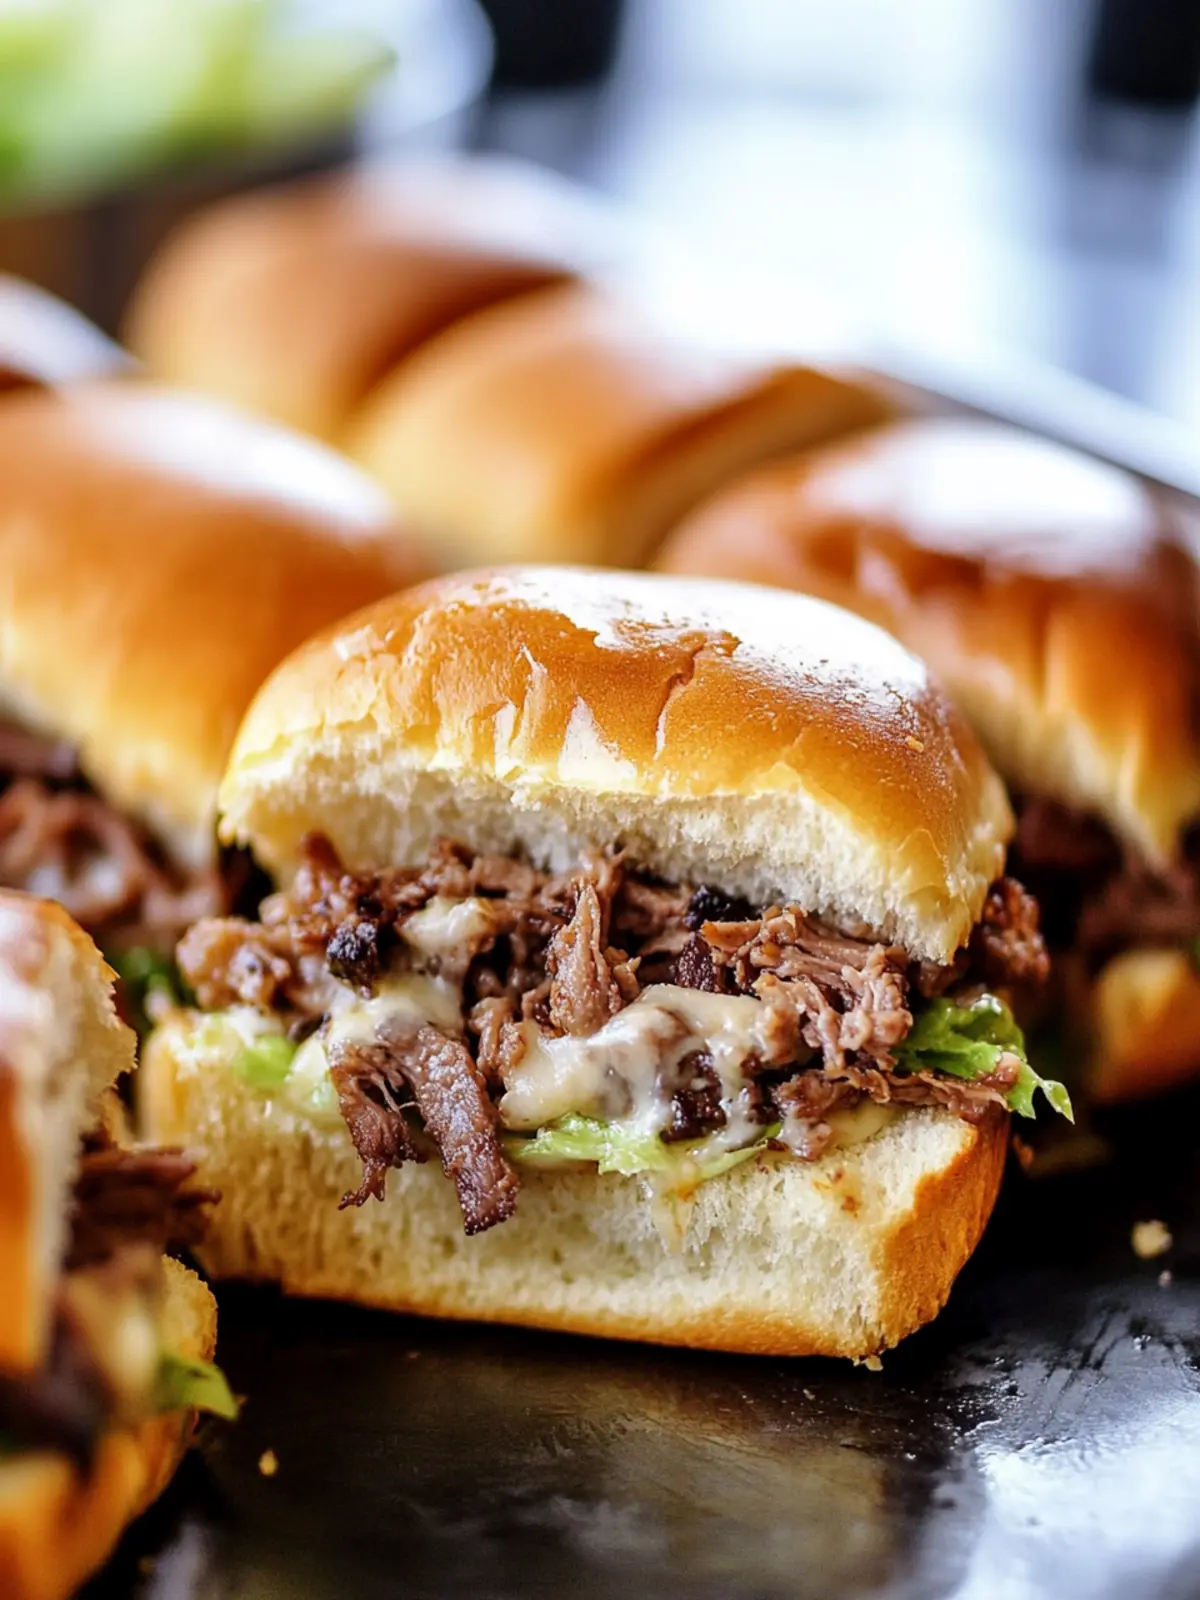
Cheesesteak Sliders: Perfectly Cheesy Bites for Every Gathering
Ingredients
Equipment
Method
- Preheat your oven to 350°F (175°C).
- Cook the sirloin steak in a large skillet over medium heat until fully cooked, about 5-7 minutes. Chop into bite-sized pieces.
- Sauté the diced white onion and green bell pepper in a separate medium skillet for about 3-4 minutes until tender.
- Prepare the dinner rolls by separating them into bottom halves and placing them in a baking dish.
- Spread a layer of chive and onion cream cheese over the bottom halves of the rolls.
- Layer the cooked steak on top of the cream cheese, followed by the sautéed onions and peppers.
- Top with slices of provolone cheese.
- Cover with the top halves of the rolls and cover the dish with foil.
- Bake for 12 minutes, then remove foil and bake for an additional 5-10 minutes, or until cheese is melted and golden.
- Let stand for 5 minutes before serving.