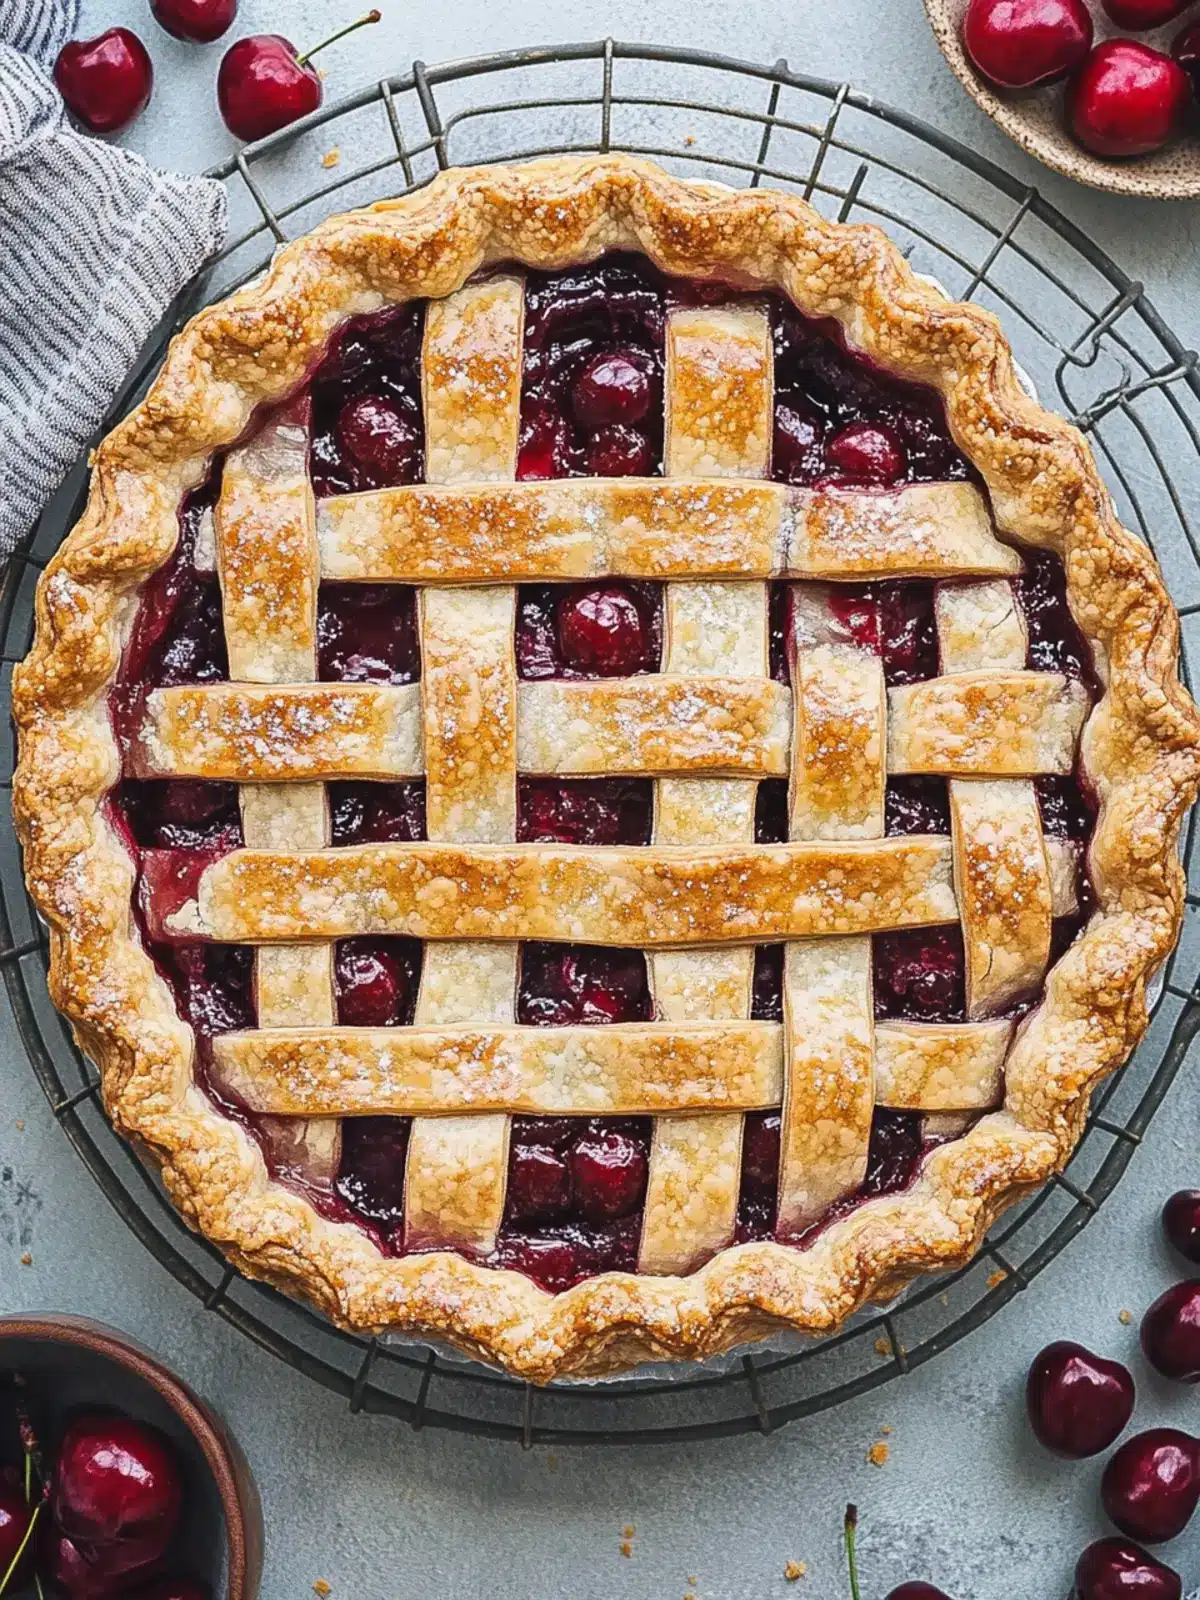
There’s nothing quite like the enticing aroma of a homemade cherry pie wafting through the kitchen. When life gives you a bounty of cherries—whether juicy and fresh from the farmer’s market or sweet frozen gems from the last harvest—embrace the opportunity to create a dessert that embodies the essence of summer. I remember the thrill of mastering the art of the lattice crust, the satisfying crunch as I wove each strip, and the joy that came from serving slices of this classic dessert to eager friends and family.
This recipe for Classic Homemade Cherry Pie combines a flaky, buttery crust with a vibrant filling that strikes the perfect balance between sweet and tart. It’s delightful as a centerpiece at family gatherings, a nostalgic slice after dinner, or simply an afternoon treat with a cup of coffee. No matter the occasion, this pie allows for endless variations—think of swapping cherries for peaches or adding a hint of warming spice. Ready to elevate your dessert game? Let’s dive into baking this timeless treat that never fails to impress!

Why is Cherry Pie a must-try?
Irresistible Flavor: A delicious cherry pie is a symphony of sweet and tart, perfect for any palate.
Delightful Aroma: The smell of baking cherries and buttery crust will fill your home with warmth.
Crowd-Pleasing Dessert: This pie is a surefire hit at gatherings, leaving friends and family asking for seconds.
Customizable: Swap cherries for other fruits and experiment with spices for a personal twist.
Easy to Master: With practice, anyone can create this showstopper—embrace the rustic lattice crust!
If you’re inspired by this classic dessert, check out my guide on creating the perfect pie crust.
Cherry Pie Ingredients
For the Crust
• All-Purpose Flour – Provides structure to the crust; can substitute with a gluten-free blend.
• Kosher Salt – Enhances flavor; sea salt works if that’s what you have on hand.
• Unsalted Butter – Adds richness to the crust; ensure it’s cold to achieve that flakiness.
• Ice-Cold Water – Hydrates the dough without melting the butter; use ice cubes in water for best results.
For the Filling
• Sweet Cherries – The star of the show; consider swapping for sour cherries for a tangy twist.
• Granulated Sugar – Sweetens the filling; adjust according to the sweetness of your cherries.
• Cornstarch – Thickens the cherry juices; tapioca starch is a great substitute if needed.
• Lemon Zest – Adds brightness to the flavor; fresh zest is highly recommended.
• Ground Cinnamon – Provides warmth and spice; you can skip it if that’s not your thing.
• Lemon Juice – Balances the sweetness; lime juice can be a delightful alternative.
• Pure Vanilla Extract – Enhances overall flavor; almond extract adds a unique twist if desired.
• Almond Extract – Optional, but offers a subtle nuttiness to the filling.
• Unsalted Butter (for filling) – Prevents sticking and enriches the filling’s texture.
For the Topping
• Granulated Sugar (for topping) – Gives a sweet finish to the crust; coarse sugar can add lovely texture.
• Large Egg – Used for egg wash to create that beautiful golden glaze on the crust.
• Whole Milk or Cream – Adds shine and flavor; non-dairy alternatives can also be used.
How to Make Cherry Pie
-
Prepare Ingredients: Start by chilling your unsalted butter and ice-cold water. This ensures the dough remains cool, leading to a flaky crust.
-
Make the Dough: In a mixing bowl, combine all-purpose flour and kosher salt. Cut in the chilled butter until the mixture is crumbly, then gradually add ice water until the dough clumps together.
-
Rest the Dough: Divide the dough into two portions, wrap them in plastic wrap, and refrigerate for at least 4 hours or overnight. This resting time is key for optimal texture.
-
Roll Dough: Once chilled, roll out one portion of dough for the bottom crust and place it in a pie dish. Roll the second portion for the lattice top and set aside.
-
Prepare Filling: Pit your sweet cherries and mix them in a bowl with granulated sugar, cornstarch, lemon zest, lemon juice, and ground cinnamon. Ensure everything is coated for even flavor distribution.
-
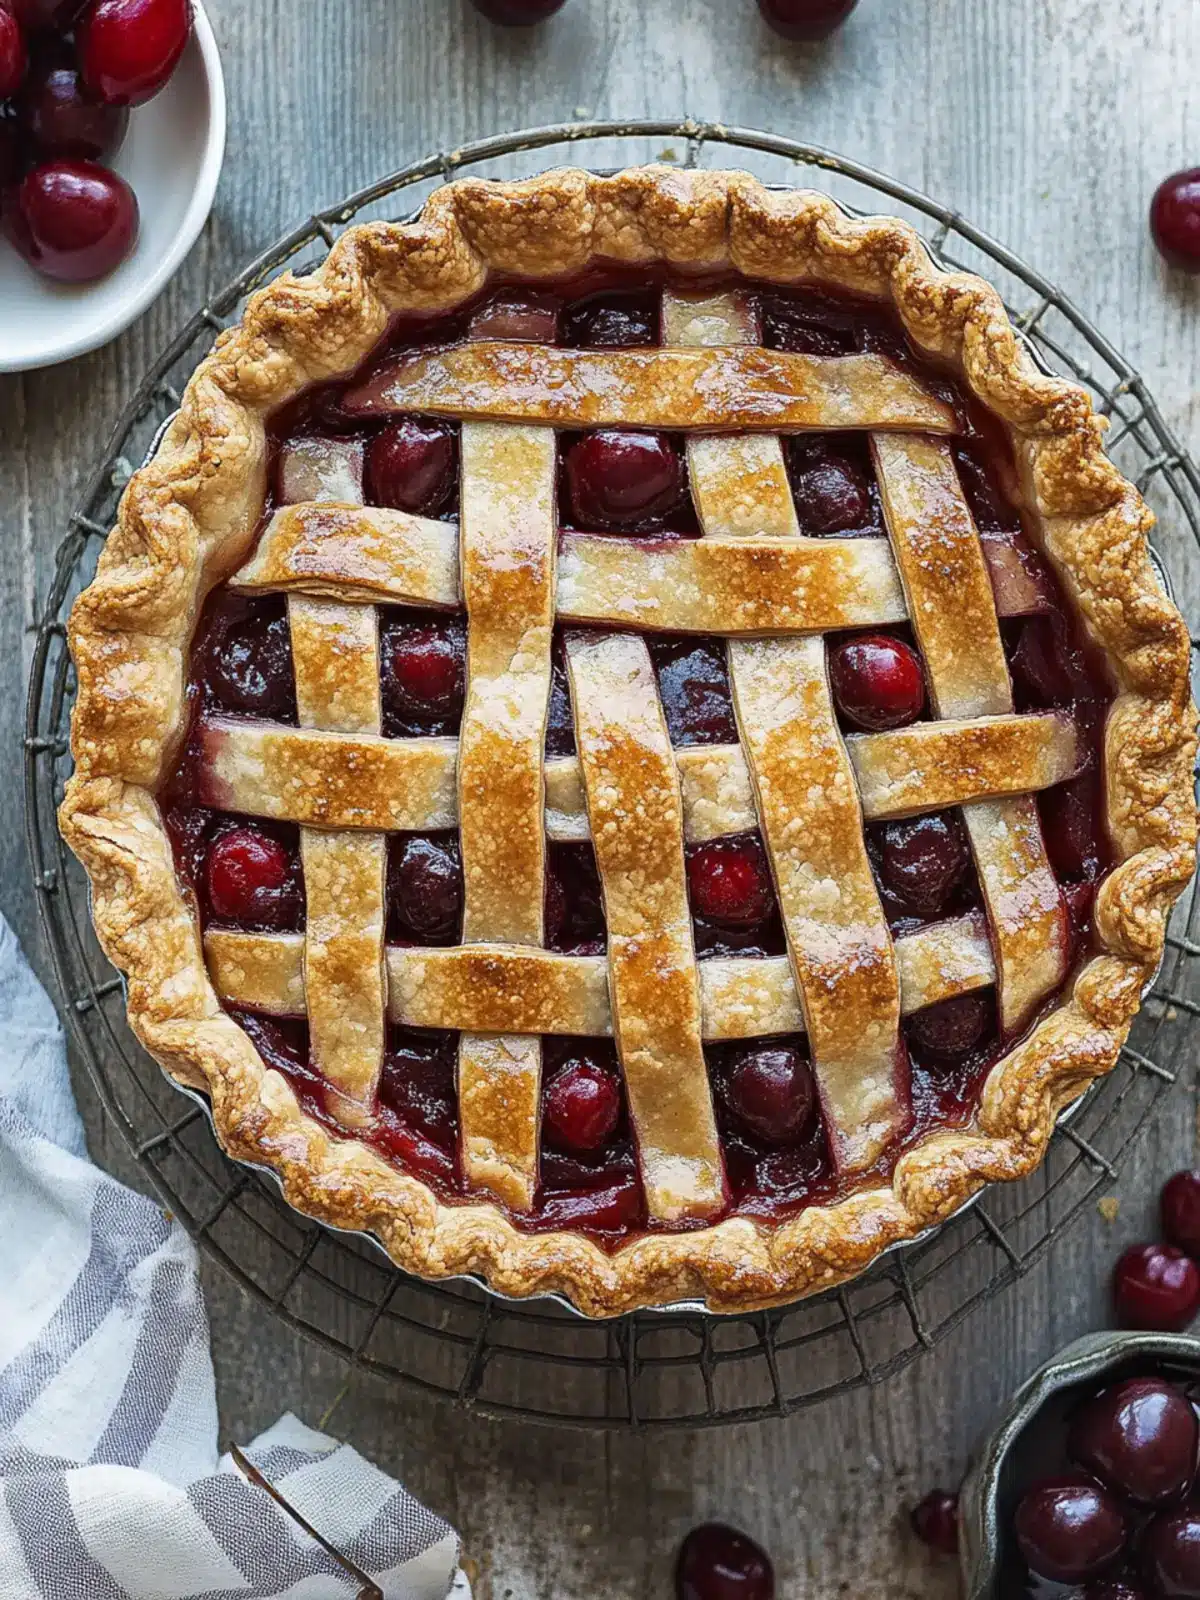
Assemble Pie: Pour the cherry filling into the bottom crust, dot with a bit of unsalted butter, and weave the lattice strips over the top. Trim any excess dough and crimp the edges to seal.
-
Preheat Oven: Preheat your oven to 400°F (200°C). Place a baking sheet on the rack below to catch any spills during baking.
-
Bake Pie: Place your assembled pie in the oven. Bake at 400°F for the first 30 minutes, then reduce the temperature to 350°F (175°C) for another 40-50 minutes until the filling is bubbling and the crust is golden brown.
-
Cool the Pie: Remove the pie from the oven and let it cool on a wire rack for at least 4 hours. This cooling time allows the filling to set properly before slicing.
Optional: Serve slices with a scoop of vanilla ice cream for a delightful pairing.
Exact quantities are listed in the recipe card below.
Cherry Pie Variations & Substitutions
Let your creativity shine as you personalize this delightful dessert experience!
- Gluten-Free: Use a gluten-free flour blend for the crust to accommodate dietary needs while maintaining a crumbly texture.
- Dairy-Free: Swap unsalted butter with dairy-free margarine for a rich crust that everyone can enjoy.
- Sour Cherry Twist: For a zippy kick, replace sweet cherries with sour cherries, adjusting sugar to your taste.
- Mixed Berry Medley: Combine cherries with blueberries or raspberries for a vibrant filling that bursts with flavor.
- Spiced Filling: Add a dash of nutmeg or cardamom to enhance the warmth and complexity of the cherry filling, creating a comforting aroma.
- Citrus Zing: Substitute lemon juice with lime or orange juice for a refreshing twist that brightens the filling.
- Double Crust: For a classic touch, create a solid top crust instead of a lattice. It seals in all the delicious juices.
- Choco-Cherry Delight: Stir in chocolate chips or cocoa powder to the filling for an indulgent twist that chocolate lovers will adore!
Explore these variations and turn this classic cherry pie into your own signature dessert!
What to Serve with Cherry Pie?
Experience delectable pairings that will elevate your cherry pie into a memorable feast.
-
Vanilla Ice Cream: The creamy sweetness of vanilla ice cream contrasts beautifully with the tart cherries, adding a delightful texture.
-
Whipped Cream: Light and airy, whipped cream enhances the cherry pie’s flavors and adds a touch of indulgence to each slice.
-
Fresh Mint Leaves: A sprinkle of mint brings a refreshing note, balancing the pie’s sweetness and adding a pop of color.
-
Coffee or Espresso: The robust flavors of coffee complement the sweet and tart notes of the pie, creating a cozy dessert experience.
-
Cheese Board: Pairing with a selection of cheeses, like brie or cheddar, adds a savory element that beautifully offsets the sweetness.
-
Chocolate Sauce: Drizzling a warm chocolate sauce over slices adds a decadent twist that chocolate lovers will adore.
-
Coconut Cream: The richness of coconut cream offers a tropical flair that beautifully contrasts with the cherries’ tartness.
-
Crispy Almonds: Chopped, toasted almonds can provide a crunchy texture that enhances each bite, making the experience even more delightfully varied.
How to Store and Freeze Cherry Pie
Room Temperature: Store the baked cherry pie covered at room temperature for up to 1 day to maintain its fresh flavor and texture.
Fridge: If you plan to keep the pie for longer, refrigerate it for up to 5 days. Ensure it’s covered lightly with plastic wrap to prevent drying.
Freezer: To freeze, wrap slices tightly in plastic wrap and aluminum foil, or store the whole pie in an airtight container. It can last up to 3 months in the freezer.
Reheating: When ready to enjoy, thaw the cherry pie overnight in the fridge, then reheat in a preheated oven at 350°F (175°C) for 10-15 minutes for optimal taste.
Expert Tips for Cherry Pie
- Chill Ingredients: Use cold butter and ice water for a flaky crust; warm ingredients can lead to a tough texture.
- Prevent Over-Browning: If the edges of the crust brown too quickly, cover with foil to shield them while the filling bakes.
- Allow Cooling: Let the cherry pie cool completely for at least 4 hours before slicing to prevent a soggy bottom crust.
- Check for Bubbles: Ensure the filling is bubbling and the crust is golden for a perfectly cooked cherry pie.
- Glass Pie Dish: Opt for a glass dish for easier monitoring of crust browning while baking.
Make Ahead Options
These Classic Cherry Pie preparations are perfect for busy home cooks looking to save time! You can make the pie crust up to 3 days in advance; simply roll it out, place it in your pie dish, and refrigerate, tightly covered. The cherry filling can also be prepared up to 24 hours ahead—just combine your pitted cherries with sugar, cornstarch, and spices, then refrigerate to keep everything fresh and flavorful. When ready to bake, quickly assemble the pie by dotting the filling with butter, weaving the lattice crust, and popping it in the oven. This way, you’ll enjoy that fresh-baked dessert aroma and a delicious cherry pie with minimal effort!
Cherry Pie Recipe FAQs
How do I choose the best cherries for my pie?
Absolutely! Look for cherries that are plump, firm, and have a deep, rich color. When selecting, make sure they are free from any dark spots or bruises; this indicates they’re fresh. Sweet cherries are ideal for a classic cherry pie, but if you enjoy a tangy kick, sour cherries can be a delicious alternative!
What’s the best way to store leftover cherry pie?
After you’ve baked your delightful cherry pie, keep it covered at room temperature for one day to enjoy its freshest taste. If you wish to savor it longer, refrigerate it, making sure it’s covered lightly with plastic wrap, where it will stay fresh for up to 5 days.
Can I freeze my cherry pie? How do I do it?
Yes, you can absolutely freeze your cherry pie! After baking and cooling it completely, wrap it tightly in plastic wrap and aluminum foil to guard against freezer burn. It will stay good for up to 3 months in the freezer. When you’re ready to enjoy it, thaw it overnight in the fridge and reheat it in a preheated oven at 350°F (175°C) for 10-15 minutes. This will restore its delightful texture!
Why is my cherry pie filling runny?
If your cherry pie filling turns out runny, it could be due to excess juice from the cherries. To avoid this, I recommend tossing the pitted cherries with sugar and cornstarch before baking, letting them sit for about 15-30 minutes. This allows the sugar to draw out some moisture that can then be thickened properly during the baking process.
Is this cherry pie recipe suitable for my gluten-free friends?
Very! You can easily make a gluten-free version of this cherry pie by substituting the all-purpose flour with a gluten-free flour blend. Just keep in mind that the texture might differ slightly. I often use a 1:1 gluten-free flour blend, and it works beautifully!
Can I make this cherry pie ahead of time?
Absolutely! You can prepare the pie up to the baking stage and cover it tightly in the fridge for up to 24 hours before baking. This is a great way to save time on the day you plan to serve it. Just pop it into the preheated oven when you’re ready, and you’ll have a fresh-baked cherry pie that will impress everyone!
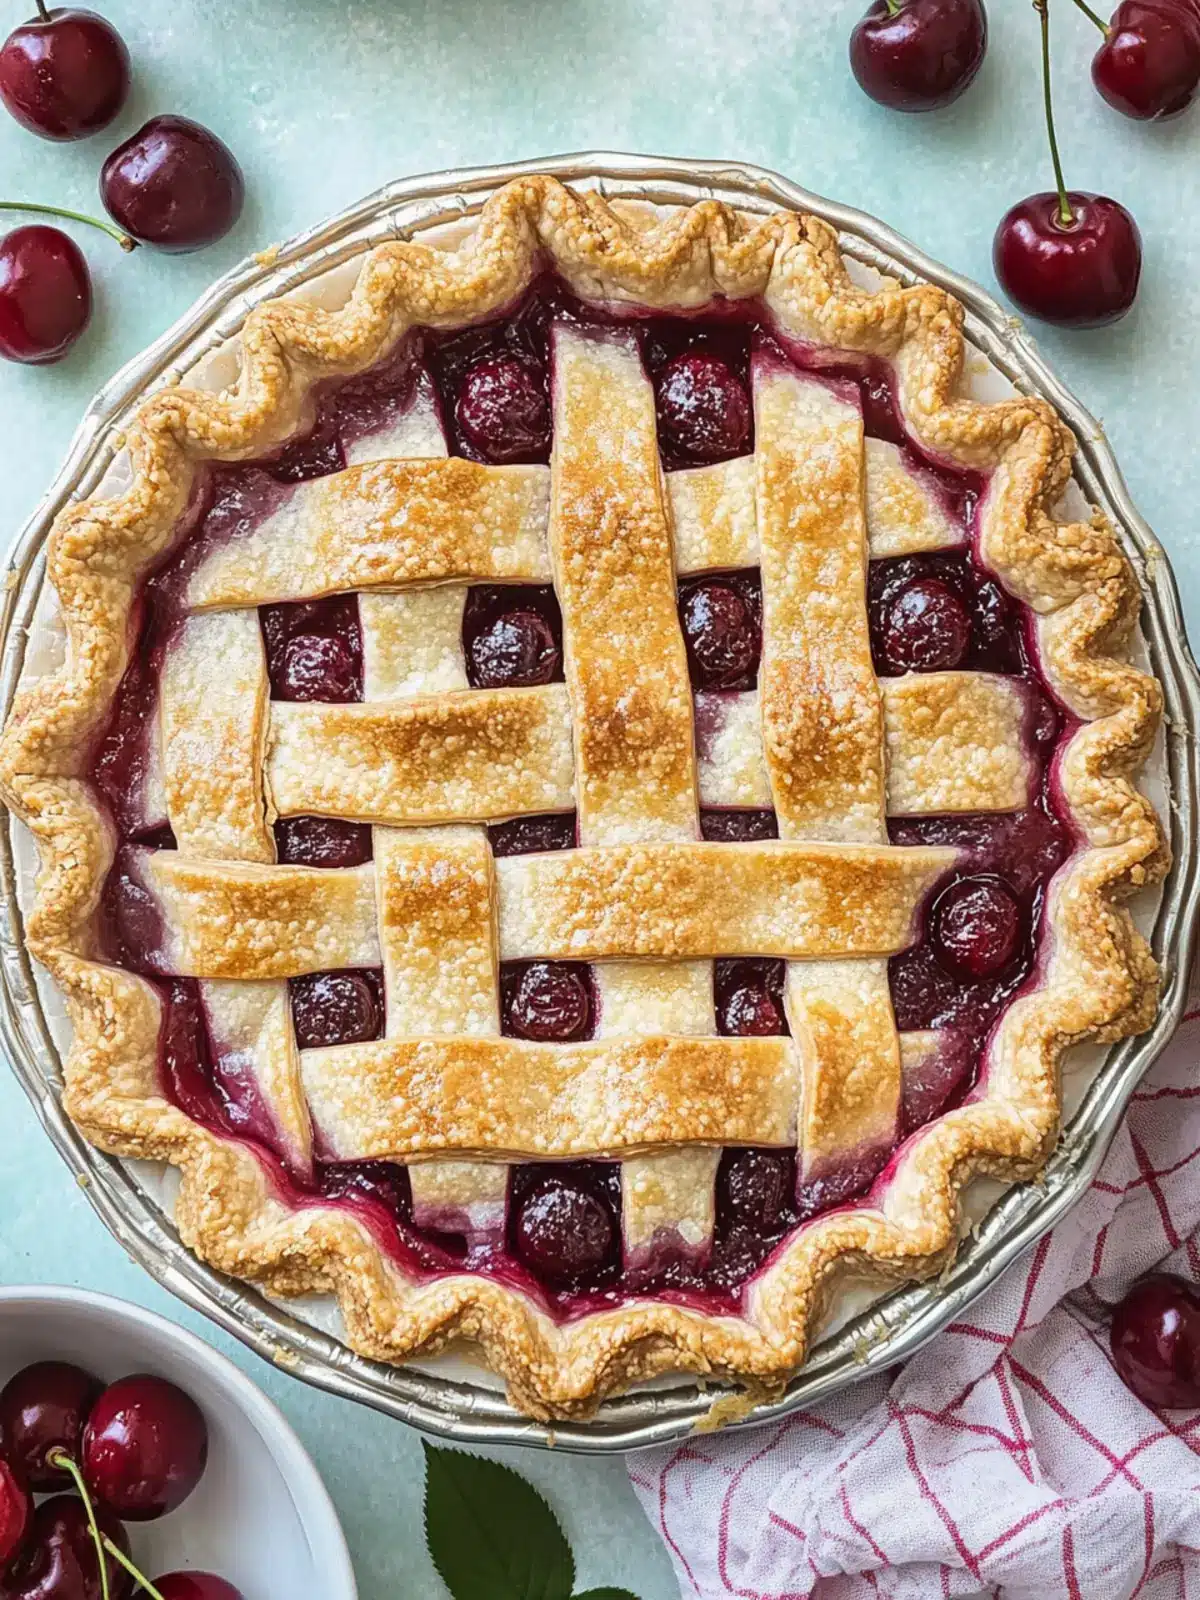
Delicious Cherry Pie with Buttery Lattice Crust You’ll Love
Ingredients
Equipment
Method
- Start by chilling your unsalted butter and ice-cold water for a flaky crust.
- In a mixing bowl, combine all-purpose flour and kosher salt. Cut in the chilled butter until crumbly, then add ice water until the dough clumps together.
- Divide the dough into two portions, wrap in plastic wrap, and refrigerate for at least 4 hours or overnight.
- Once chilled, roll out one portion for the bottom crust and place it in a pie dish. Roll the second portion for the lattice top.
- Pit the sweet cherries and mix with granulated sugar, cornstarch, lemon zest, lemon juice, and ground cinnamon.
- Pour the cherry filling into the bottom crust, dot with unsalted butter, and weave the lattice strips over the top. Trim excess dough and crimp edges to seal.
- Preheat your oven to 400°F (200°C). Place a baking sheet on the rack below to catch spills.
- Bake your pie in the oven at 400°F for the first 30 minutes, then reduce to 350°F (175°C) for another 40-50 minutes.
- Remove the pie from the oven and let it cool on a wire rack for at least 4 hours before slicing.