As the holiday season approaches, I find myself searching for that perfect blend of festive cheer and delicious indulgence—in comes my irresistible Chocolate Pine Cones! Picture this: a cozy kitchen filled with the delightful aroma of melting chocolate, combined with the nostalgic crunch of cornflakes. These no-bake treats are not only a fun project to create with the family, but they also double as charming edible decor that will wow your guests at any Christmas gathering.
After a flurry of holiday parties, I wanted something quick and delightful that didn’t involve a long baking time. That’s when these chocolatey gems caught my attention! Crafted from simple ingredients, they capture the essence of Christmas while delivering a delightful crunch and a rich flavor that everyone will adore. Plus, they’re perfect for last-minute treats or as a sweet surprise in gift baskets. Get ready to bask in the holiday spirit while forming these delightful Chocolate Pine Cones!

Why Love These Chocolate Pine Cones?
Irresistible Taste: The rich chocolate flavor paired with crunchy cornflakes creates a treat that’s simply unforgettable.
No-Bake Convenience: Enjoy these delightful sweets without the hassle of baking, perfect for busy holiday schedules.
Family Fun: Making these treats together can be a joyous family activity, sparking creativity in the kitchen!
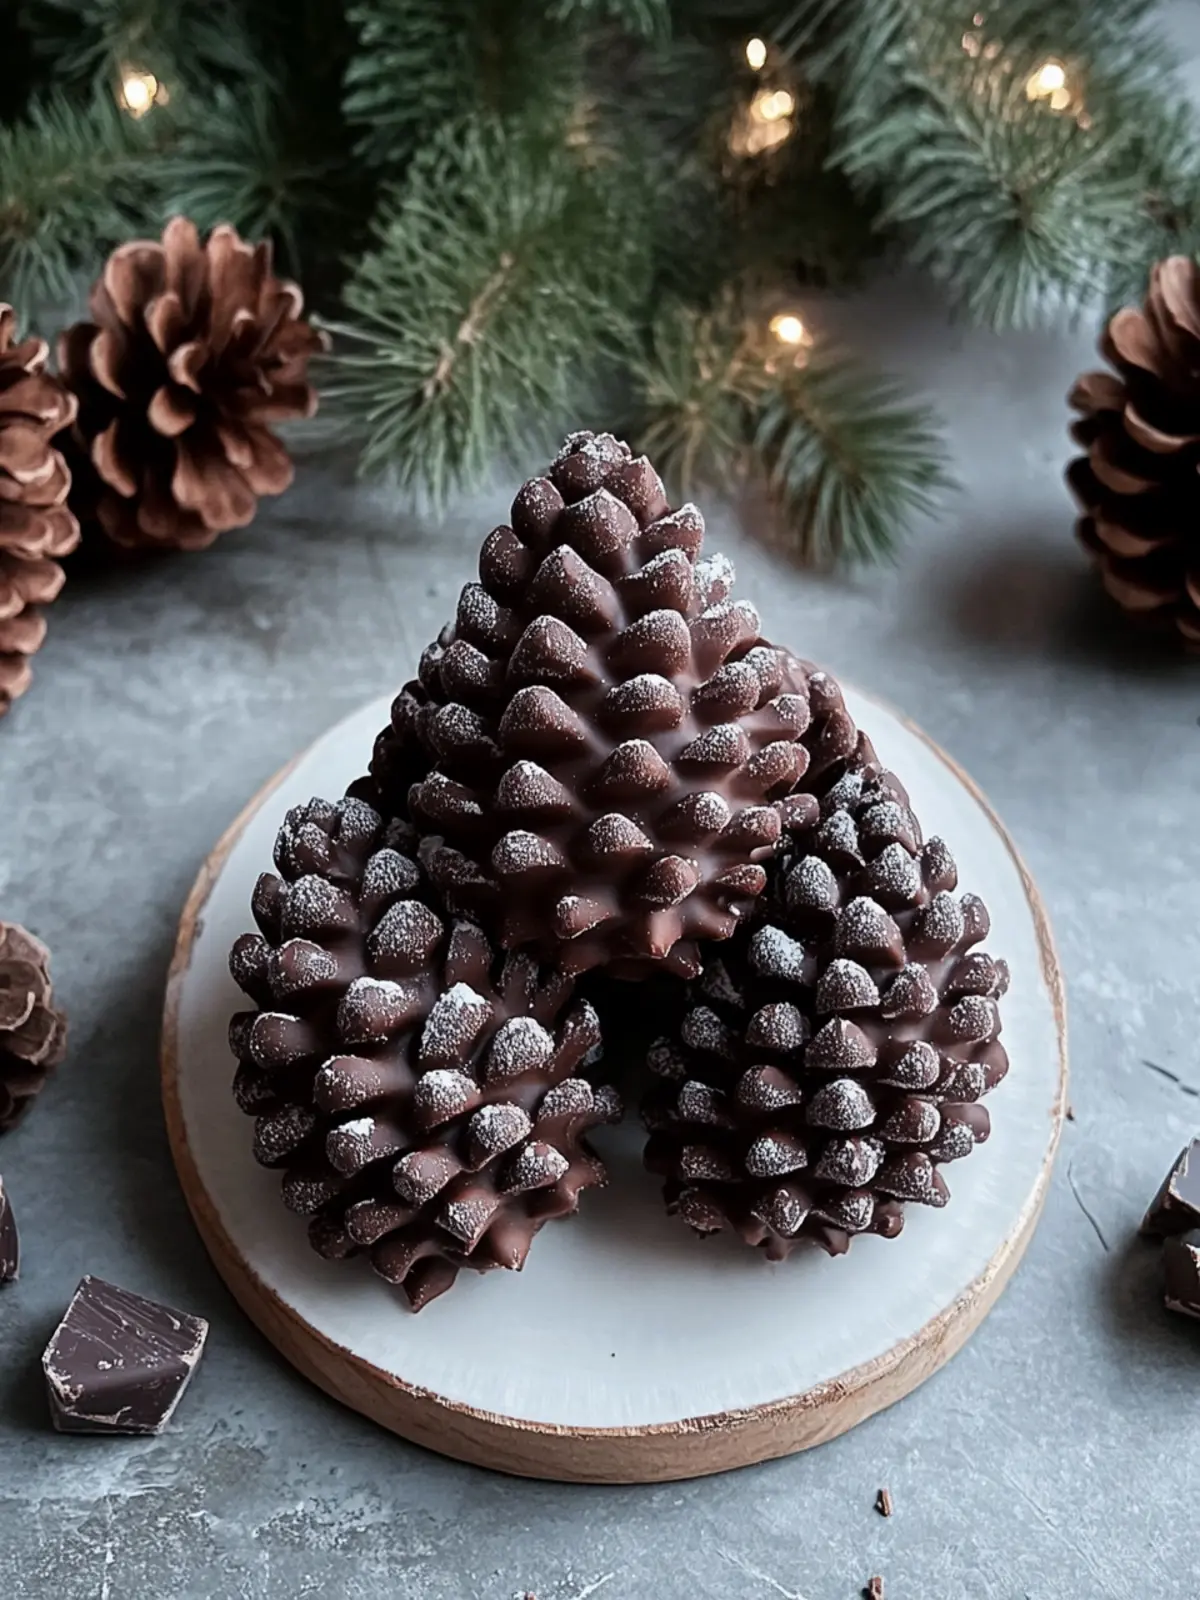
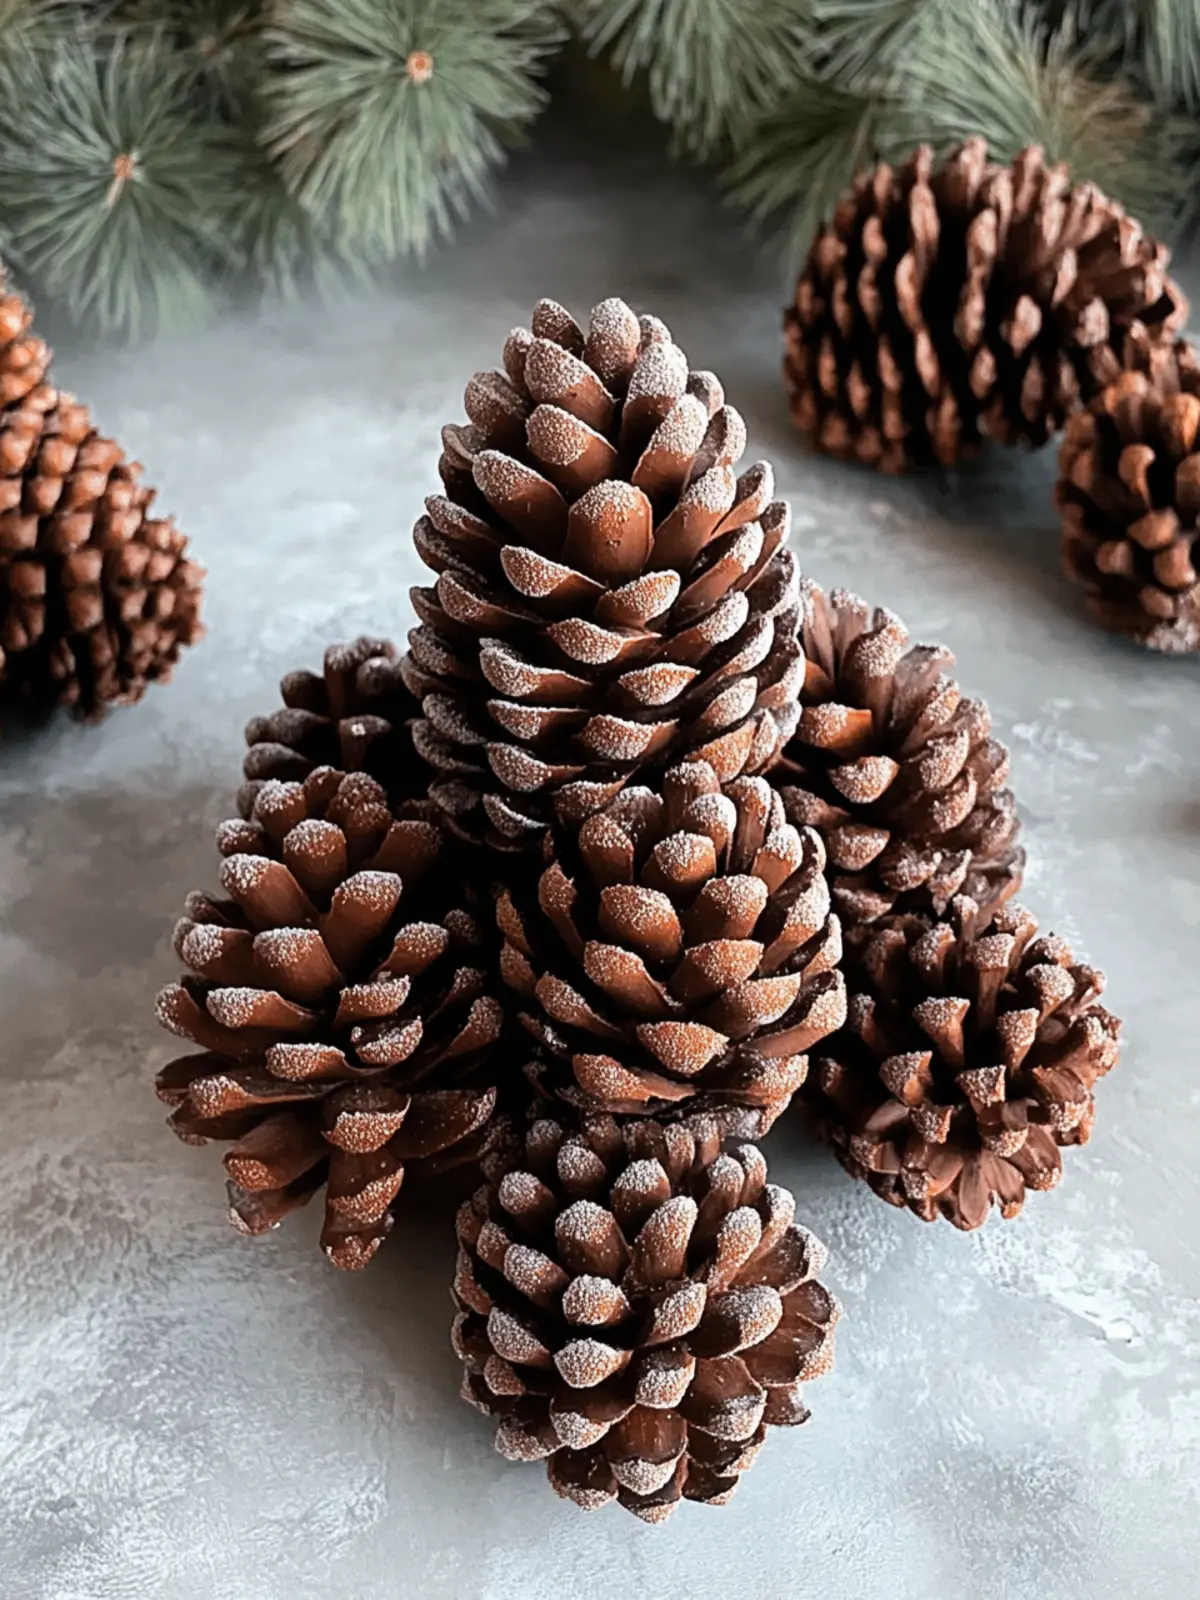
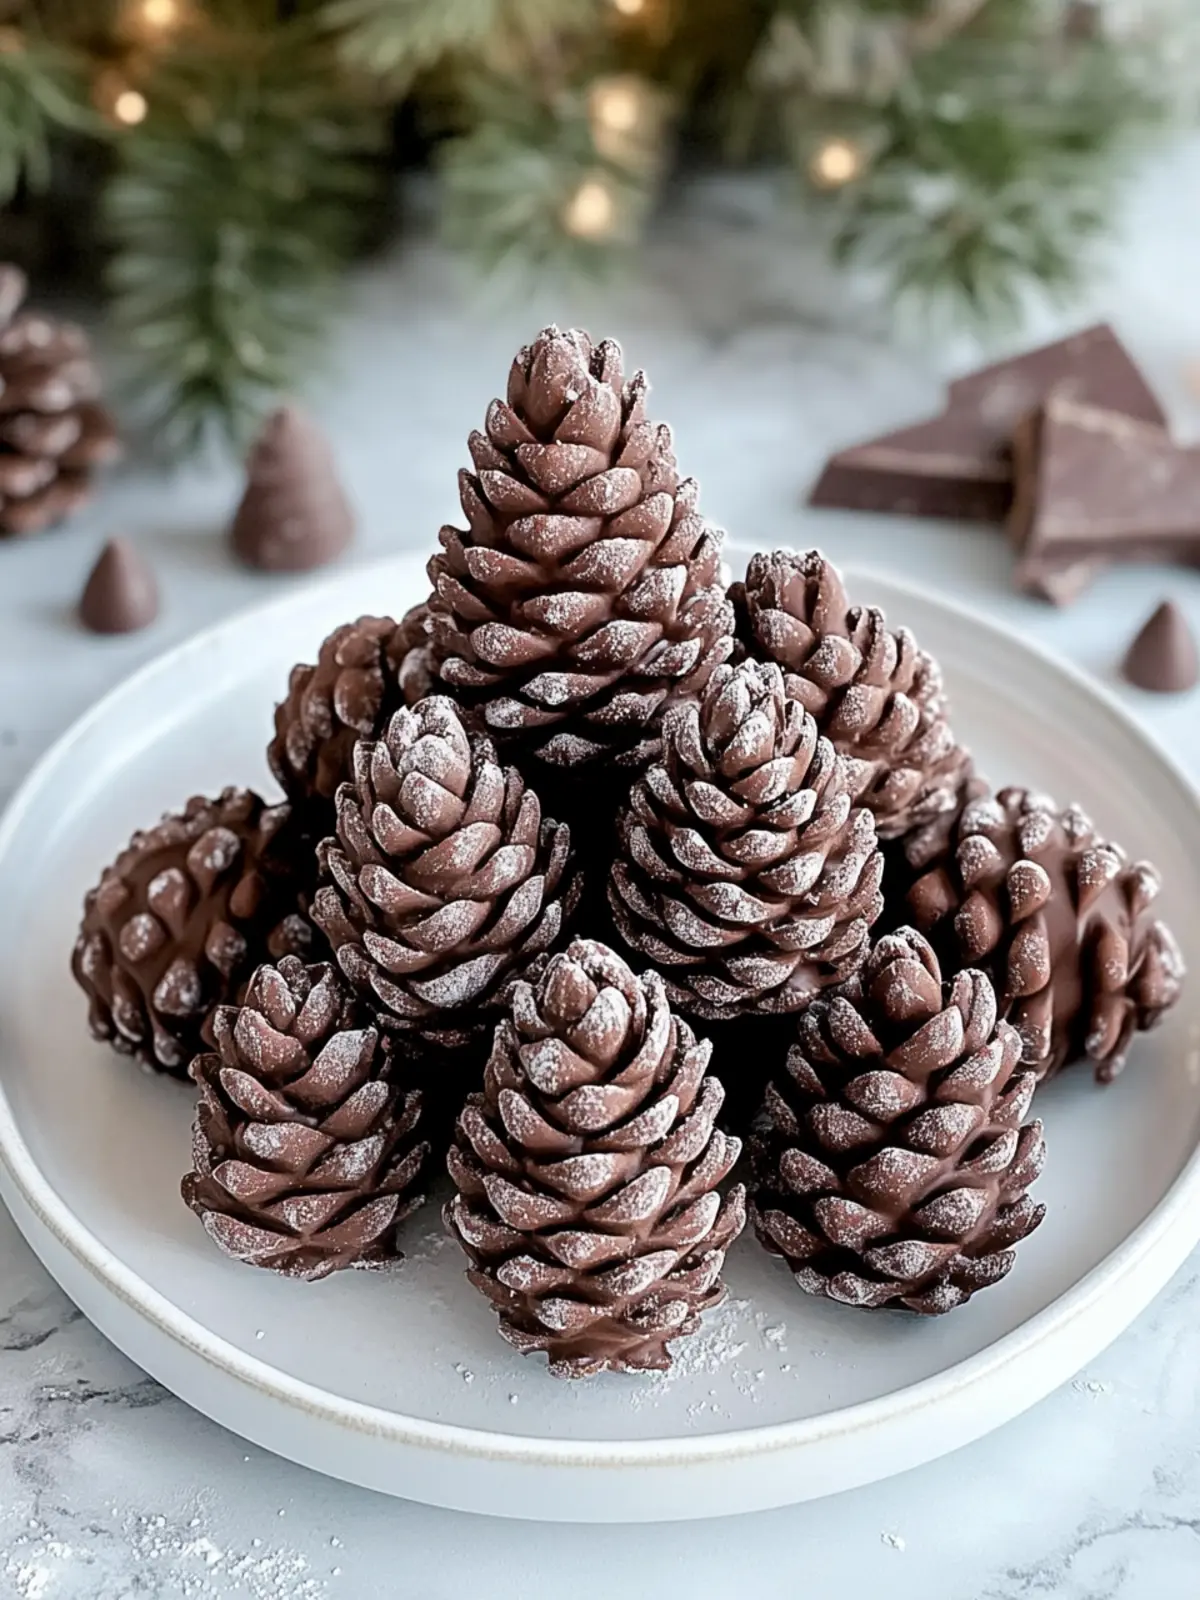
Festive Appeal: Their unique pine cone shape adds a charming decorative touch to any Christmas gathering.
Quick to Prepare: With just a few ingredients and minimal time, you can whip up these delicious creations!
Versatile Options: Feel free to customize your Chocolate Pine Cones with flavored biscuits or festive toppings like nuts or sprinkles for a personal twist.
Chocolate Pine Cones Ingredients
For the Dough
• Chocolate – The star of the show; use dark or milk chocolate depending on your preference for richness.
• Biscuits – Provides structure; digestive biscuits or graham crackers make excellent alternatives.
For the Texture
• Cornflakes – Adds delightful crunch and mimics the pine cone shape; feel free to swap in crunchy oat cereal or bran flakes for variation.
For the Snowy Finish
• Powdered Sugar – A light dusting that enhances the visual appeal; consider omitting or using a sugar substitute if you prefer less sweetness.
Craft these delightful Chocolate Pine Cones for a festive treat that everyone will love!
How to Make Chocolate Pine Cones
-
Melt: Begin by melting your chosen chocolate in a microwave-safe bowl. Heat in short intervals, stirring until smooth and silky. This should take about 1-2 minutes at medium power.
-
Combine: In a separate bowl, crush your biscuits until they resemble fine crumbs. Stir these into the melted chocolate until fully combined, creating a thick dough.
-
Shape: Take portions of the chocolate mixture and form them into pine cone shapes using your hands. Focus on creating textured ridges to mimic the natural pine cone appearance.
-
Coat: Gently roll each formed pine cone in cornflakes, ensuring the shape is well-covered. This adds the delightful crunch reminiscent of a real pine cone.
-
Dust: Lightly dust the coated pine cones with powdered sugar for that wintery, snowy effect. This final touch not only looks charming but makes them irresistible!
-
Chill: Place the chocolate pine cones in the fridge to chill for about 15 minutes. This will help them firm up and maintain their shape until serving.
Optional: Add festive sprinkles on top for an extra holiday sparkle.
Exact quantities are listed in the recipe card below.
Helpful Tricks for Chocolate Pine Cones
-
Proper Melting: Make sure to melt the chocolate slowly and stir frequently. This prevents burning and ensures a smooth mix for your Chocolate Pine Cones.
-
Avoid Sogginess: Keep your ingredients dry to prevent any moisture that can make the pine cones soggy. Store in a cool, dry place.
-
Shape with Care: Focus on creating distinctive ridges when shaping the dough; this will enhance the pine cone texture and make your treats visually appealing.
-
Dusting Tip: Dust the powdered sugar right before serving. This keeps the sugar looking fresh and maintains that snowy aesthetic on your Chocolate Pine Cones.
-
Personalize: Don’t hesitate to add your favorite mix-ins like nuts or colorful sprinkles. Each variation adds a special touch that friends and family will love!
What to Serve with Chocolate Pine Cones?
Creating a festive spread is easy with delightful pairings that enhance the flavors of your Chocolate Pine Cones.
-
Cherry Walnut Cookies: These nutty, chewy treats provide contrasting textures and a sweet-tart flavor that beautifully complements the rich chocolate.
-
Pumpkin Cheesecake Truffles: The creamy, spiced notes of pumpkin cheesecake add a seasonal twist, creating a delightful fusion of flavors on your dessert table.
-
Hot Cocoa: A warm cup of hot cocoa is a classic pairing. The rich chocolate flavors in the cocoa echo the Chocolate Pine Cones, enhancing the holiday spirit.
-
Fruit & Nut Platter: Fresh fruit adds a refreshing burst of flavor, while mixed nuts bring a satisfying crunch to balance the sweetness.
-
Gingerbread Cookies: The warm spices of gingerbread offer a historic flavor experience, perfectly embodying the essence of holiday cheer.
-
Spiced Apple Cider: A warming drink, its spices harmonize with the chocolate, creating a cozy atmosphere perfect for gathering around the table.
-
Nutty Granola Bars: These chewy bars echo similar crunchy elements found in the pine cones, providing a healthful accompaniment without straying from the chocolate theme.
Each of these pairings provides a unique taste experience that can elevate your festive gatherings and create lovely memories as you enjoy these charming treats!
Make Ahead Options
These Chocolate Pine Cones are perfect for busy home cooks looking to save time during the hectic holiday season! You can prepare the chocolate dough and shape the pine cones up to 24 hours in advance. Simply follow the recipe instructions until the dusting step, then refrigerate the formed pine cones in an airtight container. When you’re ready to serve, just dust with powdered sugar to maintain their snowy appearance. This prep-ahead method not only saves time but also ensures your treats are just as delicious and visually delightful when it’s time to impress your guests!
Chocolate Pine Cone Variations
Feel free to put your unique spin on these delightful treats and make them your own!
-
Flavored Biscuits: Swap regular biscuits for chocolate-flavored ones to create a deeper, richer flavor profile. The extra chocolate will enhance the overall taste!
-
Nutty Crunch: Add chopped nuts like almonds or walnuts to the dough for a delightful crunch. The toasted nutty flavor will complement the chocolate beautifully.
-
Dried Fruit: Fold in small pieces of dried fruit like cranberries or cherries to introduce a tartness that balances the sweetness. It adds color and a chewy texture too!
-
Spicy Kick: For a bit of warmth, add a pinch of cayenne or chili powder into the chocolate mixture. It contrasts well with the sweetness and gives a surprising twist.
-
Coconut Flakes: Incorporate unsweetened coconut flakes into the dough for a tropical flair. It adds texture and a subtle coconut taste that’s surprisingly festive.
-
Minty Freshness: Mix in a few drops of peppermint extract for a refreshing mint flavor. This holiday twist is perfect for those who love chocolate-mint combinations!
-
Vegan Delight: Use dairy-free chocolate and choose vegan biscuits to create a no-bake chocolate pine cone suitable for vegan diets. Deliciously guilt-free!
-
Gluten-Free Option: For a gluten-free treat, pick gluten-free biscuits and cornflakes, ensuring everyone can enjoy these festive confections without worry.
How to Store and Freeze Chocolate Pine Cones
-
Room Temperature: Keep your Chocolate Pine Cones in a cool, dry place for up to 2 days; make sure they are in an airtight container to maintain freshness.
-
Fridge: If you want to prolong their life, store the chocolate treats in the refrigerator for up to 1 week. Place them in an airtight container to prevent drying out.
-
Freezer: For longer storage, these delightful creations can be frozen for up to 3 months. Wrap each pine cone individually in plastic wrap and place in a freezer-safe container.
-
Reheating: To enjoy, simply let the Chocolate Pine Cones thaw in the fridge overnight before serving. Avoid direct heat, as it may affect their texture and taste.
Chocolate Pine Cones Recipe FAQs
What type of chocolate should I use for the Chocolate Pine Cones?
Absolutely! You can use either dark or milk chocolate for these treats, depending on your personal preference for richness and sweetness. Dark chocolate adds a deeper flavor profile, while milk chocolate offers a creamier taste. Feel free to experiment with different chocolates to see which one you love most!
How should I store Chocolate Pine Cones after making them?
To keep your Chocolate Pine Cones fresh, store them in an airtight container at room temperature for up to 2 days. If you’re looking to keep them longer, refrigerate them for up to 1 week. Just ensure they’re well-sealed to prevent drying out or absorbing other odors in the fridge.
Can I freeze Chocolate Pine Cones, and if so, how?
Certainly! You can freeze your Chocolate Pine Cones for up to 3 months. Wrap each one individually in plastic wrap and place them in a freezer-safe container. When you’re ready to enjoy them, thaw them overnight in the refrigerator. This method helps maintain their delightful texture and flavor!
What if my chocolate mixture is too thick or crumbly?
If your chocolate mixture turns out too thick or crumbly, don’t worry! Slowly add a teaspoon of warm melted chocolate or a splash of cream to the mixture and stir until it reaches the desired consistency. Make sure your chocolate is fully melted before combining with the biscuits to avoid a dry dough from the start.
Are there any allergy considerations for making these Chocolate Pine Cones?
Absolutely! These treats can be made suitable for gluten-free diets by using gluten-free biscuits and cornflakes. Additionally, keep an eye out for any nut allergies if you decide to add nuts as toppings. Always check ingredient labels to ensure they’re safe for your guests or family members with specific dietary needs.
How can I make these Chocolate Pine Cones more festive?
Very simply! You can enhance the holiday flair by using flavored biscuits, like chocolate or ginger snap cookies, for added depth. Incorporating festive toppings such as chopped nuts, colorful sprinkles, or even dried cranberries can create a delightful visual appeal and extra flavor. The more the merrier when it comes to creative touches!
Cozy Chocolate Pine Cones: No-Bake Holiday Delight!
Ingredients
Equipment
Method
- Begin by melting your chosen chocolate in a microwave-safe bowl. Heat in short intervals, stirring until smooth and silky. This should take about 1-2 minutes at medium power.
- In a separate bowl, crush your biscuits until they resemble fine crumbs. Stir these into the melted chocolate until fully combined, creating a thick dough.
- Take portions of the chocolate mixture and form them into pine cone shapes using your hands. Focus on creating textured ridges to mimic the natural pine cone appearance.
- Gently roll each formed pine cone in cornflakes, ensuring the shape is well-covered. This adds the delightful crunch reminiscent of a real pine cone.
- Lightly dust the coated pine cones with powdered sugar for that wintery, snowy effect. This final touch not only looks charming but makes them irresistible!
- Place the chocolate pine cones in the fridge to chill for about 15 minutes. This will help them firm up and maintain their shape until serving.