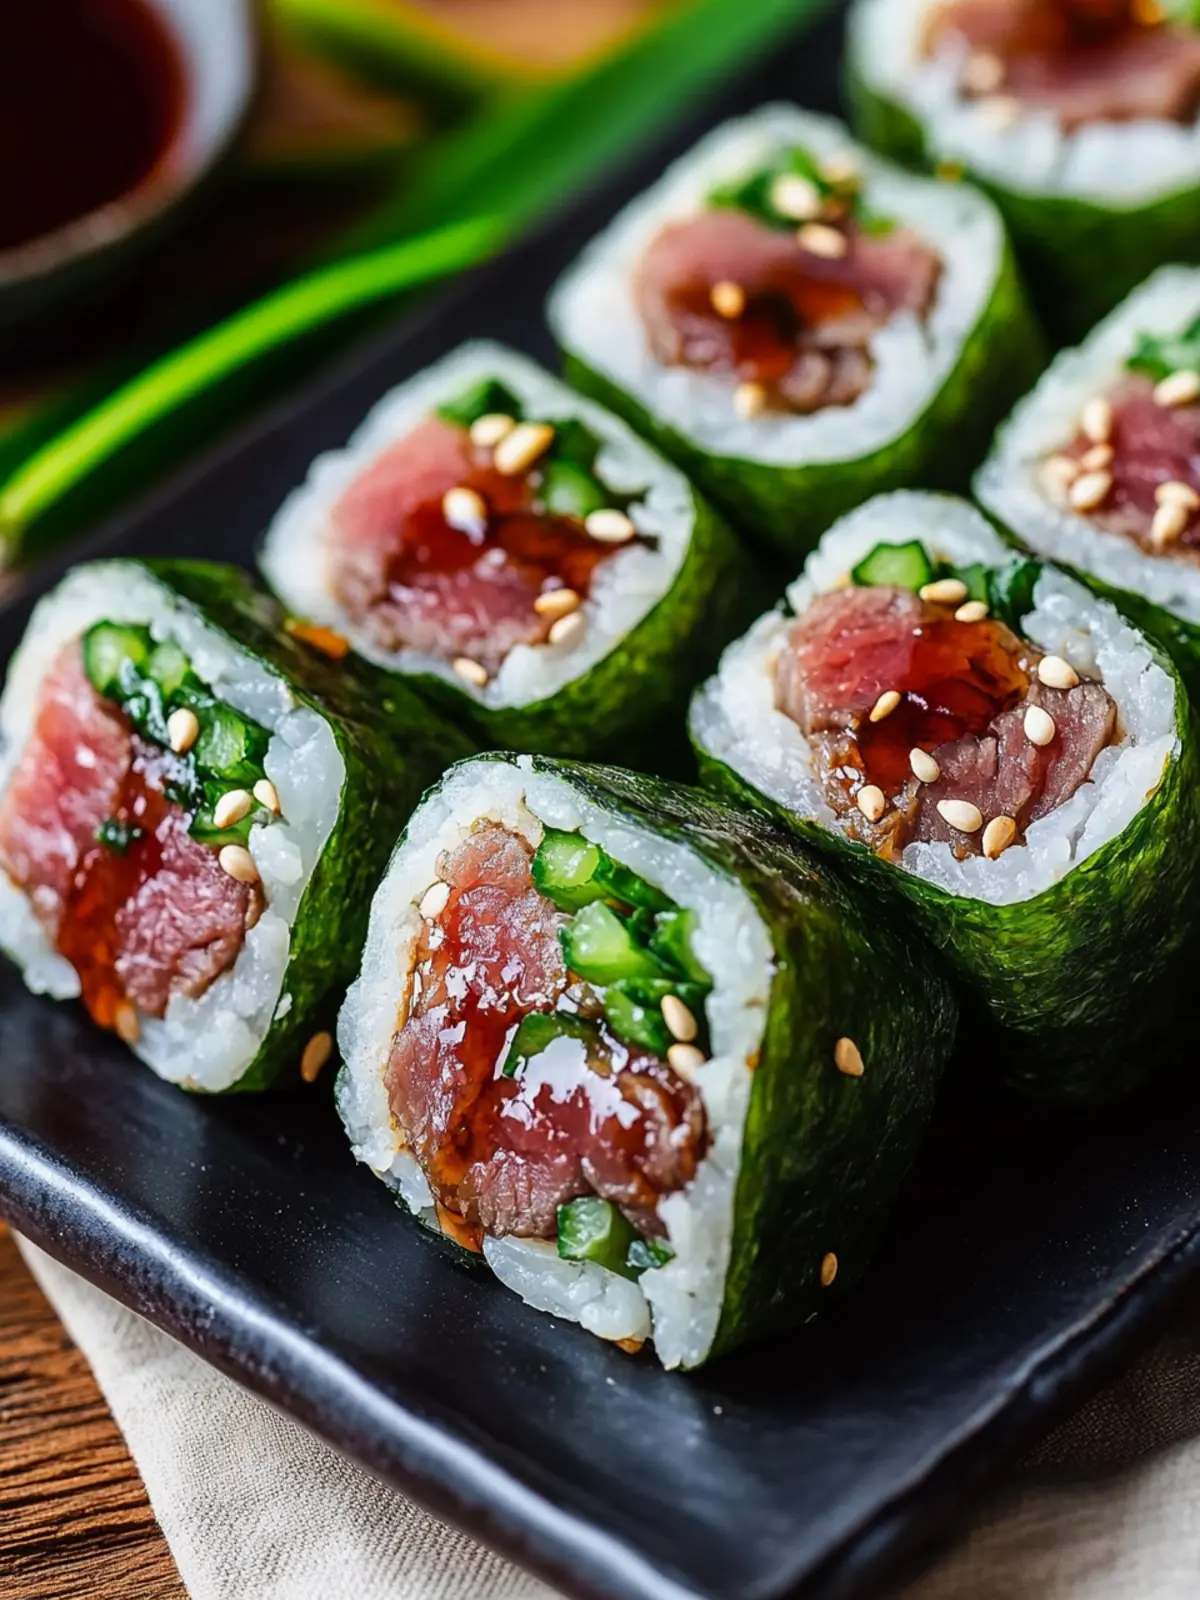
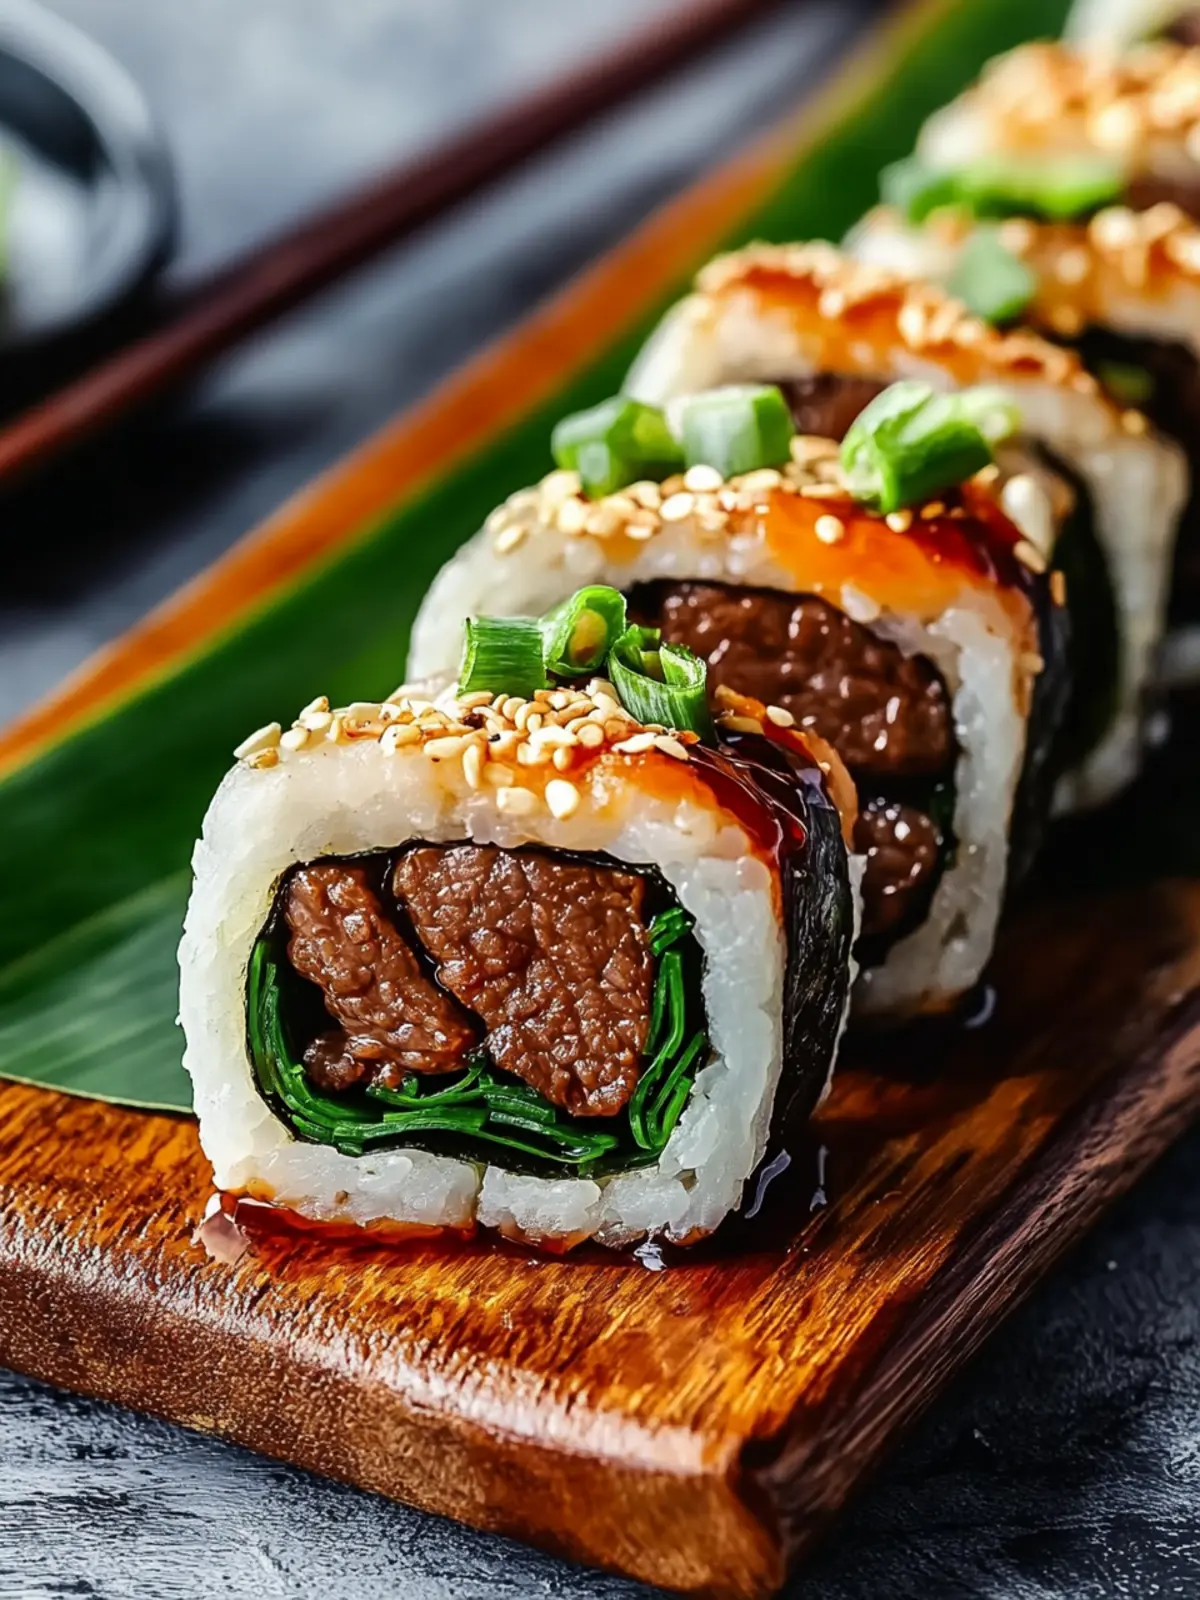
The moment I unwrapped the foil from my dinner leftovers, the enticing aroma of savory beef and fresh scallions enveloped my kitchen, instantly brightening my mood. These Beef Negimaki Rolls have become a beloved staple in my home, where they manage to impress friends and family without requiring hours in the kitchen. Picture this: tender slices of beef sizzling in a hot pan, wrapped lovingly around crisp scallions, and finished off with a glossy, umami-rich glaze. Not only are they delightfully quick to prepare in just 12 minutes, but they also invite endless variations—from a spicy kick to herbed heaven—ensuring every meal feels fresh and luxurious.
If you’re on the hunt for a crowd-pleasing dish that balances ease and elegance, you’ve just hit the jackpot! Let’s roll up those sleeves and dive into the irresistible world of Beef Negimaki Rolls.

Why are Beef Negimaki Rolls a must-try?
Quick Cooking: In just 12 minutes, you can whip up these impressive rolls, making them perfect for busy weeknights.
Flavor Explosion: Each bite bursts with savory goodness from the beef and a sweet, umami glaze.
Versatile Variations: Feel free to spice it up or add mushrooms for an extra layer of flavor.
Crowd-Pleaser: These rolls are always a hit, whether at dinner parties or casual meals with family.
Gluten-Free Option: Substituting with tamari makes it easy to accommodate dietary needs without sacrificing taste.
Elevate your home cooking with these delightful Beef Negimaki Rolls that are sure to impress!
Beef Negimaki Rolls Ingredients
• Savory taste starts here!
For the Rolls
- Scallions – Essential for adding a fresh crunch; trim ends and cut slightly longer than the beef for optimal wrapping.
- Beef (thinly sliced for sukiyaki) – The star ingredient providing that savory flavor; choose high-quality cuts for the best results.
- Potato Starch – Coats the rolls for a delightful crispy texture when frying; be gentle to avoid excess clumping.
For the Glaze
- Soy Sauce – Delivers an umami depth that makes the sauce irresistible; switch to tamari for a gluten-free option.
- Sake – Adds a rich flavor to the glaze; can be replaced with water if you’re looking for a non-alcoholic version.
- Sugar – Balances out the saltiness of the sauce; use it to taste if you prefer a touch of sweetness.
For Cooking
- Vegetable Oil – Essential for frying; select a neutral oil like canola for a light flavor that won’t overpower the dish.
Get ready to roll up your sleeves and create some mouthwatering Beef Negimaki Rolls!
How to Make Beef Negimaki Rolls
-
Prep Scallions: Begin by trimming the ends of the scallions and cutting them to a length that’s slightly longer than the beef. This ensures they fit perfectly inside the rolls.
-
Prepare Beef Sheets: Lay out the thinly sliced beef on a clean surface. If needed, overlap slices to create a larger sheet, making it easier to roll everything up.
-
Roll with Scallions: Place a few scallions vertically on one end of the beef and roll tightly. Make sure it’s snug to keep everything together without tearing the beef.
-
Dust with Potato Starch: Lightly coat the rolls with potato starch. This will help create a crispy exterior when frying, so don’t overdo it—just a thin layer will suffice.
-
Heat Pan: Preheat a non-stick frying pan over medium-high heat. This step is crucial for achieving that golden-brown color on your rolls.
-
Fry Rolls: Place the beef rolls seam-side down in the hot pan. Cook until golden brown and crispy, about 3-4 minutes, then rotate to ensure even cooking.
-
Make Glaze: Pour in the sugar, sake, and soy sauce. Stir gently as the glaze bubbles and thickens, coating the rolls beautifully. This should take about 2-3 minutes.
-
Serve: Once the glaze is ready, remove the rolls from the pan, slice them, and garnish with sesame seeds. Serve these gastronomic delights over steaming hot rice for a complete meal.
Optional: Try adding a sprinkle of sesame seeds or chopped green onions for a pop of color and flavor!
Exact quantities are listed in the recipe card below.

How to Store and Freeze Beef Negimaki Rolls
Fridge: Store leftover Beef Negimaki Rolls in an airtight container for up to 3 days to maintain freshness and flavor.
Freezer: For longer storage, lay the rolls flat on a baking sheet until firm, then transfer to a freezer bag for up to 3 months. This prevents them from sticking together.
Reheating: To reheat, place the rolls in a preheated oven at 350°F (175°C) for about 10-15 minutes, or until heated through. Enjoy the crispy texture as if they were freshly made!
Beef Negimaki Rolls Customization Ideas
Indulge your culinary creativity with delightful twists tailored just for you!
-
Spicy Kick: Add diced jalapeños or a sprinkle of chili flakes inside the rolls for a fiery touch. Heat lovers will appreciate this extra warmth!
-
Herb-Infused: Incorporate fresh herbs like basil or cilantro along with the scallions for a refreshing flavor boost. It adds a vibrant aroma that makes every bite a pleasure.
-
Mushroom Addition: Thinly slice shiitake or button mushrooms and tuck them into the beef for an earthy depth. The mushrooms blend beautifully, enhancing the savory experience.
-
Low-Carb Option: Replace traditional beef with thinly sliced zucchini or eggplant for a lighter, vegetarian-friendly twist. You still get that satisfying roll experience, but in a fresh, crisp way!
-
Teriyaki Glaze: Swap out the soy sauce for a store-bought or homemade teriyaki sauce to create a sweeter, more glamorous glaze. This variation will appeal to those who enjoy a hint of sweetness.
-
Cheesy Surprise: Add a thin slice of cheese, like mozzarella, inside before rolling for a melty, gooey center. This indulgent twist creates a delightful surprise in every bite!
-
Citrus Zest: Incorporate a hint of citrus, such as orange or lime juice, into the glaze. The brightness of the citrus will elevate the dish and balance the richness of the beef.
-
Sweet & Savory Twist: Mix a touch of honey or maple syrup into your glaze for a perfect balance of flavors. This addition creates an intriguing sweetness that complements the umami beautifully.
Expert Tips for Beef Negimaki Rolls
- Gentle Starch Dusting: Use a light touch when dusting with potato starch to avoid a gummy texture that can ruin your Beef Negimaki Rolls.
- Preheat the Pan: Ensure your frying pan is hot before adding the rolls. A properly heated pan prevents sticking and promotes even crispiness.
- Tear-Free Rolling: If your beef tears while rolling, try lightly pounding the slices between plastic wrap for improved pliability, making wrapping easier.
- Variate the Glaze: Experiment with different sweeteners like honey or maple syrup for unique flavor profiles in the sauce for your Beef Negimaki Rolls.
- Serve Fresh: These rolls taste best right after cooking. Try to enjoy them fresh for maximum flavor and texture!
What to Serve with Beef Negimaki Rolls?
Elevate your meal experience by pairing these savory rolls with complementary side dishes and beverages that enhance their rich flavors.
- Steamed Rice: A classic pairing, fluffy rice soaks up the umami glaze, creating a comforting and satisfying bite.
- Sesame Green Beans: The crunchy texture and slightly sweet flavor of these green beans offer a perfect contrast to the savory beef.
- Cucumber Salad: Light and refreshing, this salad adds a crisp bite that balances the richness of the Beef Negimaki Rolls beautifully.
- Miso Soup: A warm bowl of miso soup provides cozy depth, enhancing the Japanese dining experience while keeping the meal light.
- Sake or Japanese Beer: A chilled glass of sake or a smooth Japanese beer complements the dish’s umami flavors and refreshes the palate.
- Pickled Ginger: A tangy bite of pickled ginger cleanses the palate and adds a delightful zing, refreshing your taste buds between rolls.
- Teriyaki Glazed Vegetables: Mixed vegetables with a teriyaki glaze echo the sweet and savory notes of the beef, enriching the meal.
- Chocolate Mochi: For dessert, this sweet, chewy treat offers a delightful finish, contrasting with the savory flavors of the Beef Negimaki Rolls.
With these delightful pairings, your Beef Negimaki Rolls will become the star of an unforgettable meal!
Make Ahead Options
These Beef Negimaki Rolls are perfect for meal prep, saving you valuable time on busy nights! You can prepare the rolls up to 24 hours in advance, tightly wrapping the scallions in the seasoned beef and dusting them with potato starch before storing them in an airtight container in the refrigerator. For optimal flavor and texture, ensure they are well-sealed to prevent any drying out. When you’re ready to cook, simply heat your pan, fry the rolls until golden, then finish with the glaze for a deliciously quick meal. Enjoy fresh and crispy Beef Negimaki Rolls in no time with this handy prep ahead strategy!
Beef Negimaki Rolls Recipe FAQs
How do I choose the right beef for my Beef Negimaki Rolls?
Absolutely! Look for thinly sliced beef, ideally from cuts like sirloin or ribeye for their tenderness. If you can’t find pre-sliced beef, ask your butcher to slice it for you or lightly freeze a block of beef for about 30 minutes before slicing it thinly against the grain. This will make for delicious, melt-in-your-mouth rolls.
What’s the best way to store leftover Beef Negimaki Rolls?
Store any leftovers in an airtight container in the refrigerator for up to 3 days. To keep them fresh, allow them to cool before sealing. If you’re dealing with a larger batch, consider portioning them out to reheat just what you need later!
Can I freeze Beef Negimaki Rolls?
Very much so! To freeze, lay the rolls flat on a baking sheet and place them in the freezer until firm, which usually takes about 2-3 hours. Once solid, transfer the rolls into a freezer bag, making sure to remove as much air as possible to avoid freezer burn. They can be stored for up to 3 months. When you’re ready, simply reheat in the oven for that crispy texture.
What should I do if my beef tears while rolling?
No worries at all! If your beef tears, gently pound the slices between sheets of plastic wrap using a meat mallet to make them more pliable. This method not only helps eliminate tears but creates a more tender bite, making your Beef Negimaki Rolls just perfect.
Are there any dietary considerations I should keep in mind?
Yes! For gluten-free options, simply substitute regular soy sauce with tamari, which provides the same depth of flavor without the gluten. Additionally, make sure to check your vegetable oil and any other sauces you might add, as they can sometimes contain hidden gluten.
Savory Beef Negimaki Rolls Ready in Just 12 Minutes
Ingredients
Equipment
Method
- Begin by trimming the ends of the scallions and cutting them to a length that’s slightly longer than the beef.
- Lay out the thinly sliced beef on a clean surface, overlapping slices if needed.
- Place a few scallions vertically on one end of the beef and roll tightly.
- Lightly coat the rolls with potato starch.
- Preheat a non-stick frying pan over medium-high heat.
- Place the beef rolls seam-side down in the hot pan and cook until golden brown, about 3-4 minutes.
- Pour in the sugar, sake, and soy sauce; stir until the glaze thickens, about 2-3 minutes.
- Remove the rolls from the pan, slice, and serve over rice.