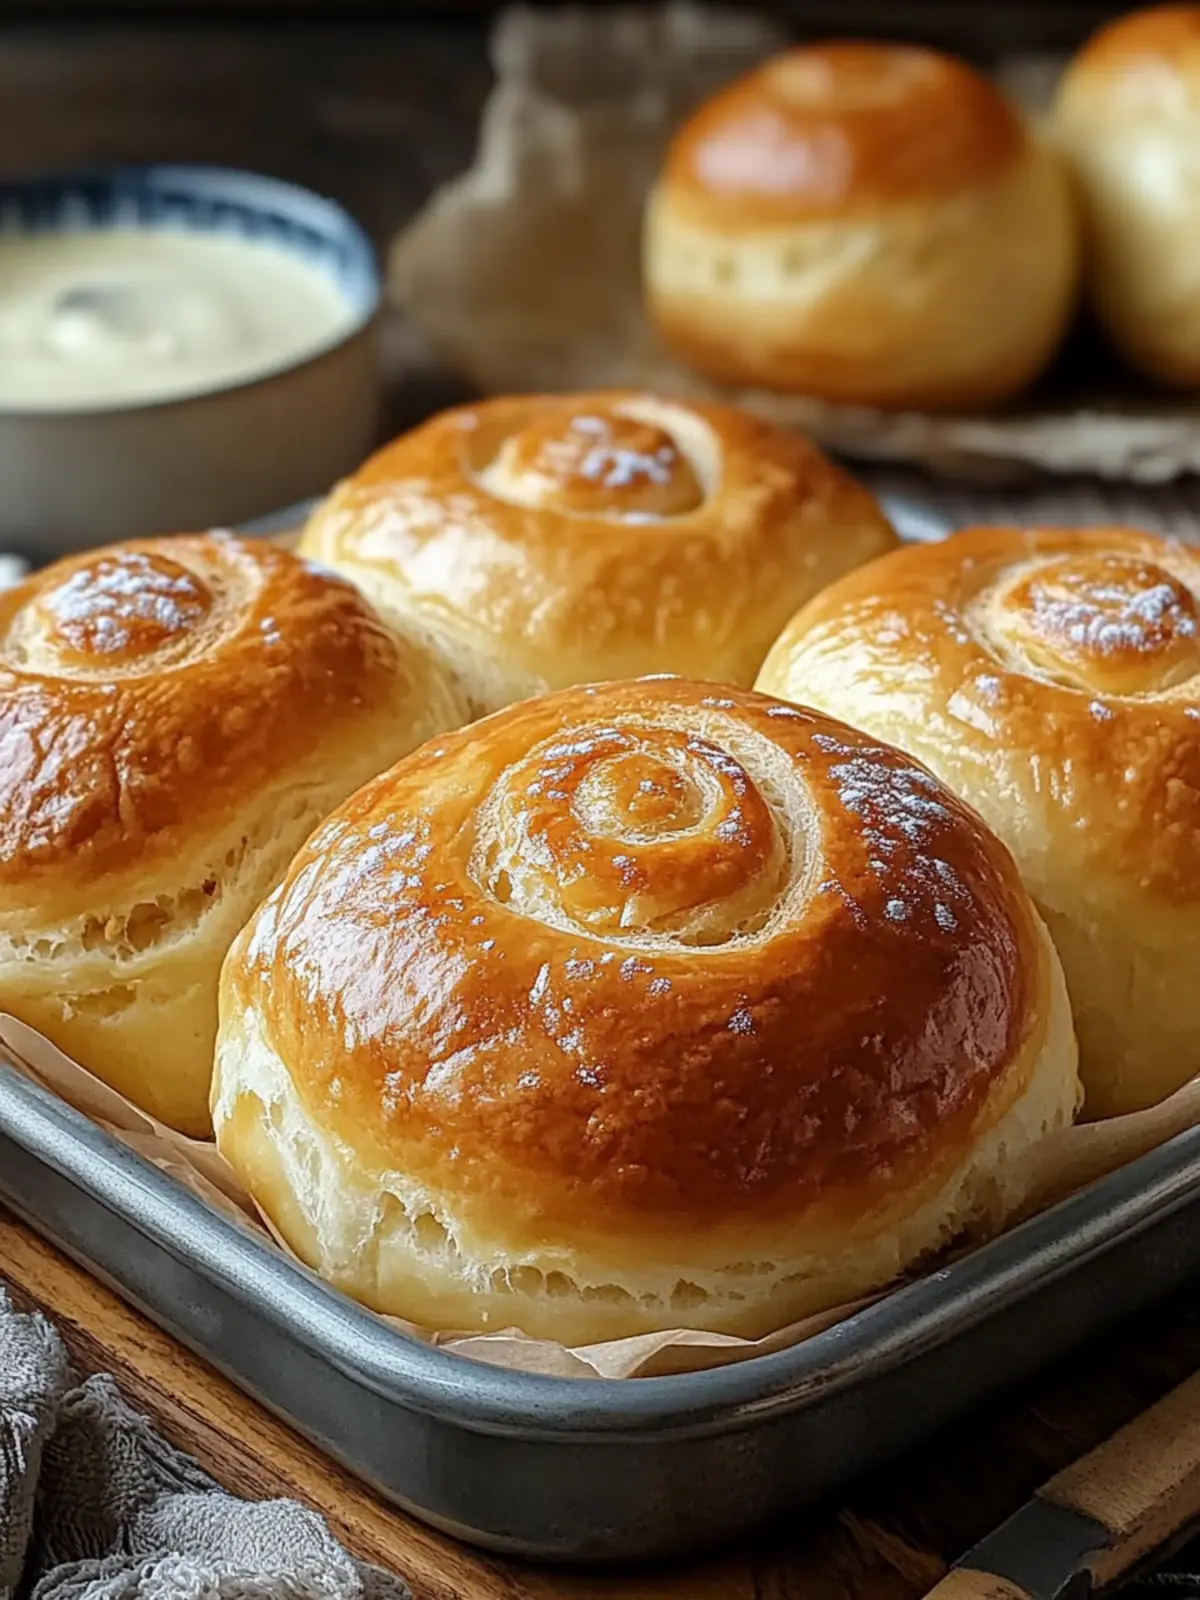
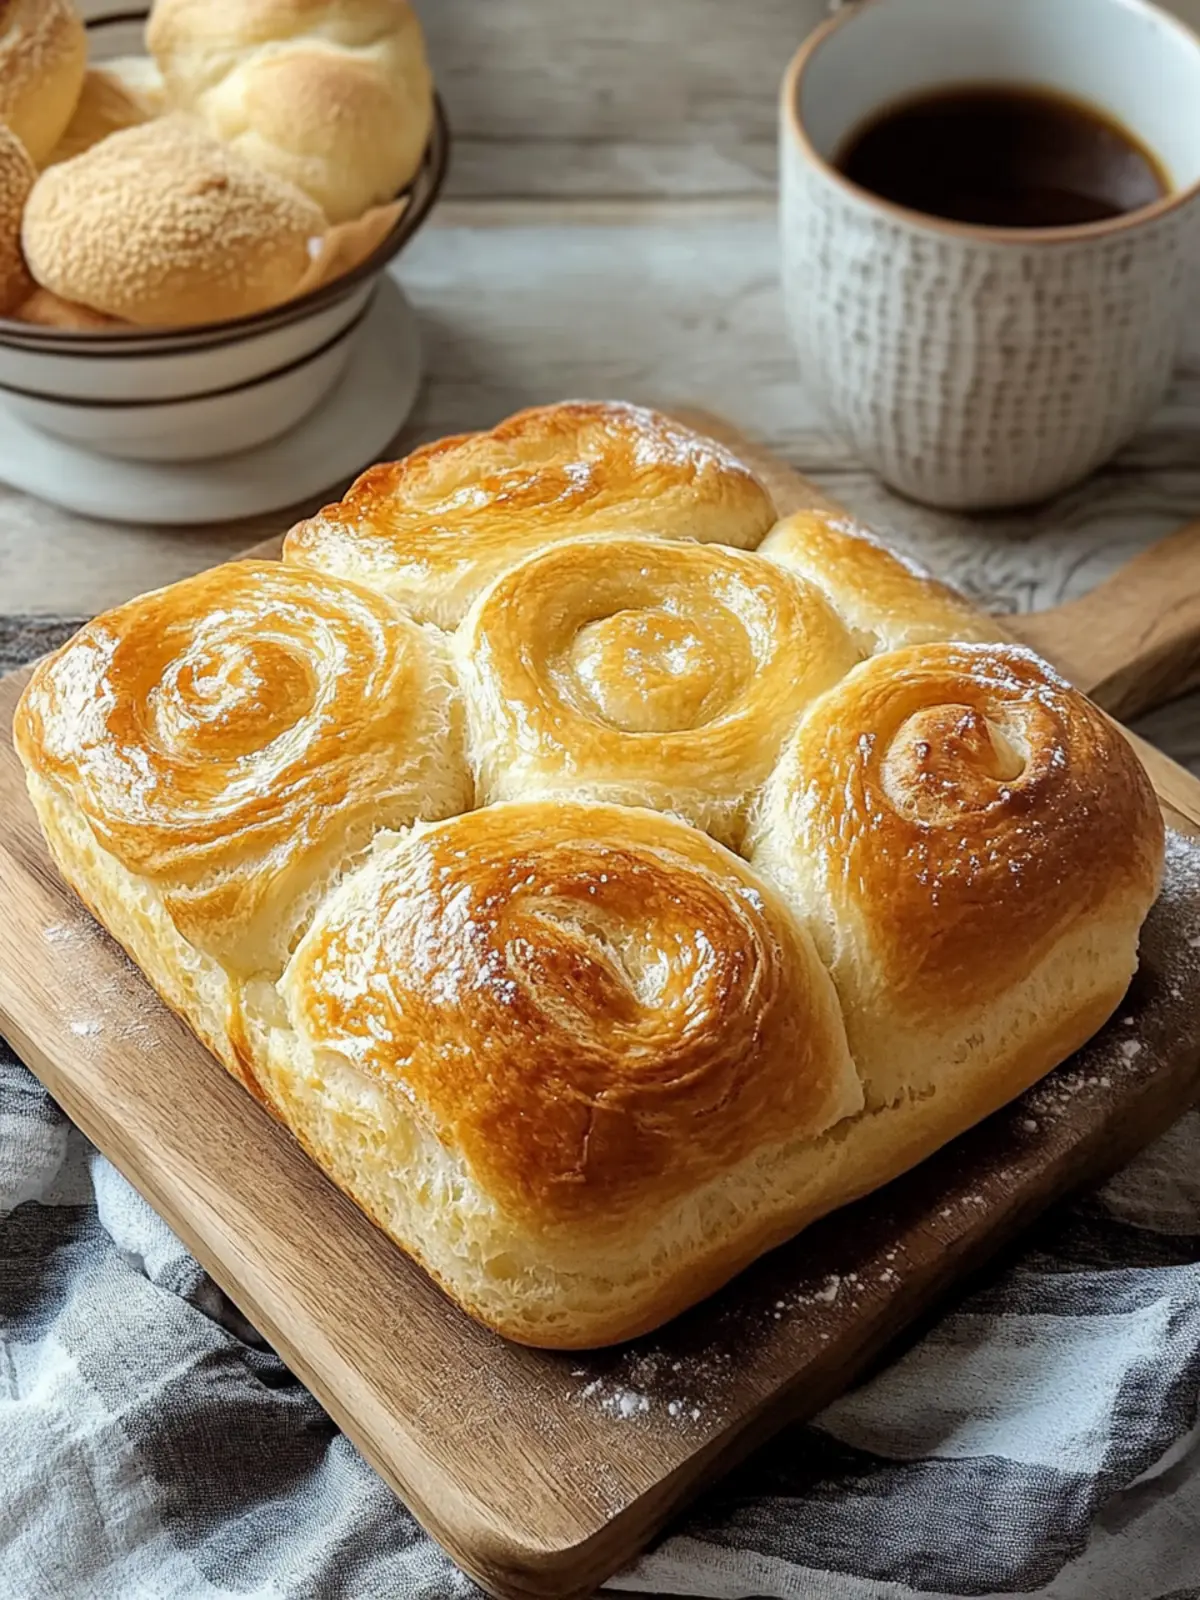
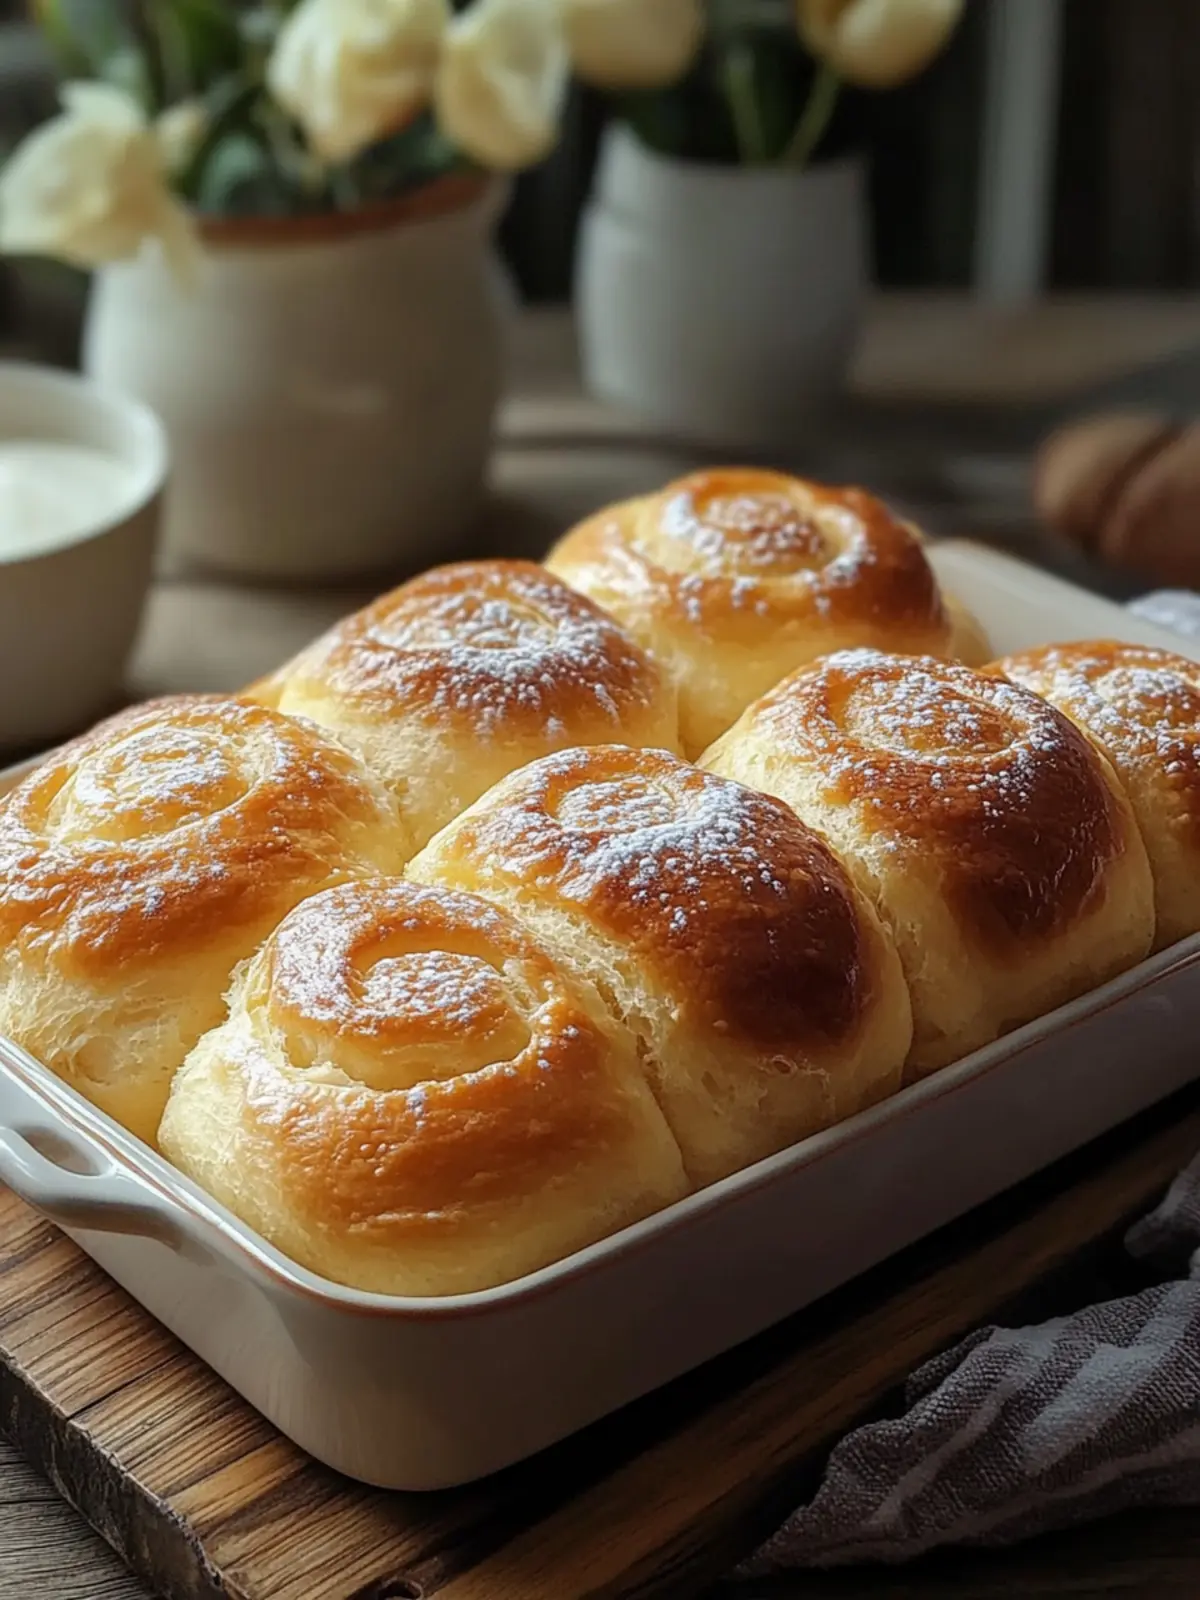
When the first hint of warmth fills the air, my mind drifts to the kitchen where the tantalizing aroma of Classic Ensaymada Bread envelops me like a cozy hug. This traditional Filipino pastry is more than just a treat; it’s a slice of nostalgia that takes me back to family gatherings filled with laughter and love. Soft, fluffy, and decadently topped with a blend of melted butter, sugar, and cheese, each bite promises a burst of comfort that’s hard to resist.
As someone who often finds the allure of fast food fading, there’s something deeply satisfying about crafting this homemade delight. The joy of kneading dough, watching it rise, and shaping it into spirals creates a connection to the essence of home cooking that fast food simply can’t replicate. Whether served at breakfast, as a snack, or during a chat with friends over coffee, Classic Ensaymada Bread is a versatile crowd-pleaser that invites you to share its warmth and charm with everyone you love. Let’s dive into this recipe and rediscover the magic together!

Why is Classic Ensaymada Bread a must-try?
Irresistibly Fluffy: The unique texture of this bread is light and airy, making it a pleasure to enjoy anytime.
Traditional Flavor: Crafted using classic ingredients, this recipe pays homage to Filipino heritage.
Easy to Make: With simple steps and readily-available ingredients, you can master this recipe without prior baking experience.
Versatile Delight: Whether you prefer it plain or with delicious variations like Coconut or Ube, there’s an option for everyone.
Perfect for Sharing: This delightful bread is ideal for gatherings or casual get-togethers, ensuring every bite brings a smile.
Rediscover the joy of homemade treats and create lasting memories with your loved ones through this heartwarming recipe!
Classic Ensaymada Bread Ingredients
For the Bread Dough
- All-purpose flour – Provides structure and body to the bread; can substitute with whole wheat flour for added fiber.
- Granulated sugar – Adds sweetness to balance the flavor; consider coconut sugar for a fragrant twist.
- Salt – Enhances flavor and strengthens gluten structure, ensuring a tasty loaf.
- Instant yeast – Leavens the dough for that fluffy texture; if using active dry yeast, adjust water temperature slightly.
- Milk – Adds moisture and richness; feel free to use almond or oat milk for a dairy-free option.
- Unsalted butter – Introduces tenderness and flavor; margarine can be a great dairy-free substitute.
- Eggs – Contributes to richness and binds the ingredients; for a vegan version, consider flaxseed meal or applesauce.
- Vanilla extract – Infuses delightful flavor; almond extract works as an interesting alternative.
For the Topping
- Grated cheese – Adds a savory depth to the ensaymada; feel free to use queso de bolsa or mozzarella.
- Melted butter (for brushing) – Enhances flavor and gives a lovely shine; skip this for a lighter version.
- Sugar (for dusting) – Provides a sweet finish; dust with powdered sugar for a different look.
Indulge in the delightful flavors of Classic Ensaymada Bread with these wonderful ingredients!
How to Make Classic Ensaymada Bread
-
Prepare Ingredients: Gather all the essentials like flour, sugar, eggs, and milk for a smoother baking experience. Having everything ready helps streamline the process!
-
Activate Yeast: In a bowl, mix warm milk, yeast, and a tablespoon of sugar. Allow it to sit for 5-10 minutes until it becomes frothy, indicating your yeast is alive and ready to work!
-
Mix Dry Ingredients: In a large mixing bowl, whisk together the flour, remaining sugar, and salt. This dry mixture is the foundation for the fluffy texture of your Classic Ensaymada Bread.
-
Combine Wet Ingredients: In a separate bowl, beat the eggs with softened butter and vanilla extract. Creating a creamy blend here adds richness to your dough!
-
Form Dough: Combine the frothy yeast mixture with your wet and dry ingredients. Stir until a shaggy dough forms, a sign that you’re well on your way to warm, homemade goodness.
-
Knead Dough: Transfer the dough to a floured surface. Knead for 8-10 minutes, until the dough is smooth and elastic. It should feel soft and just slightly sticky to the touch.
-
First Rise: Place the kneaded dough in a greased bowl, cover it, and let it rise in a warm spot for approximately 1 hour. It should double in size, becoming light and airy.
-
Shape Dough: Once risen, punch down the dough to release air. Divide it into 12 equal pieces, roll each into a circle, spread with melted butter, and shape them into spirals.
-
Second Rise: Arrange the shaped dough into molds. Cover them and allow to rise for another 30-45 minutes, letting the dough get even fluffier.
-
Preheat Oven: While the dough rises, preheat your oven to 350°F (175°C). This ensures the bread bakes evenly and achieves that beautiful golden color.
-
Bake: Pop the molds in the oven and bake for 20-25 minutes. Keep an eye out until they turn golden brown and your kitchen fills with that irresistible aroma!
-
Cool: After baking, let the bread cool in the molds for 10 minutes before transferring to a wire rack. This cooling time allows the texture to set beautifully.
-
Finishing Touches: Brush the warm bread with melted butter and generously sprinkle with grated cheese and sugar. These final touches add a delightful layer of flavor!
Optional: Serve warm with coffee or tea for a perfect pairing!
Exact quantities are listed in the recipe card below.
How to Store and Freeze Classic Ensaymada Bread
Room Temperature: Store the Classic Ensaymada Bread in an airtight container at room temperature for up to 3 days to keep it freshly soft and flavorful.
Fridge: If you prefer to store it longer, the fridge can prolong its life, although refrigeration may affect the texture. Wrap tightly and consume within 5 days.
Freezer: For longer storage, wrap the bread tightly in plastic wrap and then in aluminum foil. It can be frozen for up to 2 months without losing flavor.
Reheating: To restore its fluffy texture, reheat in a preheated oven at 350°F (175°C) for 10-15 minutes. Enjoy warm, fresh out of the oven!
Make Ahead Options
Classic Ensaymada Bread is a fantastic choice for meal prep that saves you precious time during busy weeknights! You can prepare the dough up to 24 hours in advance by following the first rise; just shape the dough into spirals and place them in molds as usual. Cover the molds tightly with plastic wrap and refrigerate. When you’re ready to bake, take them out, let them sit at room temperature for about 30-45 minutes for a second rise, and then follow the baking instructions. By preparing ahead, you can enjoy freshly baked ensaymada with minimal effort, making your mornings and gatherings just a bit sweeter!
What to Serve with Classic Ensaymada Bread?
Transform your mealtime with delightful pairings that perfectly complement this fluffy pastry.
-
Fresh Fruit Salad: Refreshing fruits provide a juicy counterbalance to the sweetness of ensaymada, enhancing its rich flavors.
-
Creamy Coffee or Tea: A warm cup of coffee or tea makes for the perfect companion, creating an inviting and cozy breakfast experience.
-
Savory Cheese Platter: Including tangy cheeses like queso de bolsa adds a delightful savoriness that contrasts beautifully with the bread’s sweetness.
-
Tropical Smoothie: A light mango or pineapple smoothie whispers of summer and adds a fruity brightness that pairs beautifully with the buttery ensaymada.
-
Butter and Jam: Topping each slice with velvety butter and your favorite jam elevates the experience, allowing for a truly indulgent treat.
-
Chocolate Milk: A glass of chocolate milk brings nostalgia and sweetness, offering a delightful way to enjoy your ensaymada during a snack break.
-
Sweetened Condensed Milk Drizzle: Pour a rich layer of condensed milk over the warm bread for an extra treat that enhances its sweetness and texture.
Each pairing offers a unique taste experience that brings out the comforting essence of Classic Ensaymada Bread, making every bite a cozy delight!
Classic Ensaymada Bread Variations & Substitutions
Customize your baking experience and discover delightful twists that will elevate your Classic Ensaymada Bread to new heights of flavor and fun!
-
Coconut Delight: Fold in shredded coconut during the mixing phase for a tropical flavor boost. The subtle sweetness will transport you to a sunny beach!
-
Ube Twist: Stir in ube extract or powder to the dough for a vibrant purple hue and a unique flavor. This twist will make your ensaymada visually stunning and irresistibly tasty.
-
Chocolate Indulgence: Mix cocoa powder into the dough for a chocolatey version and top with a rich chocolate glaze. Who can resist a chocolate treat that’s soft and heavenly?
-
Nutty Crunch: Add chopped nuts such as walnuts or pecans to the dough for a delightful crunch. The added texture will make each bite a surprising joy!
-
Spiced Cinnamon: Introduce a dash of cinnamon into the dough for a warm, aromatic flavor. This gives the ensaymada a cozy feel, perfect for chilly mornings.
-
Dairy-Free Delight: Use almond milk instead of regular milk and coconut oil for butter for a completely dairy-free option. This swap keeps the ensaymada’s charm while accommodating special diets.
-
Fruit-Infused: Sprinkle dried fruits like raisins or cranberries into the dough for a fruity burst in every bite. It’s a creative way to add sweetness and chewiness!
-
Herb-Infused Savory: Experiment with adding herbs like rosemary or thyme for a savory twist. This unique flavor will surprise your taste buds and impress your guests!
Let your creativity flow and make these variations your own as you bring a personal touch to this beloved Filipino treat!
Expert Tips for Perfect Classic Ensaymada Bread
-
Dough Softness: Aim for a dough that’s soft and slightly sticky; if it feels dry, add a touch more milk. This ensures a fluffy Classic Ensaymada Bread.
-
Yeast Activation: Make sure your yeast is fresh and the milk is warm—not hot—when activating. This step is crucial for a good rise!
-
Kneading Technique: Knead the dough thoroughly for 8-10 minutes. This develops gluten, yielding that airy texture you crave.
-
Rising Time: Allow enough time for both rises. This step is essential—rushing can lead to dense bread instead of fluffy layers.
-
Baking Check: Start checking your bread a few minutes before the suggested baking time. Every oven is different, and you want to avoid overbaking.
Classic Ensaymada Bread Recipe FAQs
How do I select the perfect ingredients for Classic Ensaymada Bread?
Absolutely! When choosing ingredients, opt for all-purpose flour that feels fresh, as it provides the best structure. For milk, you’re looking for something creamy and rich; whole milk or even almond milk works well. As for eggs, using room temperature ones adds to the richness—just let them sit out for about 30 minutes before using. Lastly, make sure your yeast is fresh; it should be within its expiry date, and look for the fine, powdery texture.
How should I store Classic Ensaymada Bread for maximum freshness?
Very! To keep your Classic Ensaymada Bread fresh, store it in an airtight container at room temperature for up to 3 days. This will maintain its soft texture. If you need to keep it longer, consider wrapping it tightly in plastic wrap and storing it in the refrigerator—but remember, the fridge can alter its softness. For even longer preservation, freeze it for up to 2 months. Just make sure to wrap it well!
Can I freeze Classic Ensaymada Bread? If so, how?
Absolutely! Freezing is a great option for the Classic Ensaymada Bread. First, allow it to cool completely after baking. Wrap each piece tightly in plastic wrap to prevent freezer burn, and then place the wrapped pieces in a resealable freezer bag or an airtight container. This double-layer protection keeps the flavors locked in. You can freeze it for up to 2 months; just be sure to label it with the date!
What should I do if my dough isn’t rising as expected?
The more the merrier! If your dough isn’t rising, it’s often due to issues with the yeast. Check to see if your yeast is still active; a quick test is to combine it with warm water and sugar—if it bubbles after 5-10 minutes, it’s good! Also, ensure your rising environment is warm; dough loves warmth! Ideally, find a draft-free spot or turn your oven on low briefly, then turn it off and let the dough rise inside.
Can I make Classic Ensaymada Bread vegan or gluten-free?
Yes, indeed! To make a vegan version, substitute eggs with ¼ cup of unsweetened applesauce or a flaxseed meal mixture (1 tablespoon ground flaxseed + 2.5 tablespoons water per egg) and use almond milk instead of dairy. For a gluten-free option, you may use a gluten-free all-purpose flour blend, though the texture may differ slightly. Make sure to use a one-to-one blend to maintain dough consistency!
Is there a specific way to serve Classic Ensaymada Bread for special occasions?
Very much so! For special occasions, serve your Ensaymada warm from the oven, topped with extra melted butter, grated cheese, and a light dusting of powdered sugar. Pair these delicious bites with a refreshing cup of coffee, tea, or even hot chocolate. Present them on a beautiful platter with some strawberry jam or a fruit preserve for that touch of elegance and warmth—your guests will love it!
Classic Ensaymada Bread: A Delightful Homemade Treat for All
Ingredients
Equipment
Method
- Prepare Ingredients: Gather all the essentials like flour, sugar, eggs, and milk for a smoother baking experience.
- Activate Yeast: In a bowl, mix warm milk, yeast, and a tablespoon of sugar. Allow it to sit for 5-10 minutes.
- Mix Dry Ingredients: In a large mixing bowl, whisk together the flour, remaining sugar, and salt.
- Combine Wet Ingredients: In a separate bowl, beat the eggs with softened butter and vanilla extract.
- Form Dough: Combine the frothy yeast mixture with your wet and dry ingredients. Stir until a shaggy dough forms.
- Knead Dough: Transfer the dough to a floured surface. Knead for 8-10 minutes until smooth and elastic.
- First Rise: Place the kneaded dough in a greased bowl, cover it, and let it rise for approximately 1 hour.
- Shape Dough: Once risen, punch down the dough, divide into 12 pieces, and shape into spirals.
- Second Rise: Arrange shaped dough into molds, cover, and allow to rise for another 30-45 minutes.
- Preheat Oven: While the dough rises, preheat your oven to 350°F (175°C).
- Bake: Pop the molds in the oven and bake for 20-25 minutes until golden brown.
- Cool: Let the bread cool in the molds for 10 minutes before transferring to a wire rack.
- Finishing Touches: Brush with melted butter and sprinkle with cheese and sugar.