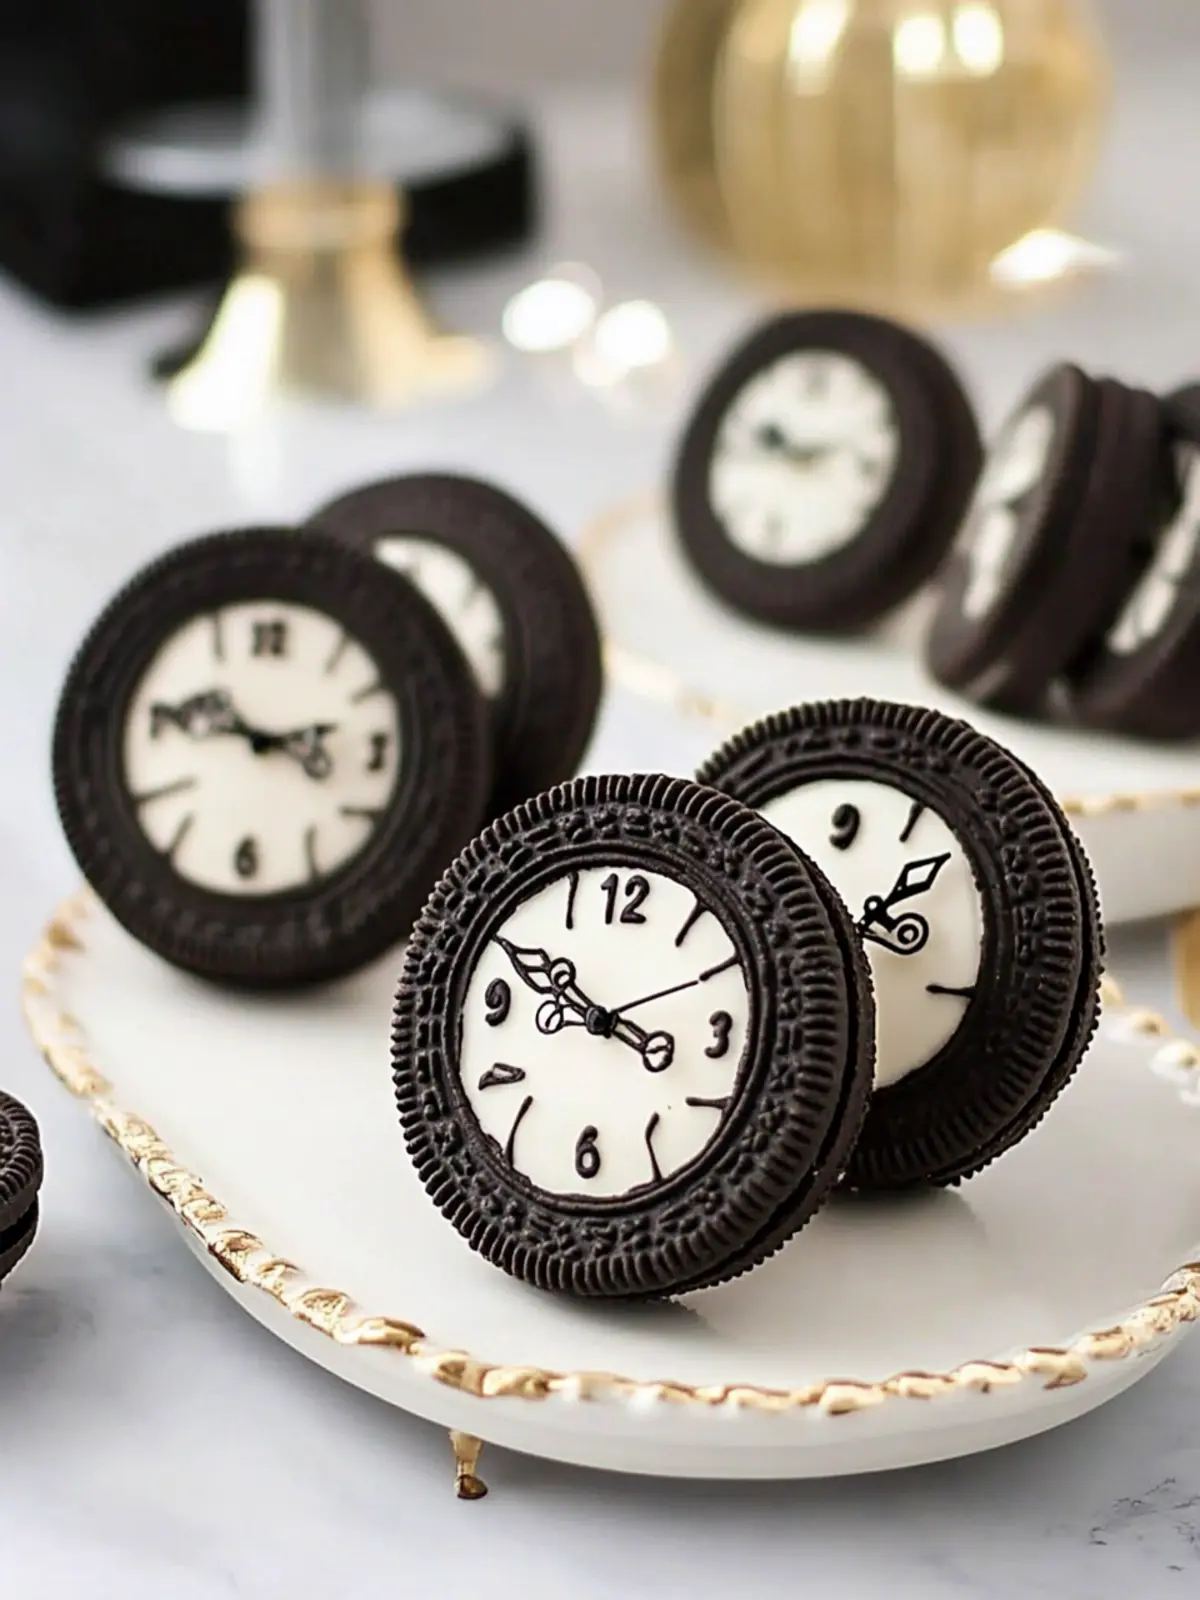
The countdown to midnight is one of my favorite moments of the year. As the clock ticks down, the excitement in the air is palpable, and what better way to celebrate than with a sweet treat that captures the spirit of the occasion? Enter the delightful Oreo Cookie Clocks—these charming no-bake delights not only look stunning on your dessert table but are also incredibly easy to whip up.
Imagine the rich, crunchy goodness of Oreo cookies enrobed in smooth, vibrant candy melts, cunningly designed to resemble festive timepieces. These playful confections are perfect for New Year’s Eve parties, bringing a whimsical touch to your celebrations while satisfying even the sweetest cravings. Whether you’re hosting a gathering or simply want to surprise your family, these treats are guaranteed to make a statement. Let’s dive into the fun of crafting our very own Oreo Cookie Clocks!

Why are Oreo Cookie Clocks a must-try?
Irresistible Appeal: These no-bake Oreo Cookie Clocks are not only visually stunning but also delightful to eat, making them the ultimate crowd-pleaser.
Quick to Make: You’ll be amazed at how swiftly these treats come together, perfect for last-minute party prep!
Creative Fun: Let your imagination soar by decorating the clocks in various themes, ideal for New Year’s Eve or any celebration.
Versatile Options: Customize the recipe with different sandwich cookies or candy melt colors to match your event.
Memorable Moments: Share the joy of crafting these treats with friends and family, turning dessert-making into an enjoyable activity.
Looking for more festive inspiration? Don’t miss our ideas for creating a dazzling dessert table that will wow your guests!
Oreo Cookie Clocks Ingredients
For the Cookies
• Oreo Cookies – The charming base of this treat, offering both crunch and sweetness. Substitution: Any sandwich cookie can be used for a different flavor profile.
For the Coating
• Black Candy Melts – The rich, chocolatey coating for the cookies; these contribute to the clock design. Substitution: Dark chocolate or milk chocolate melts can be used for flavor variations.
• White Almond Bark – Provides a sweet and contrasting decorative coating for the cookie clutches. Substitution: Replace with white candy melts if needed.
For the Decorations
• Black Fondant – Essential for shaping the clock features, giving a smooth finish. Substitution: Chocolate modeling dough can offer a similar effect.
• White Fondant – Creates the clock face, enhancing the visual charm. Substitution: You can use more black fondant for the clock features if desired.
• Silver Dragees – Adds a touch of elegance to your decorations. Tip: Found in craft or baking stores, a must-have for embellishment.
• Sprinkles – Perfect for adding an extra dash of fun and color to your clocks. Substitution: Use themed sprinkles appropriate for your celebration.
These delightful Oreo Cookie Clocks won’t just tantalize your taste buds but also win over the hearts of your guests!
How to Make Oreo Cookie Clocks
-
Melt the black candy melts in a microwave-safe bowl. Heat in 30-second intervals, stirring in between until smooth and glossy to ensure an even melt.
-
Prepare your cookie mold by making sure it’s clean and completely dry. Then, carefully fill each cavity slightly over 1/2 full with the melted candy to create a solid base.
-
Press a single Oreo cookie into each cavity, ensuring it’s submerged. Top it off with more melted candy to completely cover the cookie.
-
Tap the tray gently on the counter to help remove any air bubbles trapped in the candies. Then, place them in the freezer for about 5 minutes until they are fully hardened.
-
Remove the cookies from the mold gently. If using a silicone mold, it will be much easier to pop them out. Then, repeat the process with the white candy melts for a lovely contrast.
-
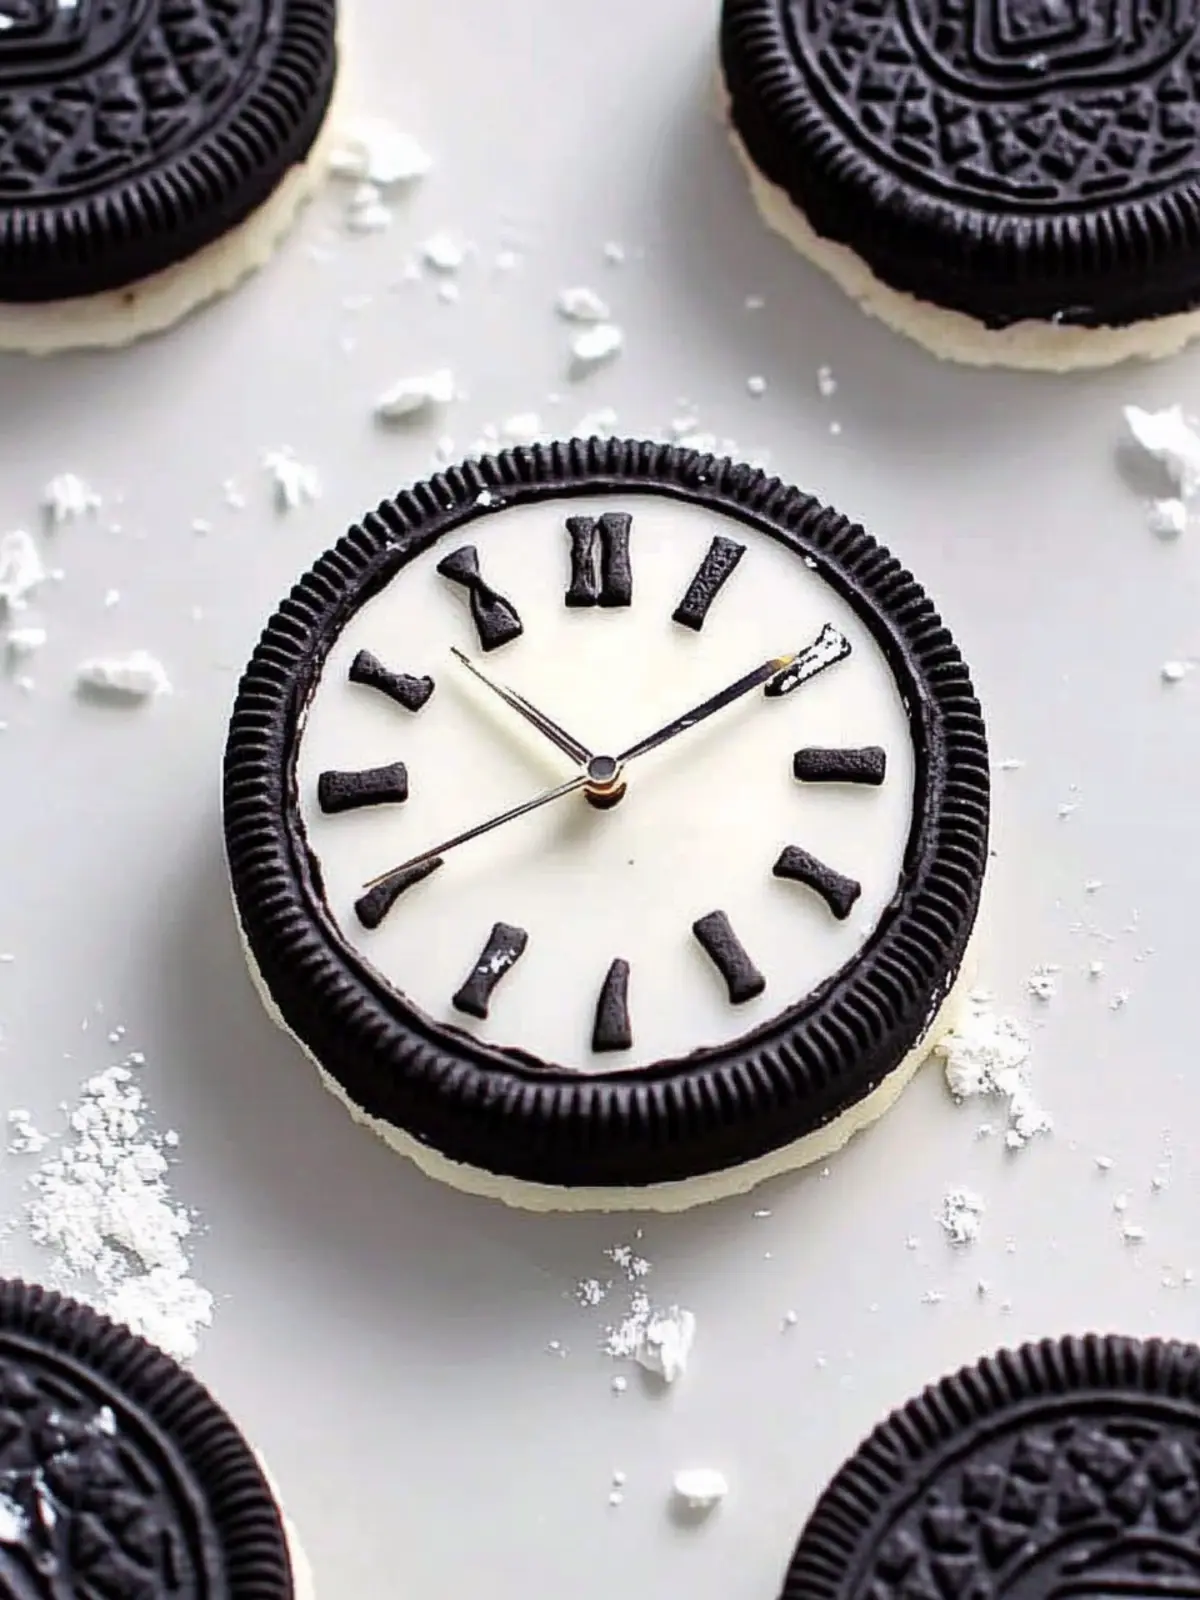
Roll out the black fondant on a clean surface and cut into circles that fit perfectly over the tops of your cookies. Use a bit of vanilla extract or corn syrup to create a sticky edge for sticking.
-
Decorate the fondant using silver dragees and colorful sprinkles. Press them onto the fondant, incorporating your creative flair!
-
Draw the clock hands with a black edible marker on the white fondant circles, then decorate the back of the cookies with melted white candy melts to give a finished look.
-
Allow the decorated cookies to dry and set completely before serving, ensuring all elements adhere beautifully.
Optional: Serve on a festive dessert tray for an extra touch of charm at your celebration!
Exact quantities are listed in the recipe card below.
Oreo Cookie Clocks Variations
Feel free to get creative with these delightful treats and put your own spin on them!
-
Gluten-Free: Swap out the Oreo cookies for gluten-free sandwich cookies to cater to friends with dietary restrictions. Everyone deserves a festive treat!
-
Colorful Coatings: Use colored candy melts instead of black for a fun twist, matching your party’s theme or holiday colors. Imagine a vibrant display!
-
Minty Fresh: Opt for mint-flavored Oreo cookies for a refreshing twist that adds a delightful flavor punch to your treats. Perfect for mint lovers!
-
Nutty Goodness: Stir in crushed nuts or toffee bits into the melted chocolate for a textural surprise. It adds a whole new dimension of satisfying crunch.
-
Spicy Kick: Add a pinch of cayenne or chili powder to the candy melts for a surprising heat that pairs surprisingly well with sweet flavors. Exciting for those who love a little adventure!
-
Fruit Flavors: Incorporate freeze-dried fruit powder into the candy melts for natural flavor and beautiful hues. Think strawberry melts for a berry sweet treat!
-
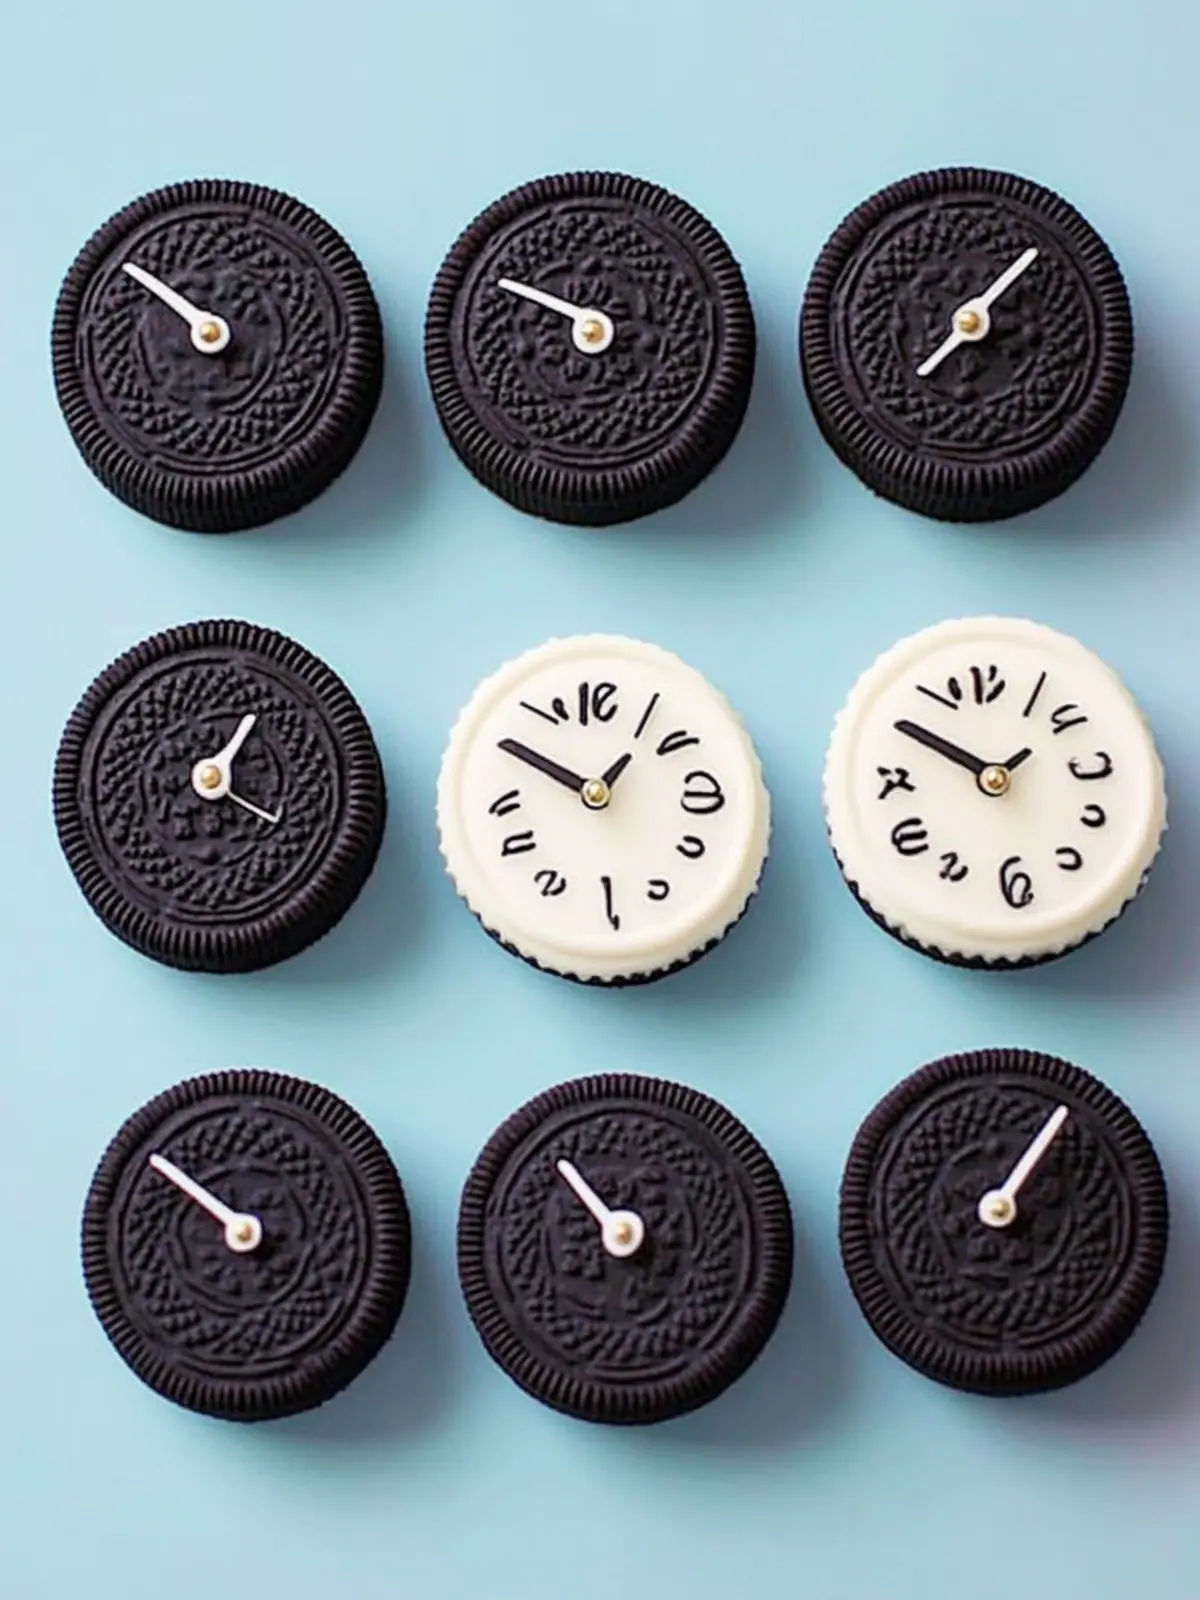
Clock Face Designs: Instead of traditional clock designs, let your creativity flow by making characters or themed messages on the fondant. It’s a chance to tell a story through your treats!
-
Layered Treats: Create a layered cookie by adding a layer of frosting or whipped cream in between two Oreo cookies before enclosing them in chocolate. Talk about indulgent!
Expert Tips for Oreo Cookie Clocks
-
Mold Maintenance: Ensure your mold is clean and dry to achieve properly shaped Oreo Cookie Clocks without any candy residue sticking.
-
Candy Melting: Heat the candy melts in intervals and stir to prevent overheating, achieving a smooth coating that’s easy to work with.
-
Air Bubbles: After pouring the melted candy, gently tap the mold on the counter to eliminate air bubbles for a flawless finish.
-
Flexible Molds: If you face difficulty removing the cookies, consider using flexible silicone molds for an effortless release.
-
Creative Decorations: Embrace your artistic side by trying various color combinations for the candy melts and themed sprinkles to customize your Oreo Cookie Clocks.
-
Setting Time: Be sure to allow adequate drying time after decorating; the cookie clocks will look their best when everything is fully set!
What to Serve with Chocolate Covered Oreo Cookie Clocks?
Elevate your festive gathering by complementing these playful treats with delightful accompaniments that enhance their charm and taste.
-
Sparkling Berry Lemonade: A refreshing drink that brightens up the palates and adds a fizzy zing, ideal for celebration vibes.
-
Mini Fruit Skewers: Colorful bites of fresh fruit not only add a burst of freshness but also balance the sweetness of the cookie clocks.
-
Chocolate Fondue: This indulgent dip creates a fun interactive experience; guests can dip fruits and pretzels, making dessert even more exciting.
-
Vanilla Ice Cream: A classic pairing; the creamy richness of ice cream contrasts beautifully with the crunchy textures of the cookies.
-
Coffee or Hot Chocolate: The warmth of these beverages complements the decadent flavors of chocolate and lends a cozy atmosphere.
-
Cheese Platter: An assortment of mild cheeses offers a savory bite that contrasts with the sweet confections, enhancing the tasting experience.
-
Colorful Sprinkles Cake: Integrate another playful dessert that mirrors the whimsy of the Oreo Cookie Clocks, making it a visual feast too.
-
Chocolate Milk: Simple and nostalgic, this flavorful drink resonates with the cookie’s chocolatey goodness and makes for a kid-friendly option.
Encourage your guests to mix and match, ensuring a delightful array of tastes and textures for a truly memorable celebration!
Make Ahead Options
These delightful Oreo Cookie Clocks are perfect for busy home cooks looking to make their holiday preparations easier! You can prepare the candy-coated cookies up to 3 days in advance. Simply follow the instructions until they are fully decorated and dried, then store them in an airtight container at room temperature to keep them fresh and maintain that glossy finish. This allows you to spend more time enjoying the festivities and less time in the kitchen. When it’s time to serve, simply arrange them on a beautiful dessert tray, and these charming treats will be just as irresistible and stunning as if they were made fresh that day!
Storage Tips for Oreo Cookie Clocks
Room Temperature: Keep the Oreo Cookie Clocks in an airtight container at room temperature for up to one week. This helps maintain their delightful crunch and freshness.
Fridge: If you prefer a cooler treat, store the clocks in the fridge. They can last for up to two weeks; however, be mindful that refrigeration may soften the candy coating slightly.
Freezer: For longer storage, freeze the cookies in an airtight container for up to three months. Allow them to thaw at room temperature before serving for the best texture.
Reheating: These treats are best enjoyed chilled or at room temperature. Avoid reheating as it can compromise their lovely appearance and texture.
Oreo Cookie Clocks Recipe FAQs
What type of Oreo cookies should I use?
You can use classic Oreo cookies, but feel free to get creative! Any sandwich cookie can work—try indulging in flavors like double-stuffed or mint to create a unique twist on the Oreo Cookie Clocks.
How should I store leftover Oreo Cookie Clocks?
Absolutely! Store your Oreo Cookie Clocks in an airtight container at room temperature for up to one week. This storage method keeps them fresh and crunchy. If you prefer them chilled, refrigerate for up to two weeks, but keep in mind that the coating might soften slightly.
Can I freeze Oreo Cookie Clocks?
Yes, you can freeze them for up to three months! Place the cookie clocks in an airtight container, ensuring they’re spaced apart to prevent sticking. When you’re ready to enjoy them, simply thaw at room temperature for the best texture and taste.
What should I do if the candy coating doesn’t set properly?
If you find that the candy coating isn’t setting, check that you melted it at the right temperature. Allow the melted candy to cool slightly before pouring it into the mold, as pouring too hot can result in a gooey finish. If they’re already made and too soft, simply pop them in the fridge or freezer for a few minutes to firm up.
Are Oreo Cookie Clocks suitable for kids?
Yes, they’re a fun and engaging treat for kids! However, you may want to supervise young children when using edible markers for decorating to ensure safety. If allergies are a concern, double-check that your ingredients (especially the candy melts and fondant) are free from common allergens like gluten, dairy, or nuts.
Can I customize the decorations on my Oreo Cookie Clocks?
The more the merrier! Get creative by using themed sprinkles or colored candy melts to adapt the appearance of your Oreo Cookie Clocks for different events. These variations can enhance your celebration and allow for a personal touch!
Oreo Cookie Clocks: No-Bake Treats for Festive Fun!
Ingredients
Equipment
Method
- Melt the black candy melts in a microwave-safe bowl. Heat in 30-second intervals, stirring in between until smooth and glossy to ensure an even melt.
- Prepare your cookie mold by making sure it's clean and completely dry. Then, carefully fill each cavity slightly over 1/2 full with the melted candy to create a solid base.
- Press a single Oreo cookie into each cavity, ensuring it's submerged. Top it off with more melted candy to completely cover the cookie.
- Tap the tray gently on the counter to help remove any air bubbles trapped in the candies. Then, place them in the freezer for about 5 minutes until they are fully hardened.
- Remove the cookies from the mold gently. If using a silicone mold, it will be much easier to pop them out. Then, repeat the process with the white candy melts for a lovely contrast.
- Roll out the black fondant on a clean surface and cut into circles that fit perfectly over the tops of your cookies. Use a bit of vanilla extract or corn syrup to create a sticky edge for sticking.
- Decorate the fondant using silver dragees and colorful sprinkles. Press them onto the fondant, incorporating your creative flair!
- Draw the clock hands with a black edible marker on the white fondant circles, then decorate the back of the cookies with melted white candy melts to give a finished look.
- Allow the decorated cookies to dry and set completely before serving, ensuring all elements adhere beautifully.