Ingredients
Equipment
Method
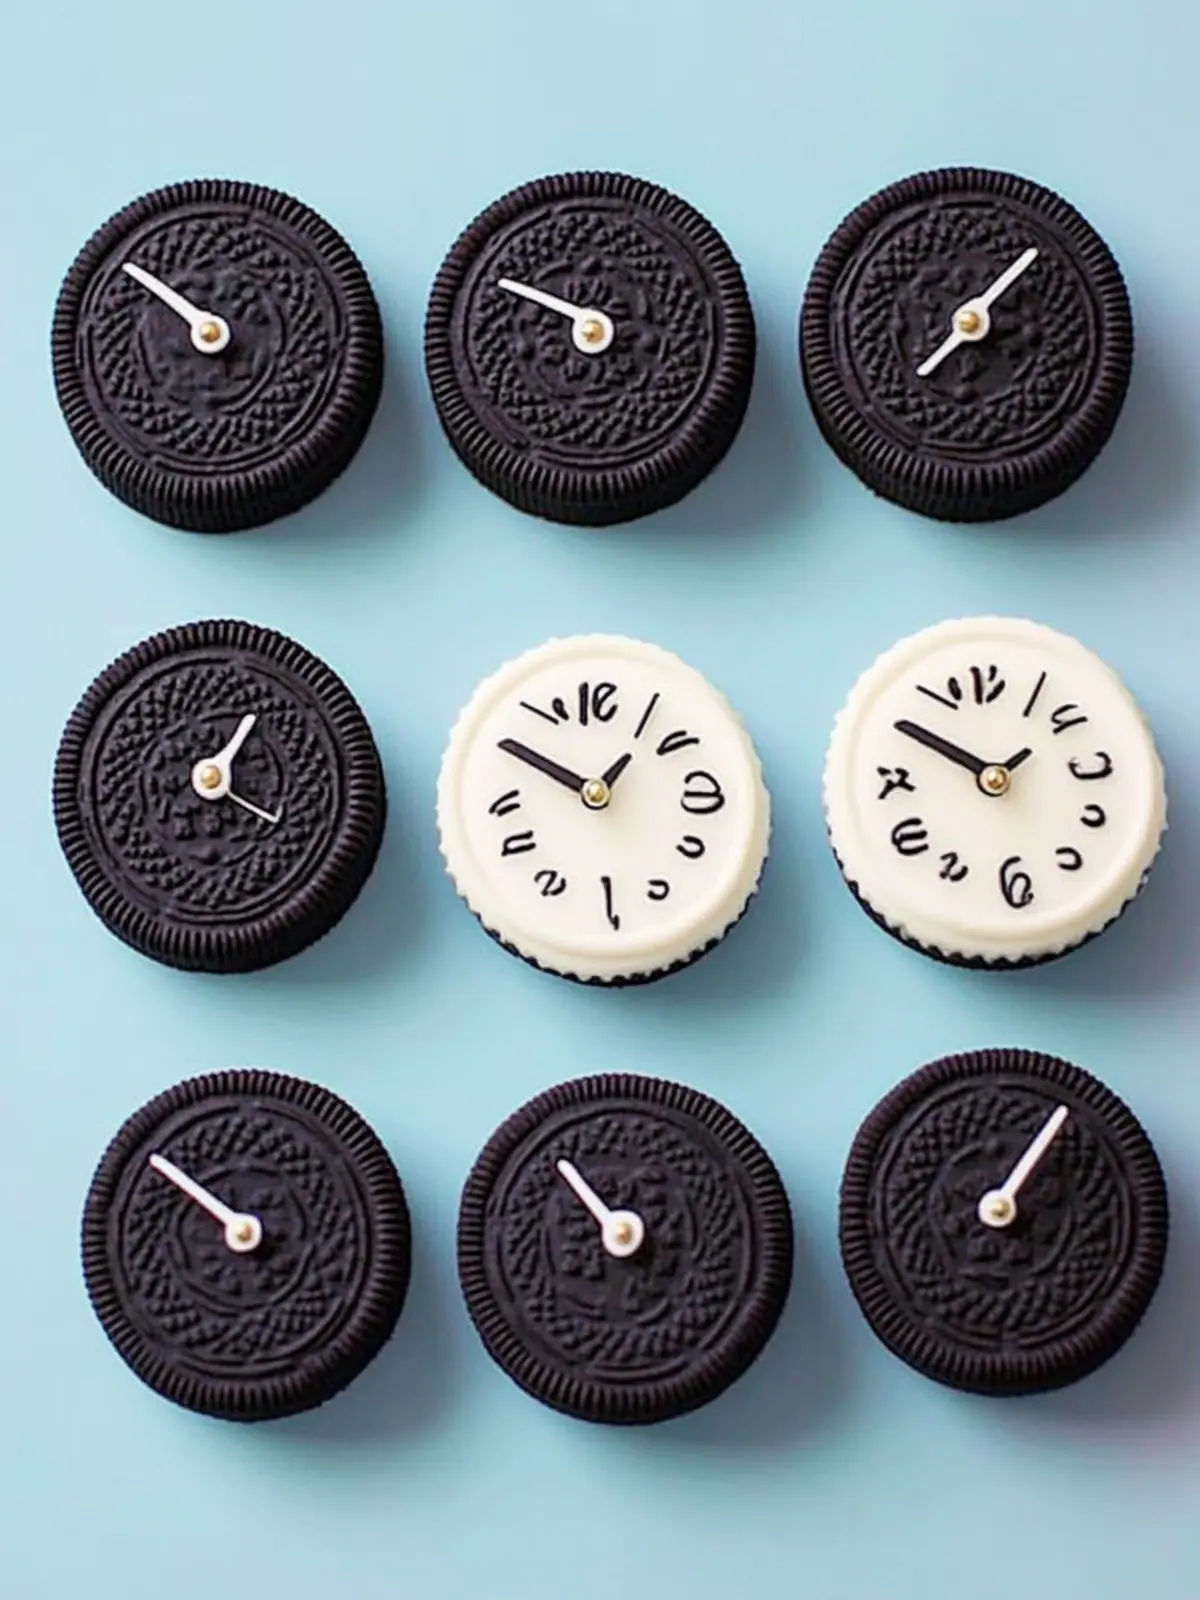
How to Make Oreo Cookie Clocks
- Melt the black candy melts in a microwave-safe bowl. Heat in 30-second intervals, stirring in between until smooth and glossy to ensure an even melt.
- Prepare your cookie mold by making sure it's clean and completely dry. Then, carefully fill each cavity slightly over 1/2 full with the melted candy to create a solid base.
- Press a single Oreo cookie into each cavity, ensuring it's submerged. Top it off with more melted candy to completely cover the cookie.
- Tap the tray gently on the counter to help remove any air bubbles trapped in the candies. Then, place them in the freezer for about 5 minutes until they are fully hardened.
- Remove the cookies from the mold gently. If using a silicone mold, it will be much easier to pop them out. Then, repeat the process with the white candy melts for a lovely contrast.
- Roll out the black fondant on a clean surface and cut into circles that fit perfectly over the tops of your cookies. Use a bit of vanilla extract or corn syrup to create a sticky edge for sticking.
- Decorate the fondant using silver dragees and colorful sprinkles. Press them onto the fondant, incorporating your creative flair!
- Draw the clock hands with a black edible marker on the white fondant circles, then decorate the back of the cookies with melted white candy melts to give a finished look.
- Allow the decorated cookies to dry and set completely before serving, ensuring all elements adhere beautifully.
Nutrition
Notes
Serve on a festive dessert tray for an extra touch of charm at your celebration!