The moment that garlic hits the pan, a wave of nostalgia washes over me, taking me straight to my childhood kitchen, where every family meal was an adventure in flavor. Today, I’m excited to share my version of a beloved classic—Burned Garlic Fried Rice, a dish that’s as comforting as it is simple. With its perfectly crispy garlic and a medley of vibrant vegetables, this fried rice transforms leftover grains into a sensational meal in just 25 minutes.
You know those days when you’re stuck in a fast-food rut? I created this recipe to bring the joy back into weeknight dinners. It’s a breeze to whip up, and the deep, savory notes from the garlic elevate the humble rice to something truly special. Packed with fresh veggies and a hint of spice, this dish strikes the perfect balance between satisfying and healthful, ensuring it pleases both solo diners and dinner guests alike. Join me in the kitchen as we bring a touch of homemade magic to your table!

Why is Burned Garlic Fried Rice a Must-Try?
Simplicity at its finest—this recipe takes just 25 minutes from start to finish, making it perfect for busy weeknights. Bold flavors emerge as crispy garlic meets fresh veggies, creating a dish that’s both comforting and exciting. Health-conscious? Loaded with colorful ingredients, it’s a great way to sneak in nutrients. Versatile enough to adapt, use whatever veggies you have on hand! Whether it’s a solo meal or a gathering, crowd-pleasing delight awaits with every bite. For more exciting rice dishes, check out our delicious fried rice collection!
Burned Garlic Fried Rice Ingredients
Let’s gather what you need for this delightful dish!
For the Rice
• Cooked rice – 3 cups, preferably day-old for the best texture.
For the Vegetables
• Garlic cloves – 6-8, chopped; enhances the dish with that signature crispy and aromatic flavor.
• Green beans – ½ cup, finely chopped; adds a crunchy contrast to the soft rice.
• Carrot – 1 medium, finely chopped; provides sweetness and vibrant color.
• Bell pepper – 1 small, finely chopped; brings a refreshing burst of sweetness.
• Spring onion – 2, both white and greens; adds a mild sharpness and freshness.
For Cooking
• Vegetable oil – 3 tsp; ideal for frying at high temperatures.
• Sesame oil – 1 tsp; imparts a nutty depth to the dish.
For Seasoning
• Soy sauce – 2 tsp or to taste; key for umami flavor in your burned garlic fried rice.
• Vinegar – 1-2 tsp; balances the richness with a hint of tanginess.
• Black pepper – ½ tsp, crushed; spices things up without overwhelming the dish.
• Chili garlic sauce – 1 tsp or any chili sauce; kick things up a notch for heat lovers.
• Sugar – ¼ tsp; subtly offsets the savory elements.
• Salt – to taste; enhances all the flavors beautifully.
Embrace the magic of homemade flavors with this Burned Garlic Fried Rice recipe!
How to Make Burned Garlic Fried Rice
-
Heat the Oil: In a large wok or skillet, warm the vegetable oil over medium heat. This sets the stage for that irresistible garlic aroma to fill your kitchen!
-
Sauté the Garlic: Add the chopped garlic and sauté until it turns crisp and golden brown, about 2-3 minutes. This is where the magic begins! Remove two teaspoons of the garlic and set it aside for garnishing later.
-
Add the Veggies: Toss in the finely chopped green beans, carrot, bell pepper, and the white parts of the spring onion. Stir continuously for about 5 minutes, until the vegetables are tender and vibrant.
-
Combine with Rice: Gently mix in the cooked rice along with the reserved sautéed garlic, black pepper, soy sauce, vinegar, salt, and sugar. Stir well to ensure every grain is coated with those delightful flavors.
-
Heat Through: Continue cooking while stirring occasionally, about 3-5 minutes, ensuring the rice is heated thoroughly and flavors meld beautifully.
-
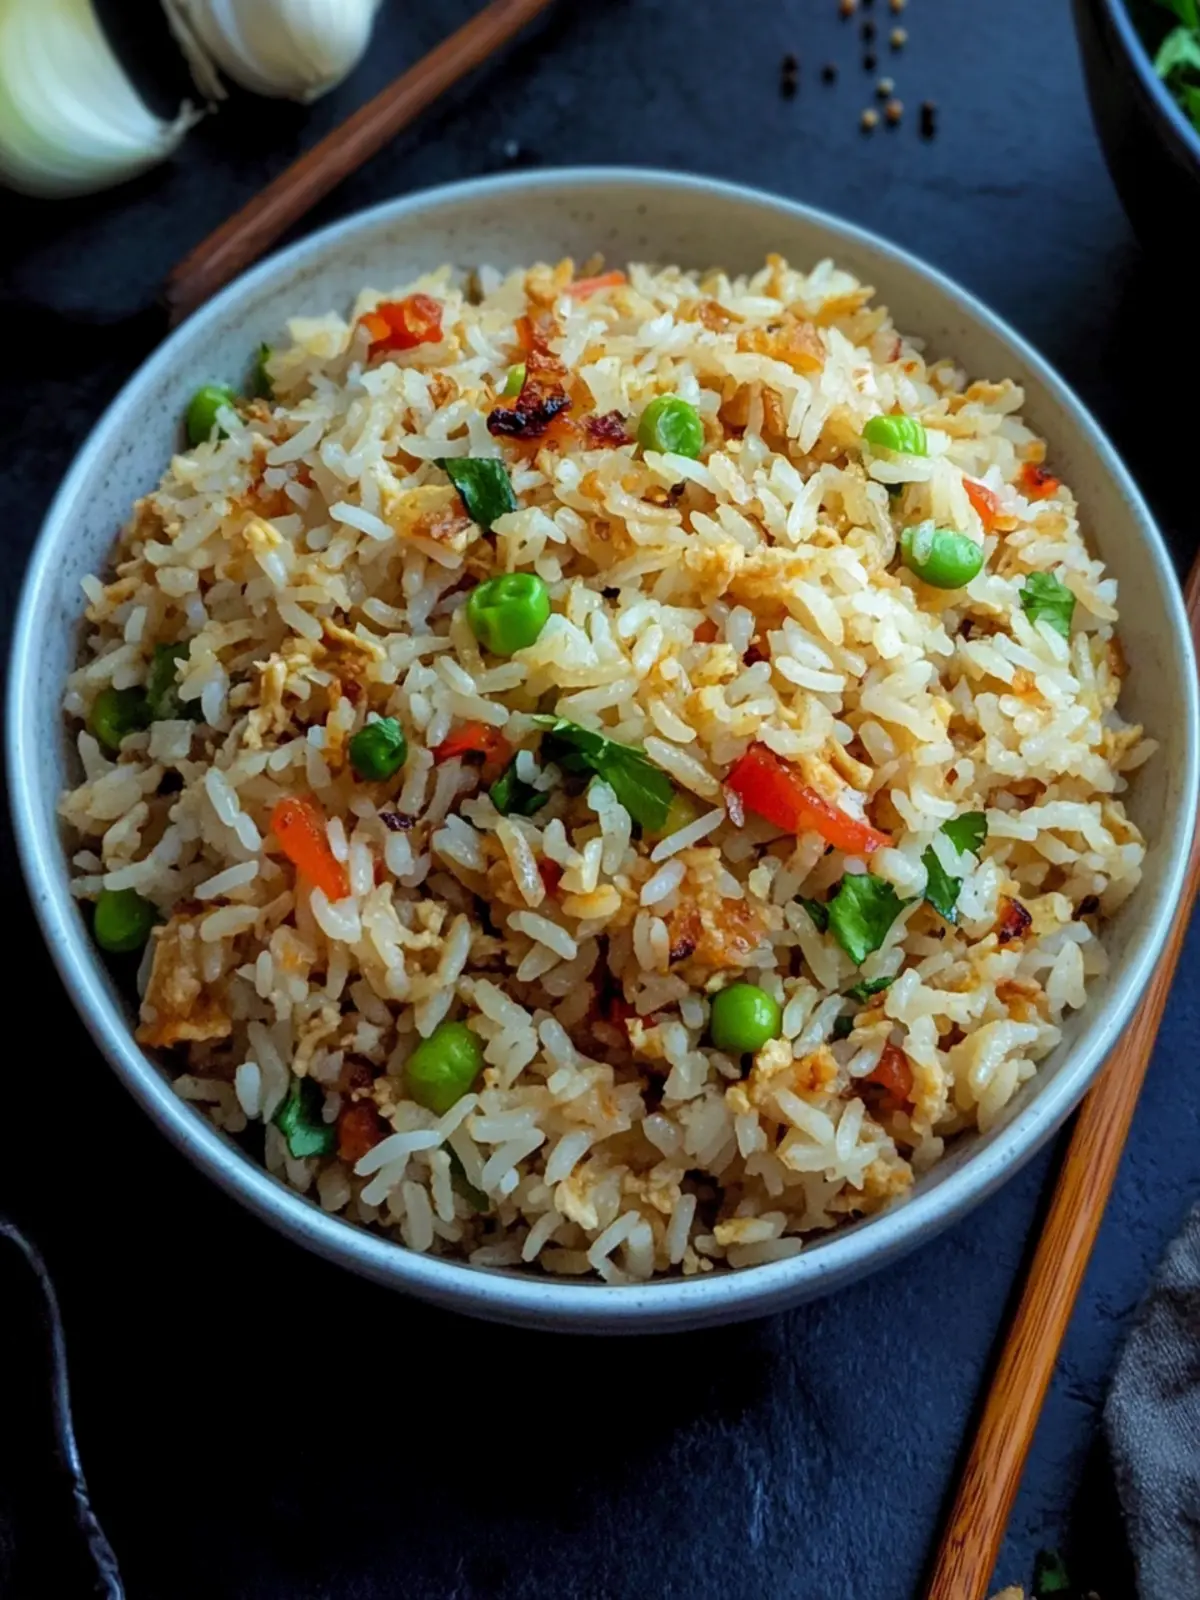
Serve with Style: Plate the fried rice and generously sprinkle the crispy fried garlic and the green part of the spring onion on top for that extra touch.
Optional: Garnish with a squeeze of lime for a zesty finish!
Exact quantities are listed in the recipe card below.
Burned Garlic Fried Rice Variations
Feel free to get creative with this dish and tailor it to your taste preferences or dietary needs!
-
Protein Boost: Add cooked chicken, shrimp, or tofu for a hearty meal. Simply stir in after mixing in the rice for an easy protein addition.
-
Vegetarian Delight: Swap out the soy sauce for tamari for a gluten-free version, ideal for those with dietary restrictions while still delivering amazing flavor.
-
Spicy Kick: Incorporate chopped fresh chilies or extra chili garlic sauce for those who crave a fiery twist. Adjust the heat according to your preference for a thrilling experience!
-
Herb Infusion: Toss in a handful of fresh herbs like cilantro or basil just before serving. They add a burst of freshness that brightens up every bite.
-
Nutrient-Packed: Sneak in spinach or kale during the veggie stage for an additional health boost without compromising flavor or texture. Cook down until wilted for a vibrant color contrast.
-
Nutty Flavor: Add a sprinkle of toasted sesame seeds before serving for an extra layer of crunch and nutty aroma that enhances the overall taste.
-
Coconut Twist: Substitute vegetable oil with coconut oil to impart a slight sweetness and tropical aroma, making for an exotic twist on your fried rice.
-
Veggie Medley: Feel free to mix in any leftover veggies in your fridge like corn, bell peppers, or even peas. No vegetable left behind—get creative and customize!
Enjoy playing with flavors and textures to make this Burned Garlic Fried Rice your own!
Tips for the Best Burned Garlic Fried Rice
-
Quality Rice: Use day-old cooked rice for the best texture; fresh rice can become mushy when frying.
-
Garlic Mastery: Don’t rush the garlic; cook it slowly over medium heat to achieve the perfect crispness without burning.
-
Veggie Variety: Feel free to incorporate any veggies you have on hand. Just adjust cooking times for firmer vegetables like broccoli or zucchini.
-
Seasoning Balance: Taste and adjust soy sauce and vinegar levels as you mix in the rice. This ensures the flavors complement each other perfectly.
-
Garnish for Wow: Always top the fried rice with extra crispy garlic and spring onions. It elevates the dish visually and adds texture!
-
Avoid Overcrowding: Cook in batches if necessary. Overcrowding the pan can steam the rice instead of frying it, impacting that delightful texture.
Make Ahead Options
These Burned Garlic Fried Rice delights are perfect for meal prep enthusiasts! You can chop the vegetables (green beans, carrot, bell pepper, and spring onion) up to 3 days in advance and store them in an airtight container in the refrigerator to maintain their freshness. The day before serving, consider sautéing the garlic and allowing it to cool before mixing it with the cooked rice. This way, you’ll achieve that crispy goodness right before cooking. When you’re ready to serve, simply follow the cooking steps, adding the prepped vegetables and any desired seasonings, and enjoy a sensational, time-saving dish with minimal hassle during busy weeknights!
Storage Tips for Burned Garlic Fried Rice
-
Room Temperature: Allow the leftover fried rice to cool before storing it. It’s best to consume it within 2 hours to prevent bacterial growth.
-
Fridge: Store your burnt garlic fried rice in an airtight container for up to 3 days. Reheat it thoroughly before serving, ensuring it reaches a temperature of 165°F (74°C).
-
Freezer: Freeze the fried rice in a freezer-safe container for up to 1 month. When ready to enjoy, thaw in the fridge overnight and reheat in a skillet over medium heat for best texture.
-
Reheating: For optimal results, add a splash of water or broth when reheating in a pan to prevent drying out, ensuring every bite is just as delicious as when first cooked!
What to Serve with Burned Garlic Fried Rice?
Savor the delightful medley of flavors with pairings that elevate your meal experience and complement every bite of your fried rice.
-
Crispy Spring Rolls: These golden delights provide a satisfying crunch and are filled with fresh vegetables for a perfect appetizer.
-
Sesame Chicken: Sweet and savory, this tender chicken pairs wonderfully, enhancing the flavors of garlic in the rice for a hearty combination.
-
Stir-fried Broccoli: The crisp greens add a bright, nutritious crunch, balancing the rich garlic tones beautifully while boosting vitamins.
-
Egg Drop Soup: Light and comforting, the silky texture of this classic soup wraps around the bold flavors of the fried rice.
-
** Asian Slaw:** A zesty mix of cabbage and carrots tossed in a tangy dressing can brighten the meal and add freshness to each bite.
-
Chilled Cucumber Salad: Refreshing and light, this salad will cleanse your palate and add a nice crunch to the overall meal experience.
-
Iced Green Tea: The subtle herbal notes of iced green tea offer a refreshing, palate-cleansing beverage that pairs superbly with bold flavors.
-
Mango Sticky Rice: For dessert, this sweet Thai classic made with ripe mango and coconut sticky rice is the perfect ending, balancing the garlic richness.
Elevate your dining experience with these delightful pairings that promise to enchant your palate!

Burned Garlic Fried Rice Recipe FAQs
How do I choose the best garlic for Burned Garlic Fried Rice?
Absolutely! Look for garlic bulbs that feel firm and heavy, with no dark spots or soft spots. Each clove should be plump and white with no signs of sprouting—these are usually the freshest ones! Quality garlic will enhance the flavor of your dish significantly.
How should I store leftover Burned Garlic Fried Rice?
Very good question! Allow your fried rice to cool down to room temperature before storing. You can keep it in an airtight container in the refrigerator for up to 3 days. Simply reheat in a skillet over medium heat until it reaches 165°F (74°C) for safe consumption.
Can I freeze Burned Garlic Fried Rice?
Yes, you can! To freeze, place your fried rice in a freezer-safe container, making sure to leave some room at the top as it may expand. It will keep for up to 1 month. To reheat, thaw it overnight in the fridge and then warm it in a skillet with a splash of broth or water to maintain moisture.
What can I do if my garlic burns while making Burned Garlic Fried Rice?
If your garlic burns, it can impart a bitter taste to the dish. If it happens, it’s best to start over to avoid an unpleasant flavor. Next time, sauté the garlic over medium heat and keep an eye on it; cook until just golden brown but not burnt! You can even add it a bit later in the process for better control.
Is Burned Garlic Fried Rice suitable for vegetarians?
Absolutely! This recipe is entirely vegetarian, making it wonderful for anyone following a plant-based diet. Just double-check the ingredients in your soy sauce and chili sauce to ensure they do not contain any animal products.
Can I add other vegetables to my Burned Garlic Fried Rice?
The more, the merrier! Feel free to throw in any veggies you have on hand, like peas, broccoli, or mushrooms. Just remember to adjust the cooking times according to the vegetables you choose. Enjoy experimenting with flavors and textures!
Irresistible Burned Garlic Fried Rice Recipe You’ll Love
Ingredients
Equipment
Method
- Heat the vegetable oil in a large wok or skillet over medium heat to prepare for frying.
- Add the chopped garlic and sauté until crisp and golden brown, about 2-3 minutes. Reserve two teaspoons of the garlic for garnishing later.
- Incorporate finely chopped green beans, carrot, bell pepper, and the white parts of the spring onion. Stir for about 5 minutes until tender and vibrant.
- Gently mix in cooked rice along with reserved garlic, black pepper, soy sauce, vinegar, salt, and sugar. Stir well.
- Continue to cook while stirring for about 3-5 minutes until heated through and flavors meld.
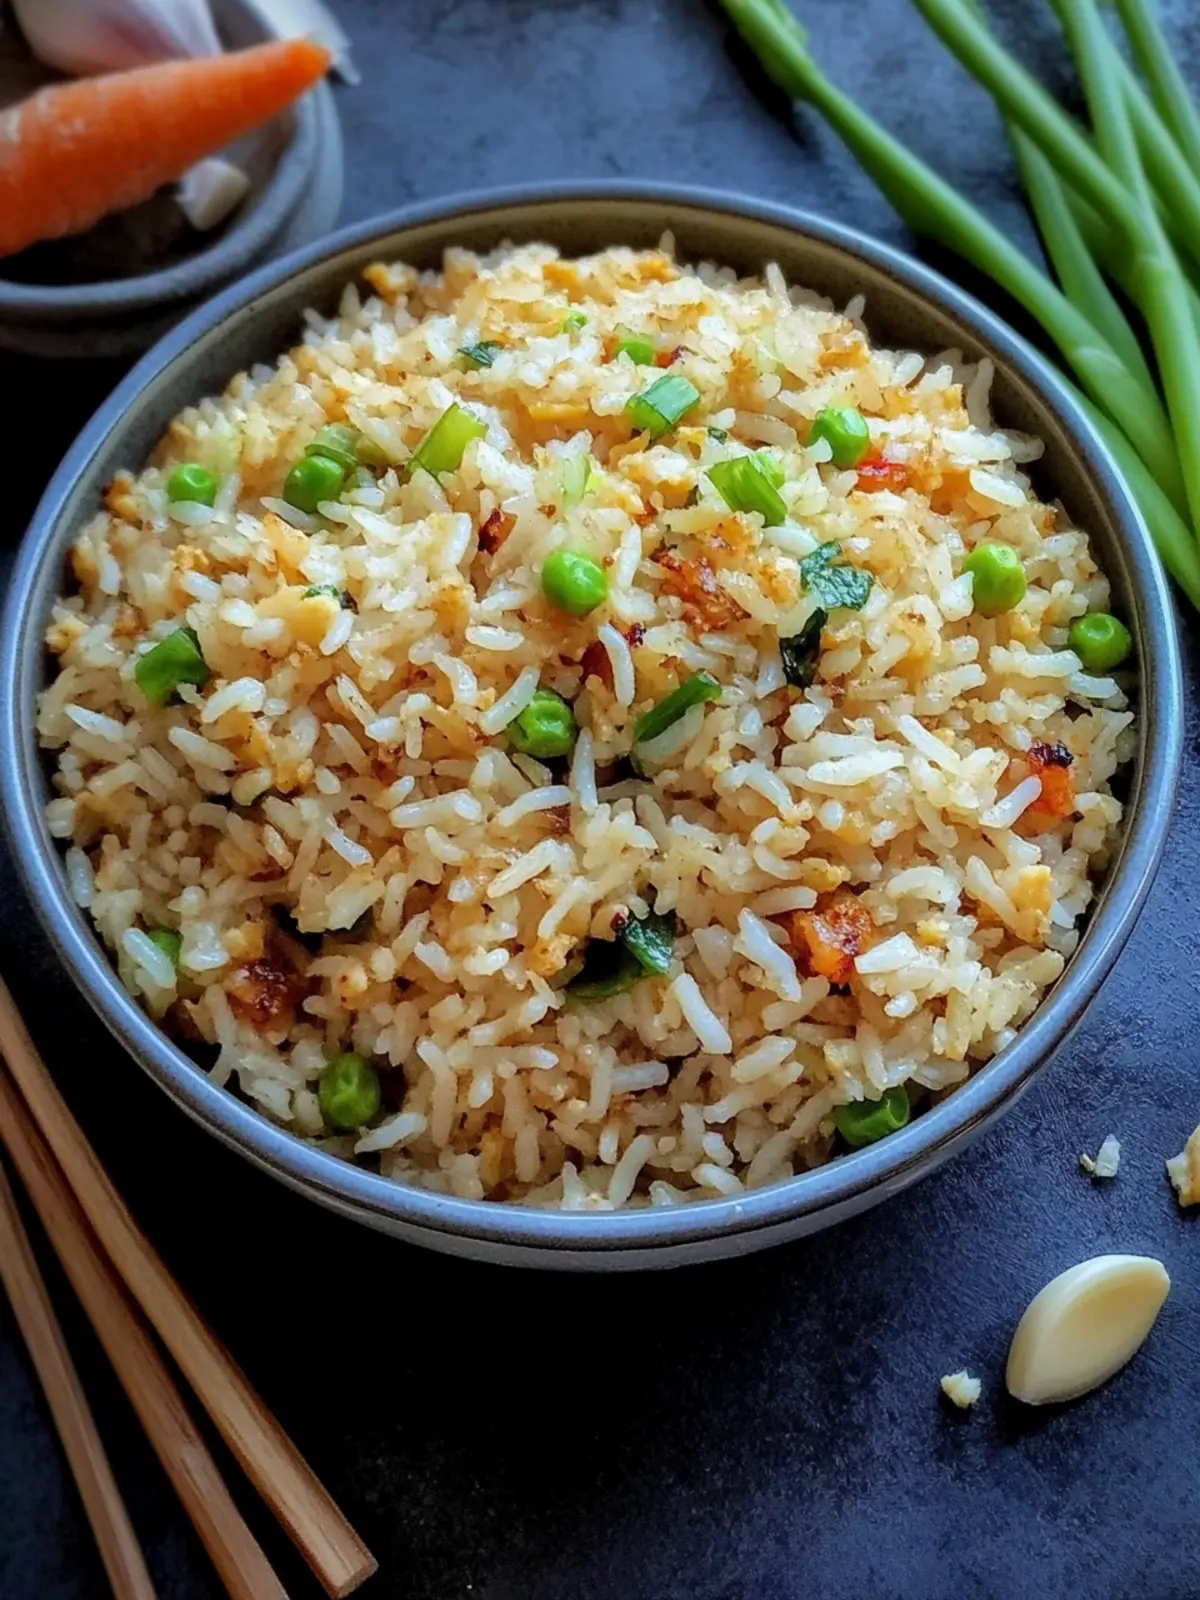
- Plate the fried rice and sprinkle the crispy garlic and green parts of the spring onion on top.