There’s a delightful buzz in my kitchen as I prepare to make Lollipop Chicken, and I can almost feel that first bite of crispy, juicy goodness. Imagine golden, crunchy drumettes that are tender on the inside and coated in a savory blend of ginger-garlic paste and zesty soy sauce. It’s hard to resist the temptation to dive in right away, especially when the aroma begins to fill the air!
This dish came to life during one of those impromptu gatherings where everyone craved something delicious yet fun. After experimenting with various flavors and cooking techniques, I landed on this crowd-pleaser that always garners compliments and happy faces. Whether you’re hosting a dinner party or just looking to spice up your weeknight meal, these Lollipop Chicken pieces are the perfect solution.
Best of all, they’re surprisingly simple to make, requiring just a few ingredients and minimal prep time. I promise, once you try them, you’ll want to keep coming back for more. So, let’s dive into the recipe and get cooking!

Why is Lollipop Chicken a Must-try?
Ultimate Flavor Explosion: Each bite of Lollipop Chicken bursts with a perfect blend of ginger-garlic and zesty soy sauce, making it an unforgettable dish.
Crispy Golden Goodness: With a crunchy exterior and juicy interior, these drumettes are hard to resist.
Easy to Prepare: Even novice cooks will shine with this straightforward recipe!
Crowd-Pleasing Delight: Perfect for gatherings, everyone will love reaching for these tasty bites.
Versatile Cooking Methods: Whether frying or baking, you can enjoy them your way.
Time Efficient: In just 45 minutes (plus marinating), you’re ready to impress at dinner!
Lollipop Chicken Ingredients
For the Marinade
- Ginger-garlic paste – Adds a rich depth of flavor to your Lollipop Chicken!
- Soy sauce – Provides a savory umami kick that enhances the overall taste.
- Red chili sauce – Introduces a lovely heat that can be adjusted based on your preference.
- Vinegar – Balances flavors with a tangy touch.
- Salt – Essential for bringing out all the vibrant flavors in the marinade.
- Black pepper – Offers an extra hint of spice to awaken your taste buds.
For the Coating
- Cornstarch – Ensures a crisp exterior that locks in moisture during cooking.
- All-purpose flour – Helps the coating adhere better to the chicken.
- Egg – Acts as a binding agent, creating a perfect crust when fried or baked.
For Cooking
- Oil for frying – Use a high smoke point oil for that crispy finish; try vegetable or canola oil.
For Garnish
- Spring onions or cilantro – These fresh herbs brighten up the dish and add a pop of color to your presentation.
Get ready to enjoy these delicious Lollipop Chicken bites that will surely become a favorite at your table!
How to Make Lollipop Chicken
-
Heat Oil: Start by heating your oil in a frying pan until it reaches 350°F, or preheat your oven to 400°F if you prefer to bake your chicken. This ensures a perfect crispy finish!
-
Marinate Chicken: In a mixing bowl, combine the ginger-garlic paste, soy sauce, red chili sauce, vinegar, salt, and black pepper. Add the chicken pieces and mix well to coat. Let this marinate for at least 2 hours – the longer, the better!
-
Prepare Setup: While your chicken marinates, set up your frying or baking area. If frying, keep a wire rack ready for draining; for baking, use a parchment-lined tray to catch all that deliciousness.
-
Coat Chicken: In a separate bowl, mix the cornstarch, all-purpose flour, and beaten egg. Take each marinated chicken piece and coat it thoroughly with this mixture for an irresistible crunch!
-
Cook Chicken: If frying, add the coated chicken pieces to the hot oil, cooking for 4–5 minutes until they turn golden brown and crispy. For even more crunch, try double frying! If you’re baking, arrange the chicken on your tray and cook for 25–30 minutes, flipping once for even crispness.
-
Drain & Garnish: Once cooked, transfer the fried chicken to a rack to drain any excess oil. Sprinkle with chopped spring onions or cilantro for a fresh touch.
-
Serve: Serve your Lollipop Chicken hot with your favorite dipping sauce ready for those delightful bites!
Optional: Drizzle with a little extra soy sauce for an added umami kick.
Exact quantities are listed in the recipe card below.
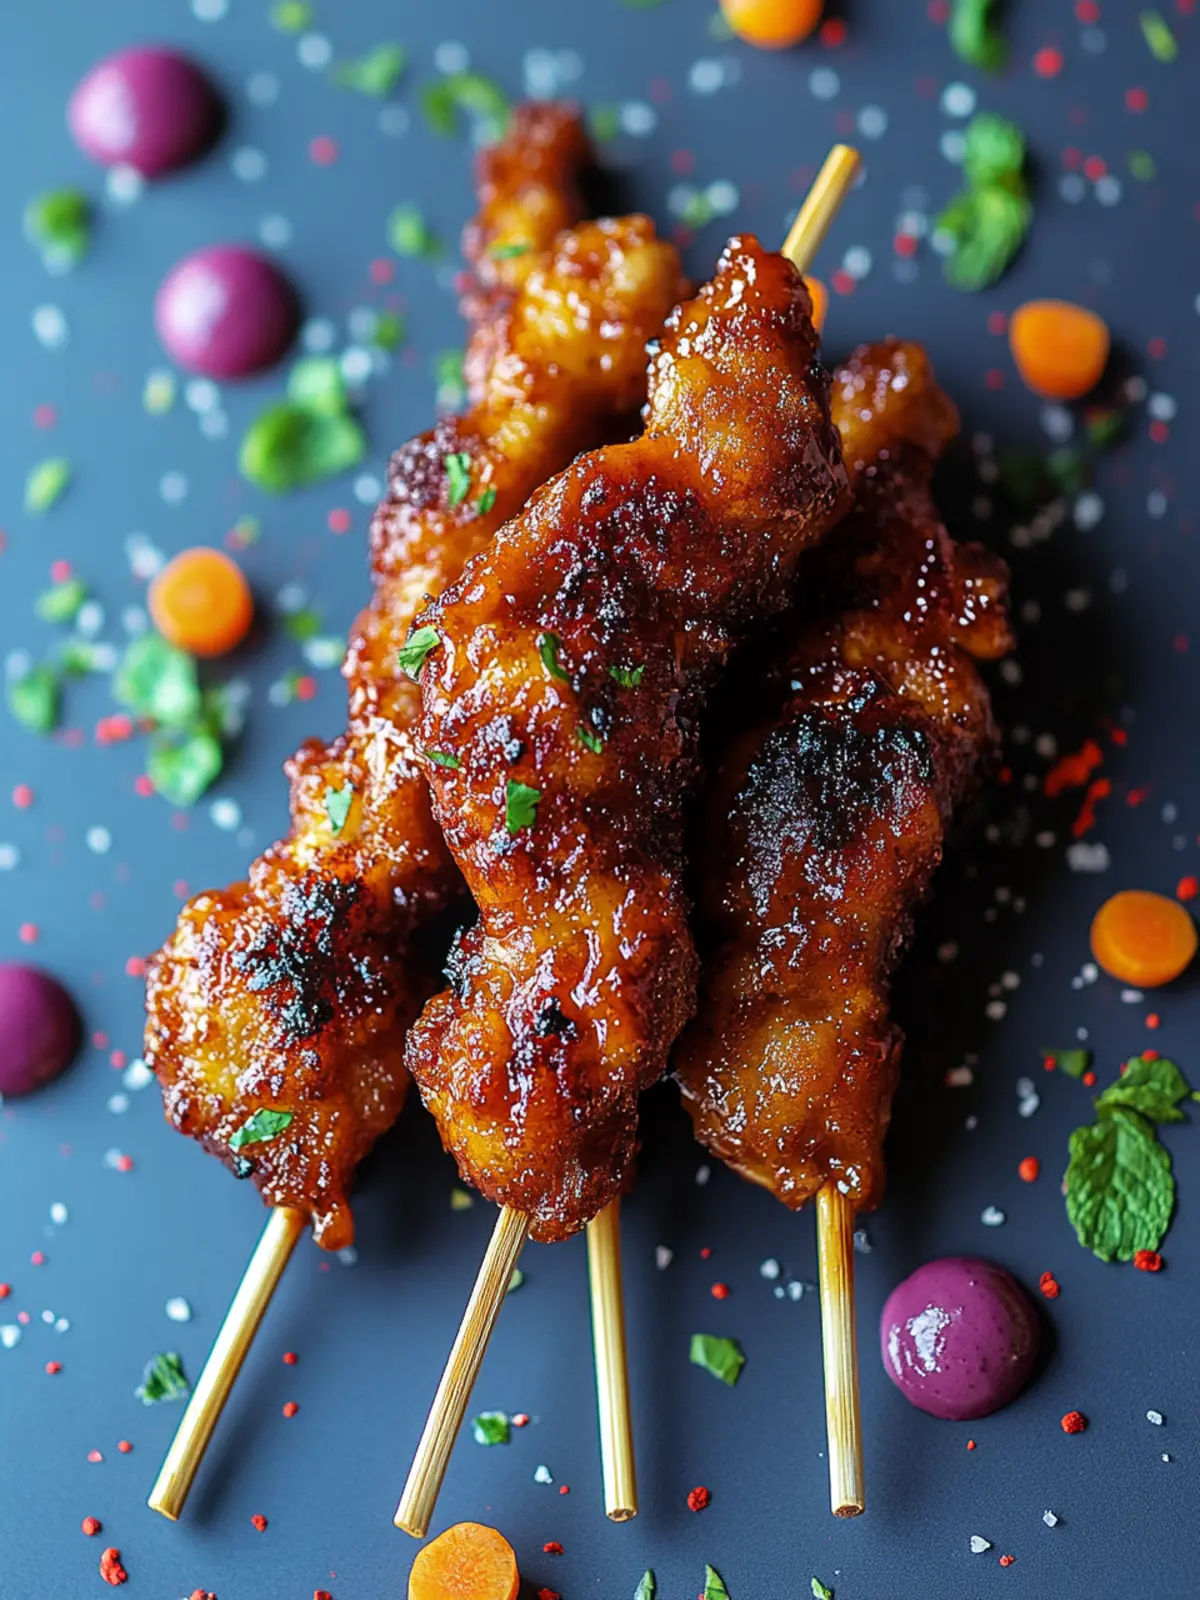
What to Serve with Lollipop Chicken?
Elevate your meal with delightful sides that complement the bold flavors and crispy texture of these succulent bites.
- Crispy Wedge Fries: Golden and crunchy, these fries provide a satisfying contrast to the juicy chicken, perfect for dipping!
- Garlic Butter Rice: Rich and savory, this rice is a fantastic base to soak up any sauce from your Lollipop Chicken.
- Asian Slaw: A crunchy, vibrant mix of cabbage and carrots tossed in a tangy dressing that adds freshness and balances the dish.
- Sweet Chili Sauce: This sweet and spicy sauce perfectly enhances the savory notes of the chicken and adds an extra kick.
- Mango Salsa: Bursting with fruity sweetness and zesty lime, mango salsa brings a refreshing element to your plate.
- Refreshing Cucumber Salad: Crisp cucumbers tossed in a light vinegar dressing provide a cooling contrast to the heat of the chicken.
- Ice-cold Beer or Sparkling Water: A chilled lager or bubbly drink makes for a refreshing pairing that complements the chicken beautifully.
With these sides and drinks, your Lollipop Chicken feast will truly shine!
Storage Tips for Lollipop Chicken
Fridge: Store leftover Lollipop Chicken in an airtight container for up to 3 days. This keeps it fresh while maintaining its delicious flavors.
Freezer: For longer preservation, freeze cooked Lollipop Chicken in a freezer-safe bag or container for up to 3 months. Be sure to remove as much air as possible.
Reheating: To reheat, simply bake in a preheated oven at 375°F for about 15-20 minutes, or until heated through. If frozen, let it thaw in the fridge overnight before reheating for best results.
Keep Coated: If you’re storing un-fried chicken pieces, coat them in the marinade right before freezing to retain flavor and moisture when cooked later.
Expert Tips for Lollipop Chicken
-
Marinate Longer: For deeper flavor, marinate the chicken overnight. It allows the ingredients to penetrate and tenderize the meat effectively.
-
Oil Temperature: Always check the oil temperature before frying. If it’s too low, the chicken will absorb oil; too high, and it will burn. Use a thermometer for perfect results.
-
Coat Generously: Make sure to coat each chicken piece thoroughly with the cornstarch and flour mixture. This step is key for achieving that glorious crispy exterior.
-
Double Frying: For extra crunch and a beautiful golden color, consider double frying your Lollipop Chicken. Simply fry first, let it rest, then fry again briefly.
-
Baking Alternative: If you opt for baking, ensure you flip the chicken halfway through for even cooking and browning.
-
Garnish Wisely: Fresh herbs like spring onions or cilantro not only enhance the look but also add a refreshing flavor contrast to the crispy, savory Lollipop Chicken.
Lollipop Chicken Variations
Unlock the full potential of your Lollipop Chicken with these fun and flavorful twists sure to make your taste buds dance!
-
Gluten-Free: Swap all-purpose flour with a gluten-free flour blend and use gluten-free soy sauce for a delightful alternative.
-
Spicy Kick: Add extra chili sauce or toss in some cayenne pepper for a bold heat that’ll keep you coming back for more!
-
Sesame Crunch: Incorporate toasted sesame seeds into the coating mix for a nutty flavor and crunch that complements the chicken beautifully.
-
Herb-Infused: Toss in fresh herbs like thyme or rosemary into the marinade for an aromatic lift that adds depth to each bite.
-
Crispy Oven-Baked: For a healthier option, spray the coated chicken with oil and bake at 425°F for a slightly crispy, less oily version.
-
Sweet and Tangy: Mix honey or maple syrup into the marinade for a delightful sweet contrast balanced by the savory flavors.
-
Asian Fusion: Incorporate a splash of fish sauce and top with pickled vegetables for a zesty Vietnamese flair on this classic recipe.
-
BBQ Glaze: Brush on your favorite barbecue sauce during the last few minutes of cooking for a smoky, tangy finish that’s sure to wow your guests.
Explore these variations and have fun creating a personalized dish the whole family will love!
Make Ahead Options
These Lollipop Chicken pieces are perfect for meal prep enthusiasts! You can marinate the chicken in the ginger-garlic and soy sauce blend up to 24 hours in advance, which allows the flavors to intensify beautifully. Simply cover the marinated chicken and refrigerate until you’re ready to cook. For even easier prep, you can also coat the chicken with the cornstarch and flour mixture up to 3 days ahead, storing it in an airtight container. When you’re ready to serve, just fry or bake the chicken per the recipe instructions for that irresistible, crispy finish. With these make-ahead tips, you can enjoy deliciously crispy Lollipop Chicken on even the busiest weeknights!
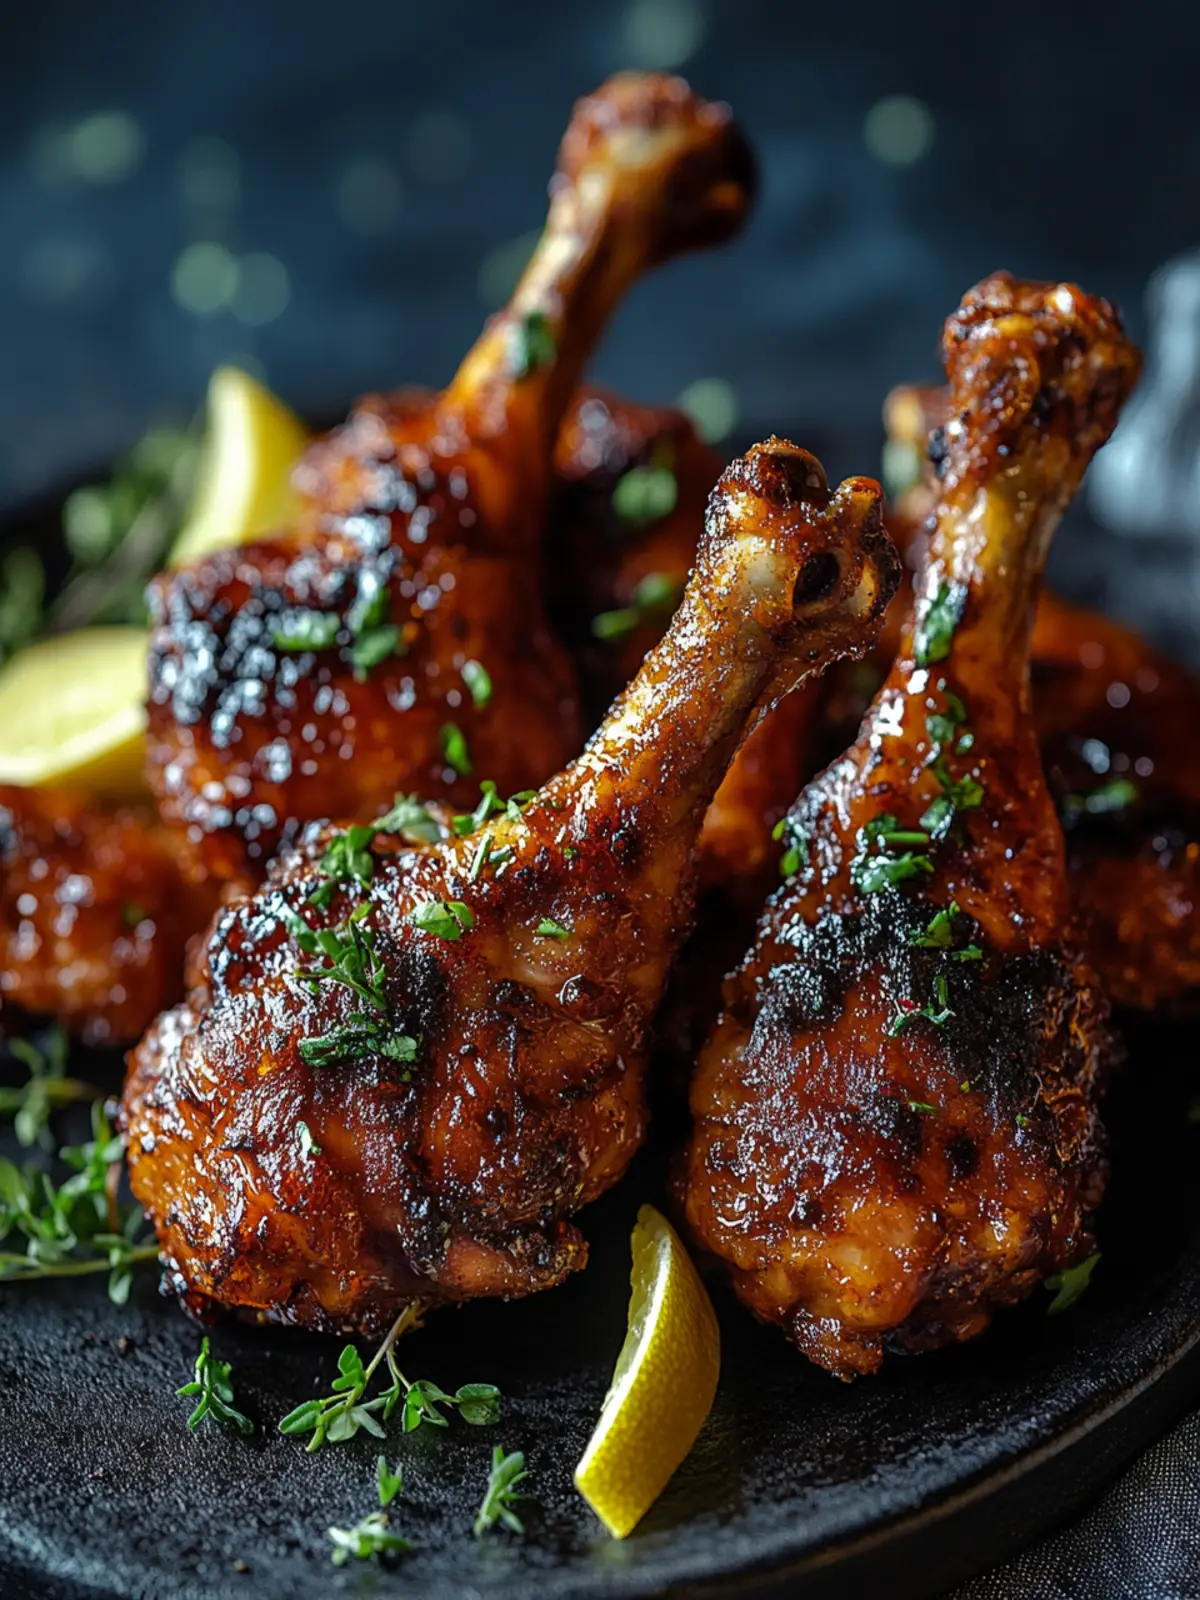
Lollipop Chicken Recipe FAQs
How do I choose the best chicken for Lollipop Chicken?
Absolutely! When selecting chicken drumettes or wings, look for pieces that are plump and free from dark spots or unusual discoloration, indicating freshness. If you can, buy organic or free-range chicken for a richer flavor and better quality.
How should I store leftover Lollipop Chicken?
Very! To store leftover Lollipop Chicken, place it in an airtight container in the fridge. It will stay fresh for up to 3 days. If you want to keep it longer, I recommend freezing it. Just make sure to let it cool completely before transferring it to a freezer-safe bag or container.
Can I freeze Lollipop Chicken, and if so, how?
Certainly! To freeze your Lollipop Chicken, follow these steps:
- Allow the cooked chicken to cool completely to room temperature.
- Place the pieces in a single layer on a baking sheet and freeze for 1-2 hours until solid.
- Then, transfer them to a freezer-safe bag or container, sealing it tightly to prevent freezer burn.
You can enjoy them for up to 3 months! When you’re ready to eat, thaw in the fridge overnight and reheat in the oven at 375°F for about 15-20 minutes.
What should I do if my Lollipop Chicken isn’t getting crispy?
Oh no! If your chicken isn’t crisping up, here are a few troubleshooting tips:
- Make sure your oil is hot enough (350°F) before frying; if the oil is too cool, the chicken will absorb grease instead of becoming crispy.
- Use a good coating of cornstarch and flour; a thin coating won’t give that crunchy texture. Consider double frying for extra crispiness.
- If baking, ensure the chicken is spread out evenly on the tray, allowing proper airflow, which promotes even cooking and crisping.
Are there any dietary considerations for Lollipop Chicken?
Definitely! For those with allergies, you can substitute soy sauce with a gluten-free tamari or coconut aminos to accommodate gluten sensitivity. Always double-check your red chili sauce for any potential allergens. If you’re cooking for pets, it’s best to avoid giving them poultry cooked with sauces or spices as they might not be suitable for their diet.
Can I make Lollipop Chicken healthier?
Absolutely! To make a healthier version of Lollipop Chicken, you might try baking instead of frying. Use a light spray of oil and a cooling rack to allow air circulation, which can give you a crispy effect without the excess fat from frying. You can also reduce the amount of sugar in the sauces used or use low-sodium soy sauce for less sodium.
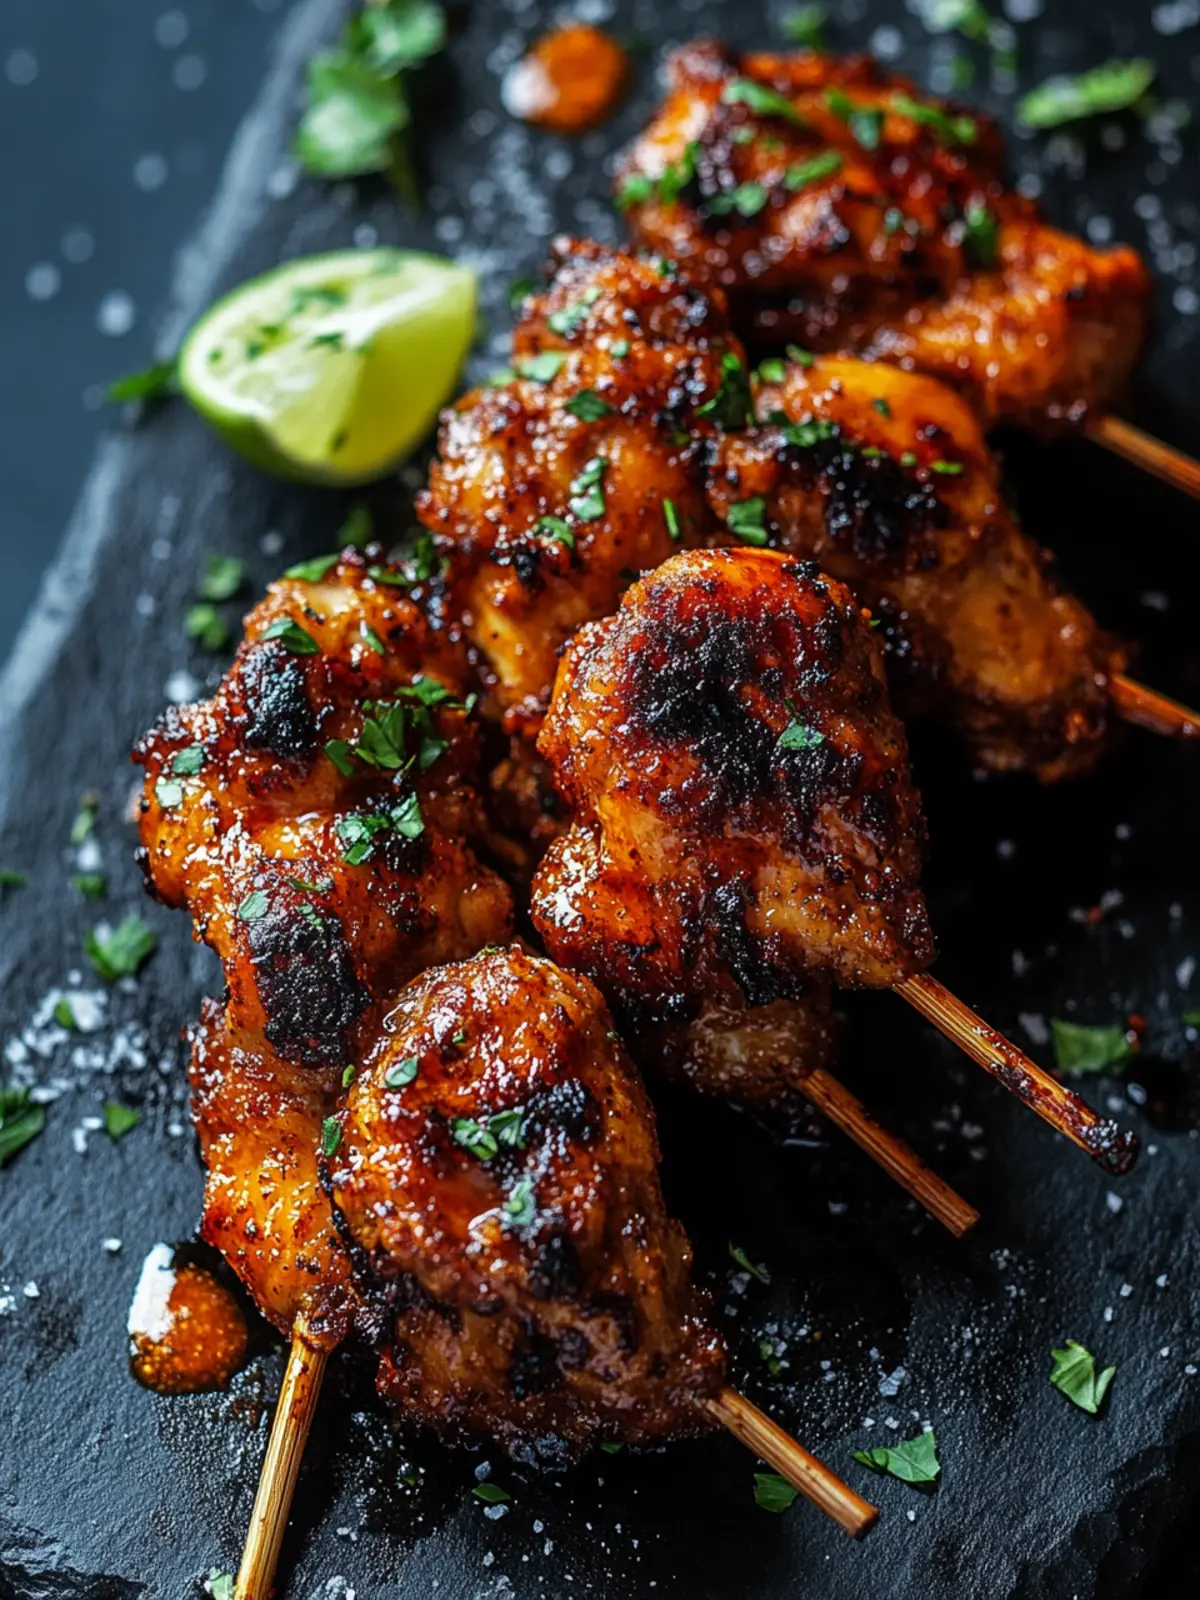
Irresistibly Crispy Lollipop Chicken for Your Next Feast
Ingredients
Equipment
Method
- Heat oil in a frying pan until it reaches 350°F, or preheat oven to 400°F.
- In a mixing bowl, combine marinade ingredients and mix well. Add chicken and let marinate for at least 2 hours.
- Set up your frying or baking area with either a wire rack or parchment-lined tray.
- Mix the coating ingredients in a separate bowl. Coat each marinated chicken piece thoroughly.
- If frying, cook chicken pieces in hot oil for 4–5 minutes until golden brown. For baking, cook for 25–30 minutes, flipping once.
- Drain cooked chicken on a rack and garnish with spring onions or cilantro before serving.
- Serve hot with your favorite dipping sauce.